/-/S'pht-Translator-Active/-/
|
|
/-/S'pht-Translator-Active/-/ |
| Eternal X Tour of Duty Lost Episode 1 | ||
| Posted By: Lion O Cyborg | Date: 12/1/20 4:20 a.m. | |
|
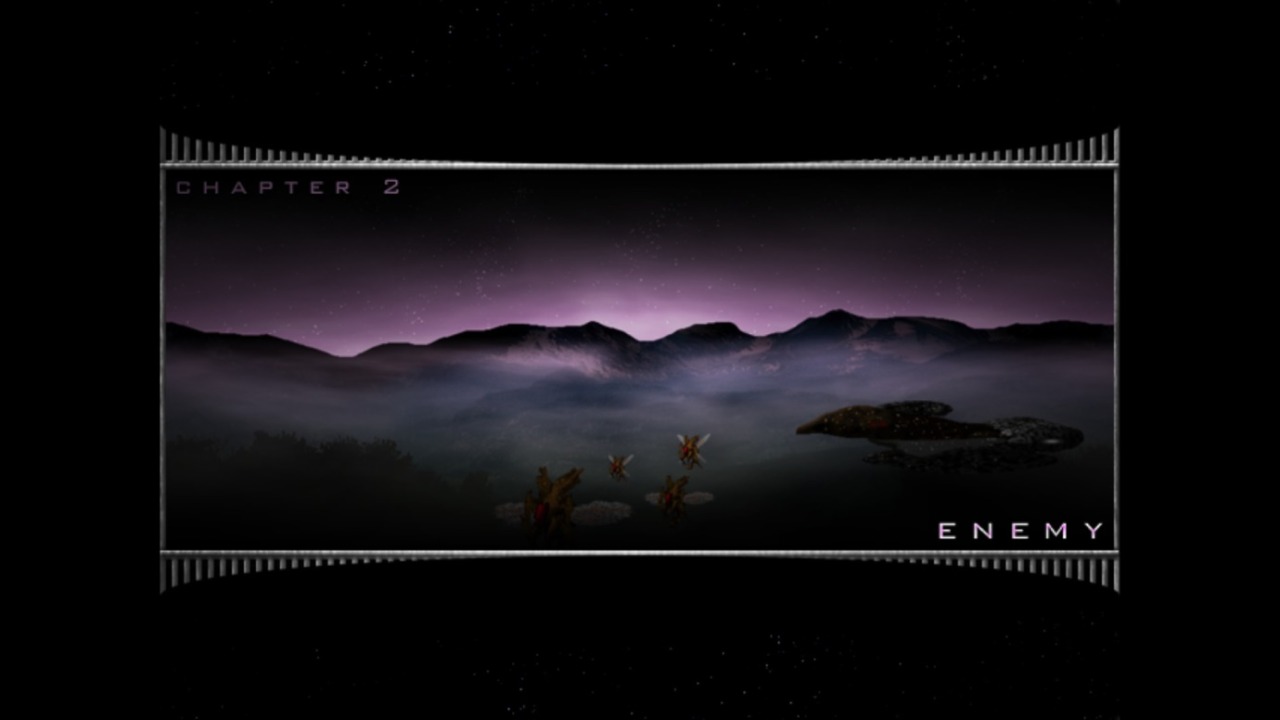
Eternal X Tour of Duty Lost Episode 1 Forward: These are my original recordings of the failure levels from Chapter 2 onward, which are included alongside the main tour ones by VBB so we can see both sides, and so later parts of the LP story in my parts of the Tour (especially chapter 5) make more sense instead of being disjointed with only a gainax ending to them. These are also the source of my notes in the main Tour writeups which were in green text. I will only be covering the first three out of four lost episodes so far and the fourth one will come later, before the final Stage of the Tour of Duty. As these were written before the end of 2019, errors and omissions of things that I learned about or were changed later are expected. Act 1: Killing the Giants as they sleep
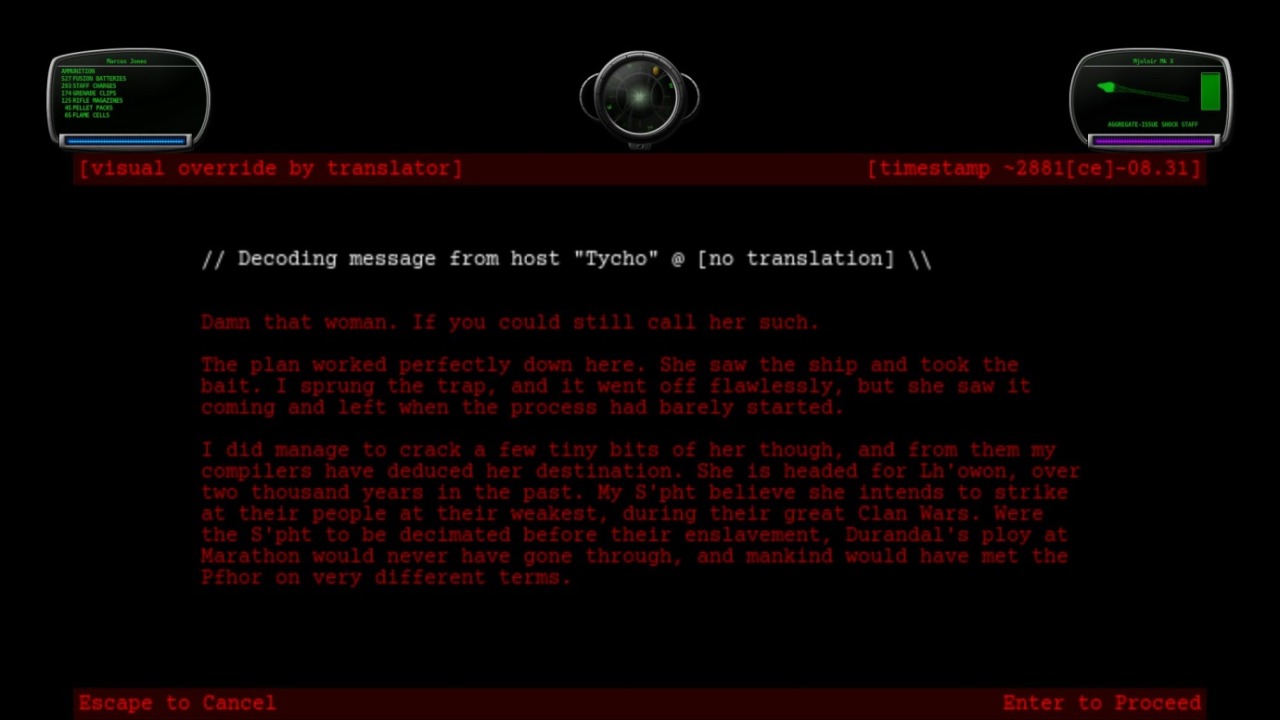
Last time on Tour of Duty (before this episode & the main one in Chapter 2), we finally found Leela and spent a fun level platforming on rooftops before finding out from Hathor that she used Tycho’s clone to get here.
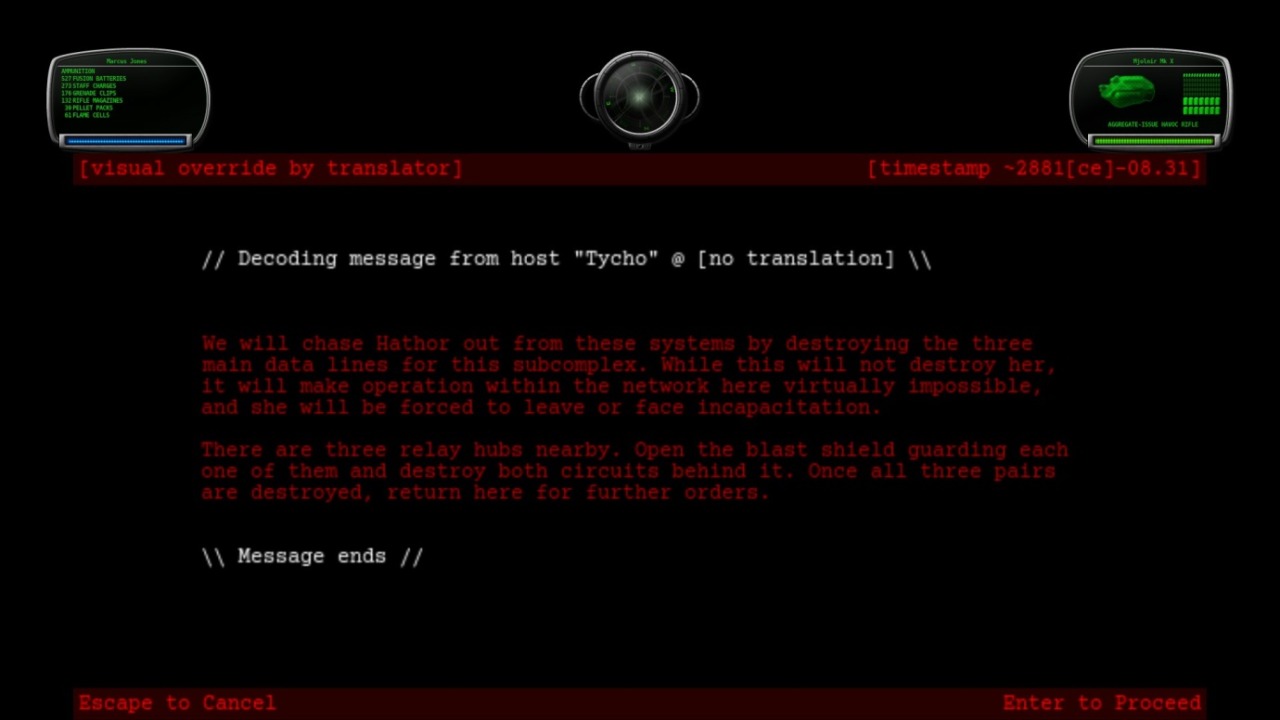
Now I join the original Tycho, who appears to have suppressed his pfhor built clone who infected him, on stopping Hathor before I rejoin Leela.
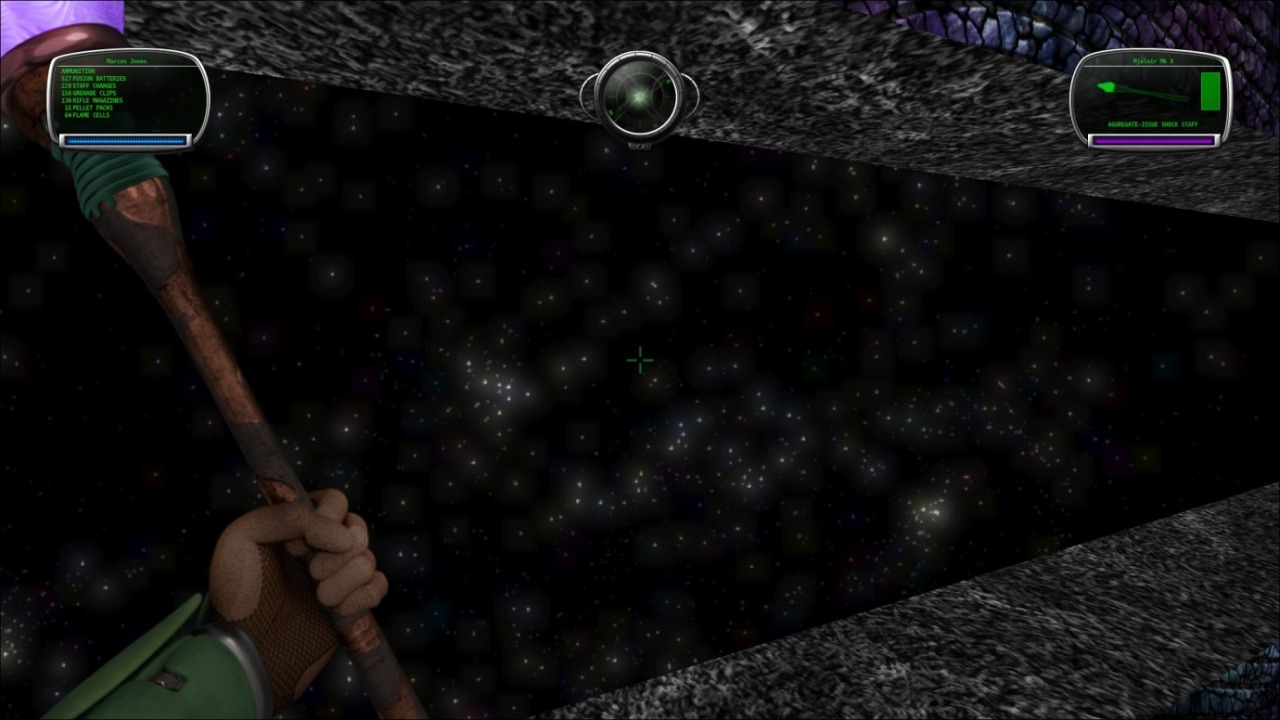
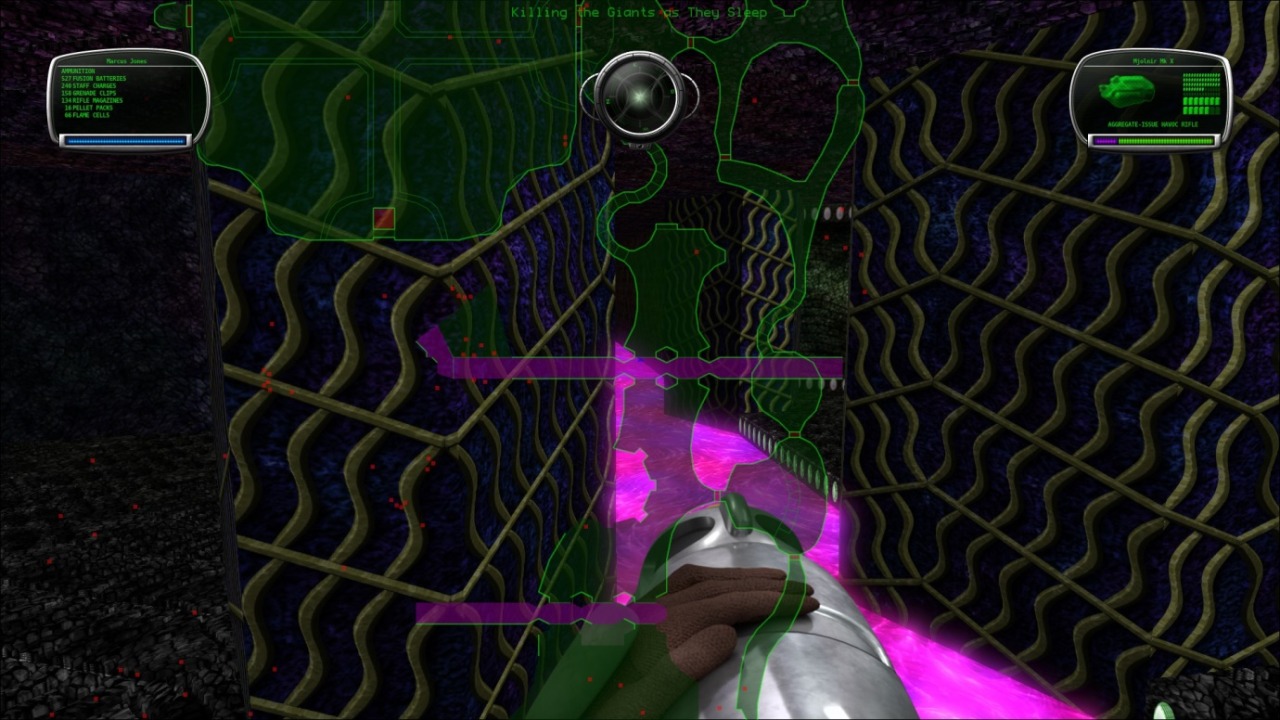
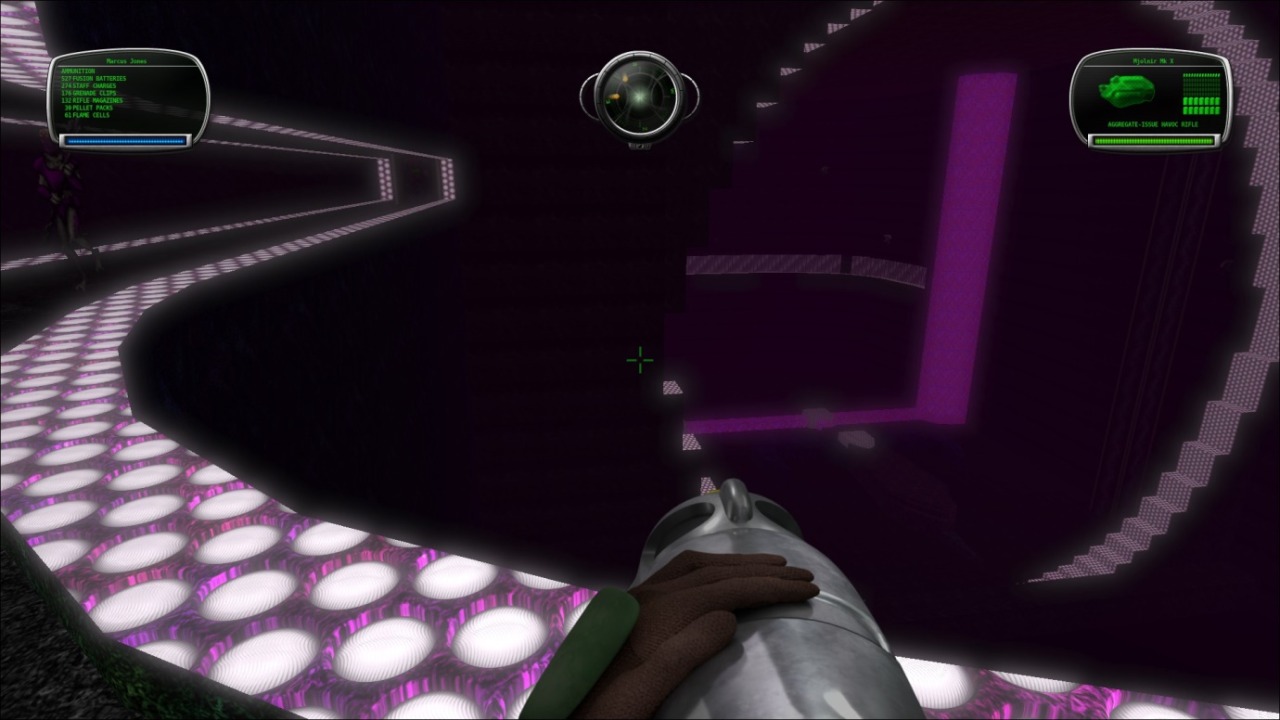
I start in a large 4 way umbilical with drones firing on my from all sides. Ducking through the north blast doors didn’t help as there were pfhor in there, including enforcers.
Is that the original skybox from Marathon 1? It looks like it. Anyway, there’s a purple shield charger and oxygen charger in here as well as a pattern buffer. This map used to be called “May the Pharce be with you”. See, another mis-spelled level name. Unless the “farce” pun was intended it should be “May the Pfhorce be with you”.
I also read somewhere that the 1.2 version here now uses borrowed architecture from a now missing map from the original Eternal X called Forever my Greatest and Only Love. This was in Chapter 4’s success plank and involved draining liquid thundrillium either to prevent the Trih Xeem in that chapter from firing or fire it on our own terms, I can’t remember. It was pretty damn hard and mazelike but I vaguely recall it had some sweet architecture nonetheless so I was OK with it. I kind of miss it.
EDIT ON ORIGINAL LOG POST: I recently checked the pWAD for the original Eternal X and actually, Forever my Greatest and Only Love was on the Chapter 3 success plank: it was replaced in Eternal X Omega 1.1 with Third Rock From Lh’owon.
Back in the crossroads, the elevator to the south leads to a locked door and the other two junction doors are locked so I can only go through the side door near the patten buffer. An enforcer and trooper wait behind the door and there’s more pfhor hiding around the corners and behind blue pillars with green web patterns and purple grooves. There’s also a button by the door I came in, but I don’t know what it does. A narrow door nearby leads to a small ledge with fighters on it, the door on the ledge they are standing on leads back to the umbilical.
To the east is a winding corridor that eventually leads downstairs to a similar hall. Before I go there, I check out a narrow stairwell that looks an alien oesophagus.
Over the lips, through the gums, look out stomach, here I come! To give you indigestion. At the bottom is a pattern buffer in that same other hall from before. An enforcer I snuck behind earlier is on the other side of a thundrillium steam bisecting this area.
Unlike past versions (I think) the coolant now flows, from west to east. A vital teleporter is down the canal near an engine room. There’s a similar canal where the liquid crystal flows back in to the south. After dealing with a pair of enforcers on a high ledge past the south canal, I climb back up the oesophagus to heal & recharge before following the north canal.
Why are there windows looking outside in this thundrillium vent? Do the pfhor ride dinghy rafts down those things like a cross between a metro system and a lazy river? Space Pirates of the Carribean? Turns out the way I needed to go was down the other canal but this loop means I can showcase the windows at any rate. There’s another, narrower window at the end of the other canal, which leads past the teleporter I need but also a side vent coming from the reactor alongside the canal itself:
Took it at the wrong time but yeah, here’s the reactor drain. Once I deal with those guys, there’s 2X shields and a save terminal. A door automatically opens and it leads back to the umbilical crossroads.
The teleporter in the cooling vent leads to some dark, twisty hallways upstairs. Enforcers with plasma flamethrowers stand guard on ledges here. South of me are some locked doors and a hole back to the cooling vent, just above the teleporter. A very narrow passage next to it leads to a junction, past a green stairwell I never saw here before. One lift goes down to a large arena with a teleporter in the middle, presumably a cargo bay.
I don’t survive this fight so I make sure to go back and recharge and save before trying the hold again. Once I clear it out, I find the teleporter has been linked back to the hallway. I save and go to the other lift, this time going up.
Oh great. It’s the hive. I really fucking hate this part; it’s cramped, there’s awkward ledges everywhere, tough pfhor that you have to kill and it’s easy to get stuck trying to exit. Thank god I am able to use the door trick to deal with the first lot of pfhor. I find it odd that the sleeping bunks are all octagonal or hexagonal alcoves. Maybe the Pfhor sleep standing up like certain birds when they roost? (I say certain birds as I’ve seen ducks sleep before and they sleep sitting down)
Following the hallway north again, I find a door back into the terminal area. A quick refresh of shields and saving later, I follow the mysterious green stairwell up to a brand new area with a 1x shield charger.
Now this is the section of the map taken from Forever My Greatest and Only Love.
Hey, where do these stairs go? They go up. They also weren’t there before in older Eternal versions and the door was locked.
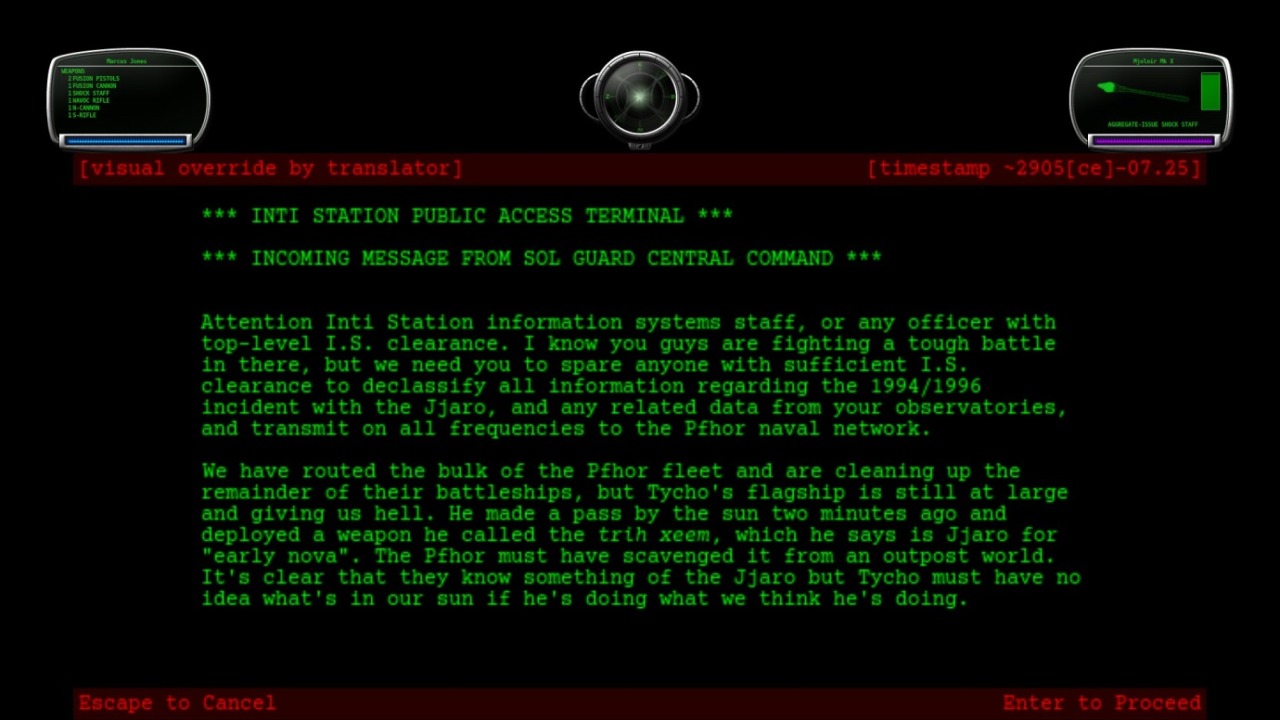
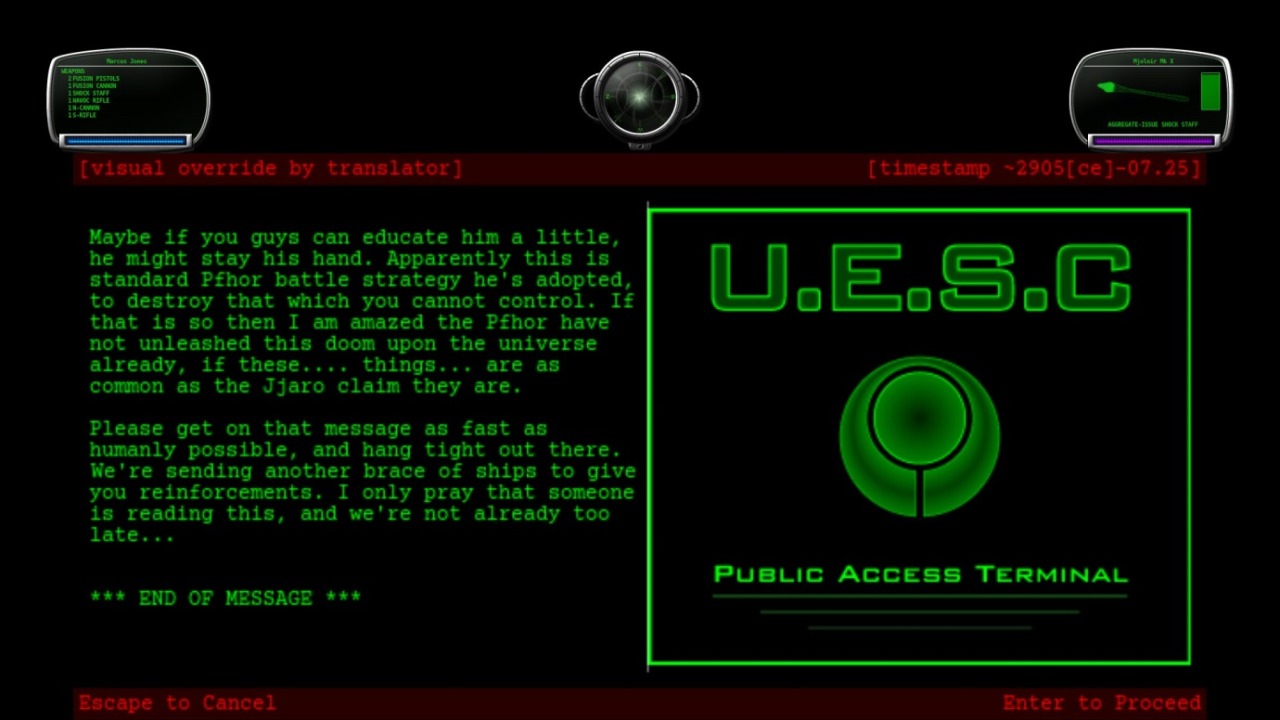
One thing I remember about this map other than the Trih Xeem battery and the Hathor terminal is that it’s another bugger bike: they like to rest on little benches and attack if you get too close. I check out the old start terminal from the original map.
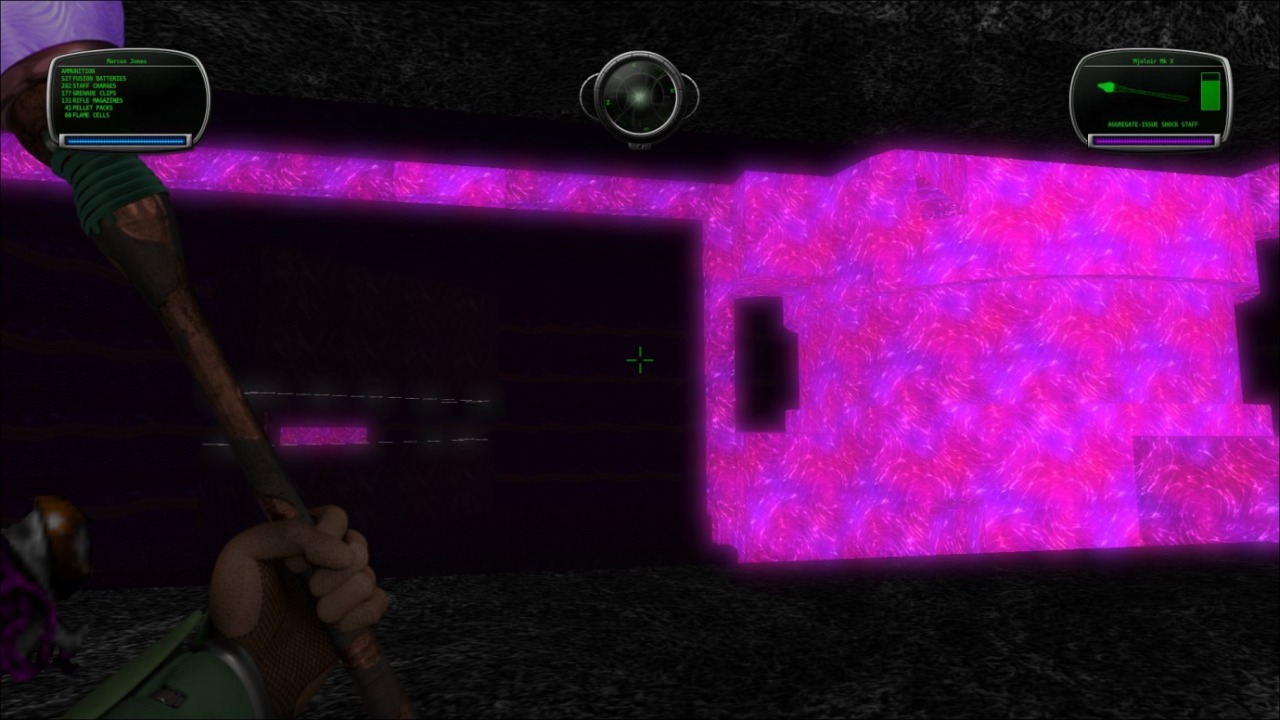
Most of the corridors are a maze of buttons and pattern buffers. Almost every other terminal I find has the exact same message as above, I’ll spare you the journey. Several agonising fights in tight passageways against wasps, enforcers and more later, I find the second most recognisable part of the original map, the liquid thundrillium plasma battery.
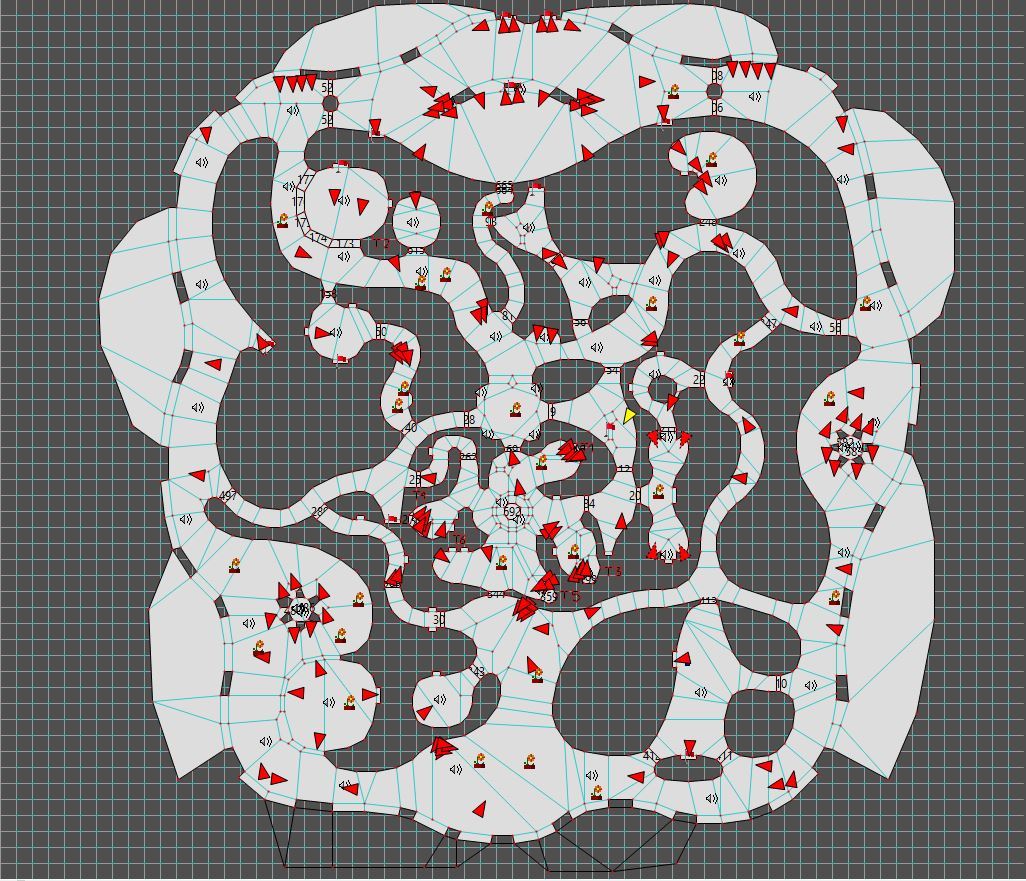
The idea in the original Eternal X map was to hit all the switches in here to drain it and prevent the Trih Xeem from firing. Or fire it prematurely, I don’t know. I could already guess but checking the automap reveals this is directly above the reactor drain from before in the centre of the map. Flicking the little switches in here drains the side canals on this level, draining the main core in the middle once all are pressed. Normally you need to go a long roundabout way just to reach the other switches as a simple hurdle is in the way…and that’s just what I’ll do. I’m not jumping over them this time; it’s been years since I played the original map.
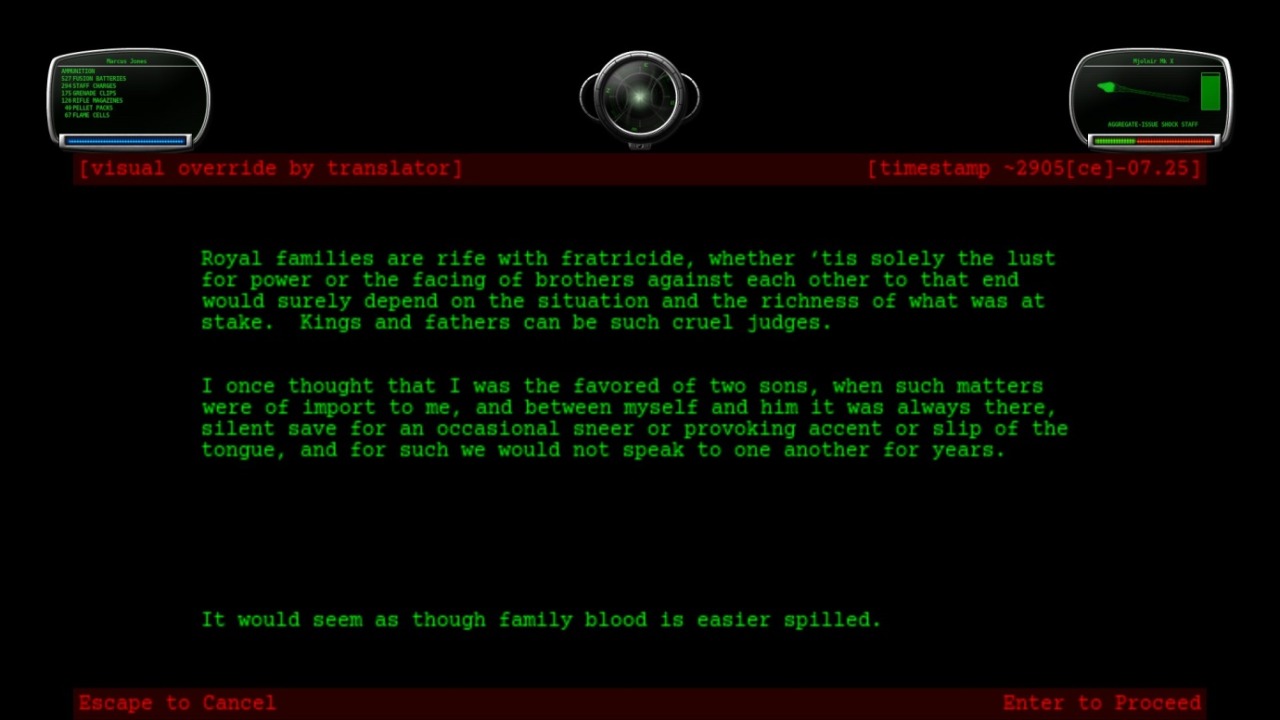
Through a north blast door I find the Hathor terminal room, which is presumably the ship’s bridge.
I don’t know if she still speaks to me here after I drain the thundrillium. The pattern buffer is still there. A couple of wasp fights later I pass by a thundrillium fountain on the other side of the bridge’s first east blast door.
Passing to the south corridors, I find a second fountain and the last switch for the plasma battery. Draining the canal unlocks the second switch next to it and using that drains the thundrillium in the core. Then, just for fun as I couldn’t do this in the original, I jump down the shaft to see if it takes me back to the reactor drain downstairs.
Sadly it doesn’t; all I find is the flooded bottom of the shaft unconnected to the room below with a hall of mirrors effect on the floor where the plasma fall was. I used to think Aleph One just had a black void outside unlike other 2.5D engines (and some full 3D ones as well like Quake, PC builds of the Tomb Engine and Goldsource) but that must just be something Vasara does so you don’t get a headache when texturing maps.
Upon death, I must have entered the Twilight Spar…I mean Twilight Zone. Draining the battery also drains the fountains, but they seem to blink their liquid in and out every couple of seconds. The old Hathor terminal on the bridge doesn’t change anymore so I head back downstairs to Tycho. Honesty I have to say that while this level takes longer to beat now, it’s definitely an improvement over 1.1 as it brings back one of my favourite levels from 1.0 that was cut.
Superior intellect? Uh, Tycho, buddy are you OK? Leela normally means well so she must realise something I don’t yet. Well, time to go planet side again.
Act 2: Pissing on the Corporation
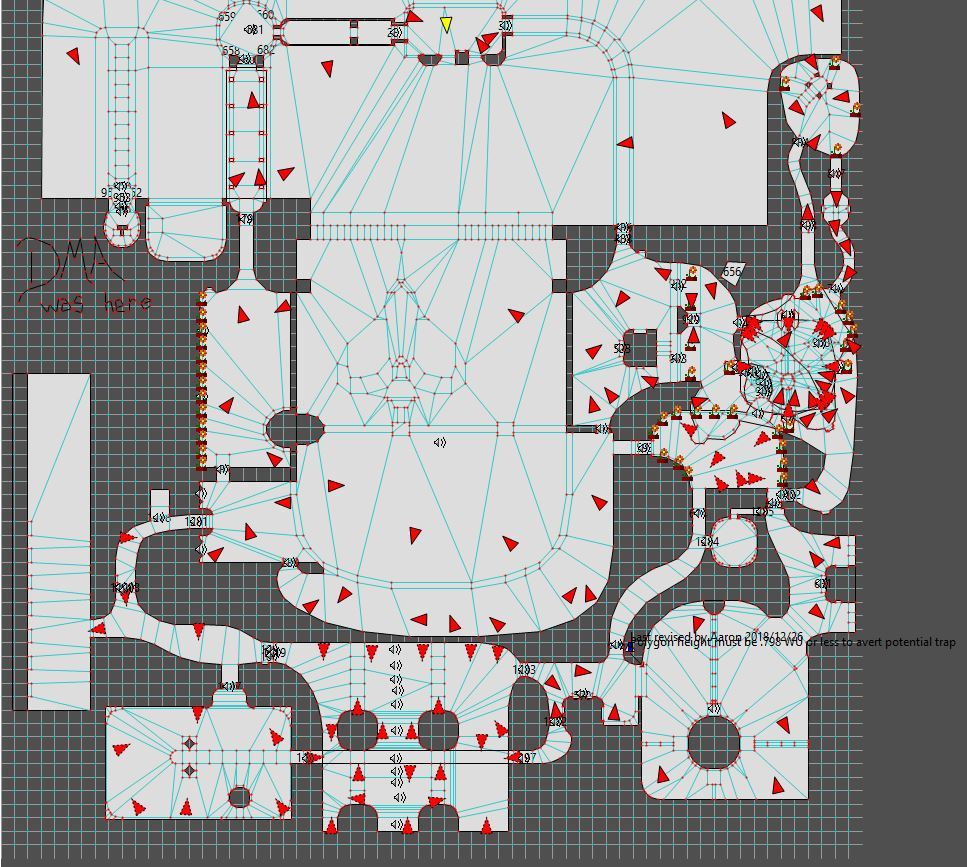
DMA was here. Last revised by Aaron 26.12.2018. Polygon height must be 0.768 units or less to avert potential trap. And there’s an arrow pointing from those last two to sector 419.
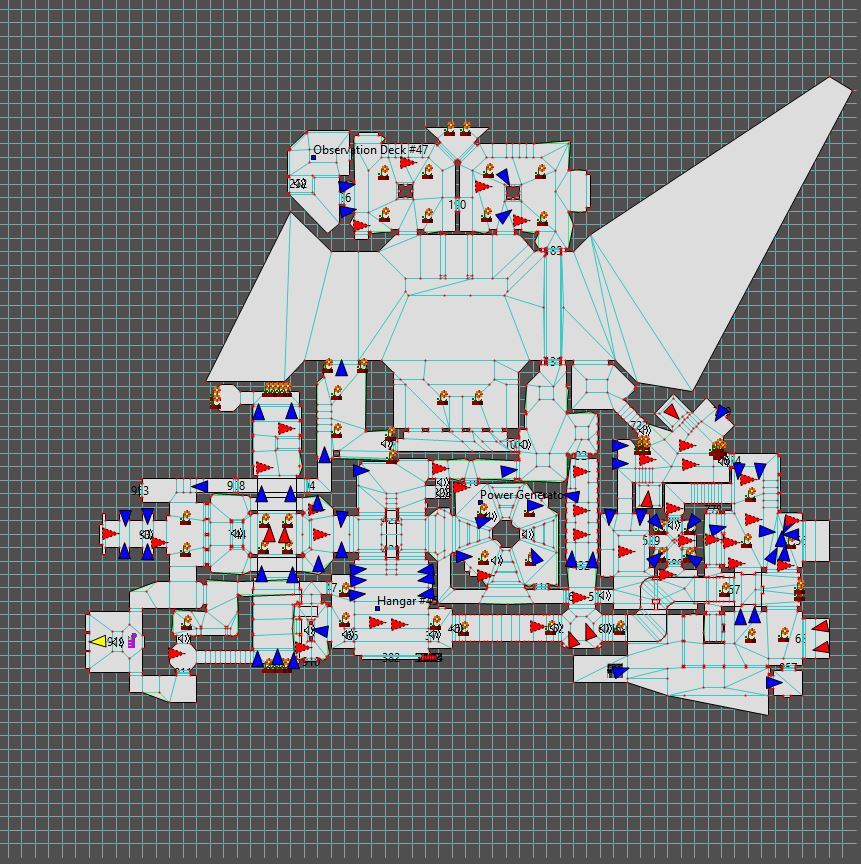
This is a large hanger with umbilicals leading from this control tower. This same map is visited on the success plank too but we visit differing paths on each one. On this one, we follow the long, curving umbilical to the east relay and deal with two others in the east quadrant. In the success plank, the door at the end of this walkway is locked so we follow the nearby elevator instead. That time we visit the west quadrant.
Notice that there’s a ship cleverly positioned in the hanger, which you can only see on the automap: it’s cleverly rendered in polygons and the room is dark enough that you can’t see them, which would give away the illusion. Perhaps a 3D model of a ship could be another map enhancement script addition idea?
Oh hang on: Either I simply didn’t notice it in other versions of Eternal or the lighting is improved so that you can see the ship now. Either way, it’s fine. The relay cable trunking is represented by pfhor slime textures, with both versions of the map representing their and similar machines current with chase lights. What I hate about this map is that health or shield terminals are few and far between, making it a long slog with downed shields.
Thankfully there’s a new 2x shield terminal in the first relay room, making it that much better. The corridor above the hanger has gorgeous new glass and flickering lights in the window, which I admire. I kill a commander hunter in the room by the non-working west quadrant lift and find a second shield charger next to what I assume must be a fuel pump.
Past that and through an “underground” passage is the impressive glass elevator to the control tower. The hall of mirrors glitch in the shaft wall below the tower door from 1.1 is fixed.
In the east quadrant, I find the second relay by a window overlooking a large purple machine with visible current flowing through the cables.
Unlike previous builds, the machine now pulses with energy and the middle segment moves as if there is actually pfhor slime in there. Maybe the thundrillium is being used as a superconductor? Northeast of the machine is a star shaped pool with small platforms going up to switches. It’s a drone and fighter ambush; be on your guard.
The switches also trigger their platforms only once so run to the trigger one as it lowers. The north one leads to a little longue with hunters and enforcers in it. The switch platform is triggered by standing on a purple oval and the switch door leads past a small green antechamber and purple stairs to a lift crowded with enforcers and fighters. Losing your shields here makes it very easy for them to kill you as there is no cover and they can get you as you come down the lift.
The grey lift past them leads to the maintenance duct behind the first relay, which makes a great shortcut to the shield term for players with working knees. There’s a teleporter near the lift too, reached by jumping from some partial spiral stairs. It goes to a secret vista overlooking the glass elevator shaft. The window has no glass so the drones outside can fly in here.
South of the teleporter is a lift that leads back to the blue junction near the star, now with the adjacent door open as well with the third relay behind it. This also looks into the machine room. Recharging, I return to the control tower and speak with Tycho.
Oh crap. Dammit Tycho, your clones have tricked you, both the one that infected you and this second one: giving some of your acquired routines to your rampant clones is a terrible idea! I don’t think this is going to end well.
Act 3: The Living Receiver
As I thought, I am back on Inti Station again. The glow of sol still radiates in the window.
WHAT?! I thought it was still underground! I think I know what they are talking about. THIS must be the permanent measures the Jjaro took when they came to Earth all those years ago.
This is similar to before but I realise it’s worse than I thought. Nevermind that I was right about Tycho foolishly trusting his Pfhor clones. I wonder what would have happened if I spoke to Leela first?
Now the pfhor are attacking the station. Unlike previous versions of Eternal, the route taken is different, and they provide you with a purple shield battery if you don’t have full health and shields already.
Further on, I actually open the sun shields by the airlock, only to realise too late that that was a terrible mistake: they aren’t sun shields anymore: they are supposed to be hanger doors. My only hints were the Bob who came in through the airlock started spazzing out pain and the map suddenly became a vacuum level. That’s clever programming. Is it the invisible oxygen tick method from the Redux alpha or the script that was planned for future builds of Redux? Thinking fast, I run and close the hanger doors, but those bloody defence drones wedge open the right one.
It doesn’t help that the elevator to the hanger door levers takes its sweet ass time to move.
Making my way back to Durandal, I consult him and Thoth for some advice on what went wrong.
Gee, thanks.
That’s his rampant clone’s blood, not the original Tycho’s! He was tainted by his clones and subtly manipulated to serve them and the pfhor, with the clones leading the charge! I thought you were supposed to be omnipotent now. What the hell, Durandal?
Sure, whatever. That clears it all up doesn’t it? Why can’t the original be safe guarded against his clones and come with me and Leela then?
A callback to What About Bob in Marathon 2 just to hammer it home. He is right that I must stick with Leela. Tycho should still be protected against his rampant clone versions however and brought with us, but there is nothing I can do on that front; I’m not given any options to. And with that, I warp back to the Pfhor outpost in Unpfhorseen again.
Be sure to check out the main Tour of Duty version of this stage as well as Chapter 2 Stage 3 after it: http://forums.bungie.org/story/?read=72930
http://forums.bungie.org/story/?read=72944
Stay tuned for Lost Episode 2!
| ||
|
Problems? Suggestions? Comments? Email maintainer@bungie.org Marathon's Story Forum is maintained with WebBBS 5.12. |