/-/S'pht-Translator-Active/-/
|
|
/-/S'pht-Translator-Active/-/ |
| Let's Play Halo SPV3: SPV3.3 Comparison Episode 3 | ||
| Posted By: Lion O Cyborg | Date: 10/18/21 6:56 a.m. | |
|
Part 3: Citadel & Reprisal Stage 5: Assault on the Control Room - Pyramid Cave
So this is Halo’s Control Centre, I see. First, I must head straight to the silver pyramid or shrine as Cortana calls it! For the moment, there’s not too much that’s changed. As in SPV3.1, I skyjack the banshee on the bridge and exploit the mapping glitch to let me see all the terminals more easily.
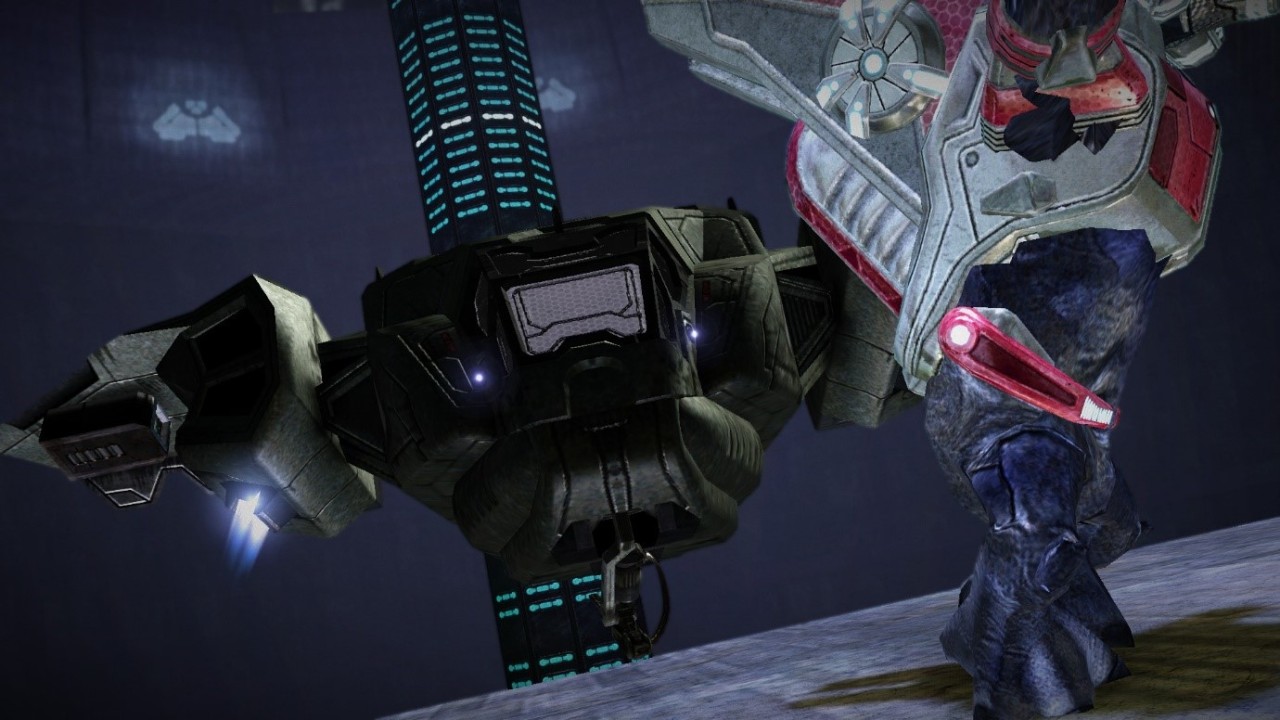
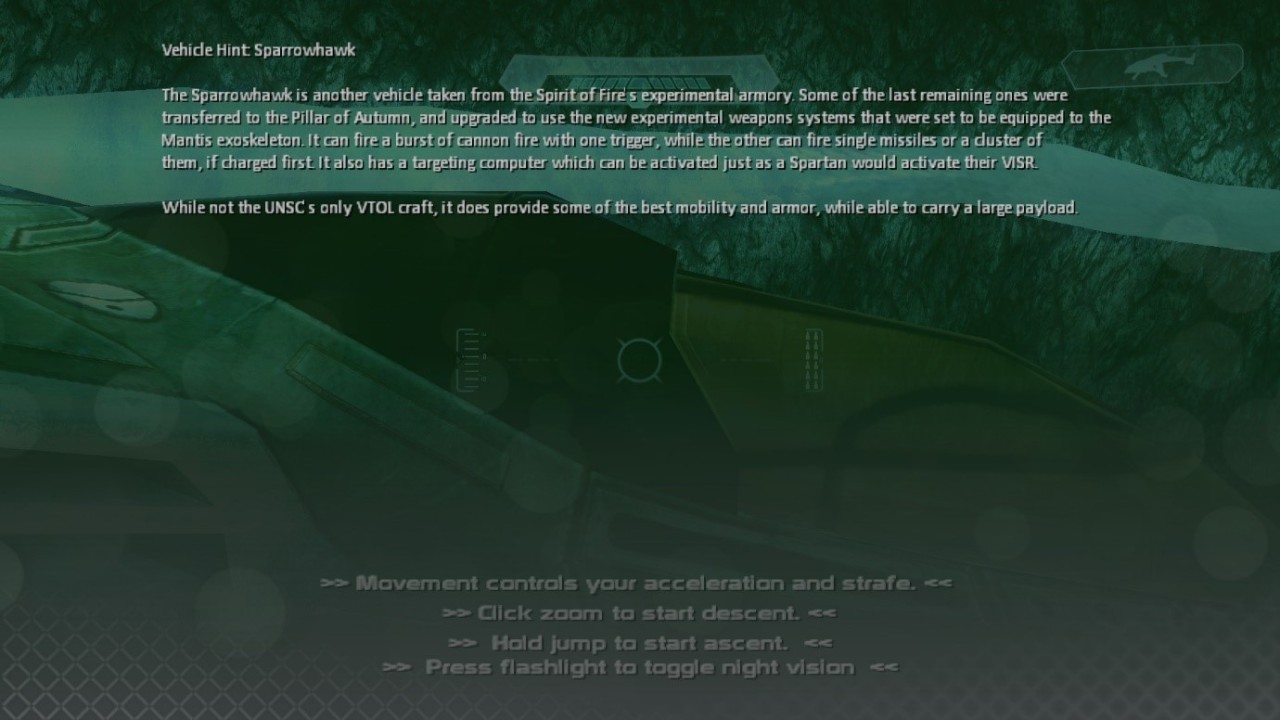
Sgt Forge is a major character in Halo Wars but as before since I never beat Halo Wars and don’t remember much of it, I don’t know anything about him. As you know, the grizzly tanks and sparrowhawk gunships are from that game too.
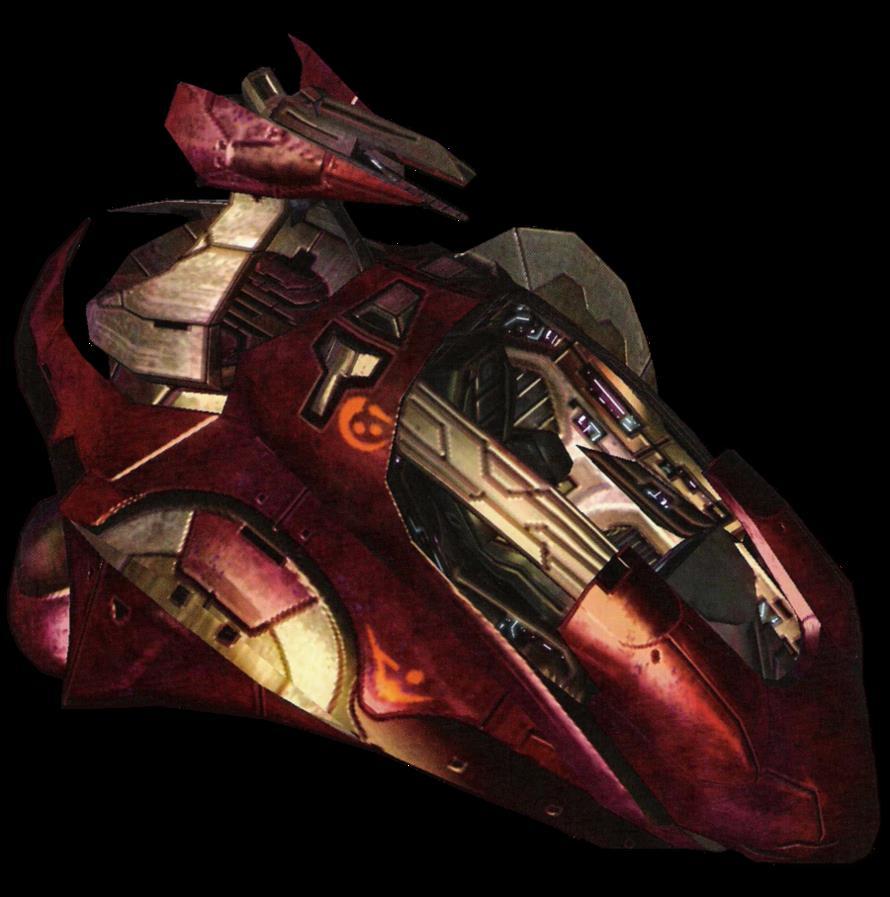
I haven’t tested if plasma grenades affect all vehicles but charged plasma pistol shots only affect covenant vehicles in this game. In Halo 3 onward, they affect all of them. As discussed, the Shadow was retconned in Halo 2 to be a covenant army truck which we never get to drive, the Halo 3 AA Wraith of Halo 2.
The Halo 1 version of the Shadow was made canon in Halo 2 as well but it’s called the spectre now, which is why I call the SPV3 shadows that for consistency.
Speaking of consistency, besides the normal wraith in the area with the tunnel, the Anti-Aircraft Wraith the phantom airdrops in is now the first proper one instead of an SPV3.2 Anti-Personal Wraith, returned from SPV3.1 at last! Yay!
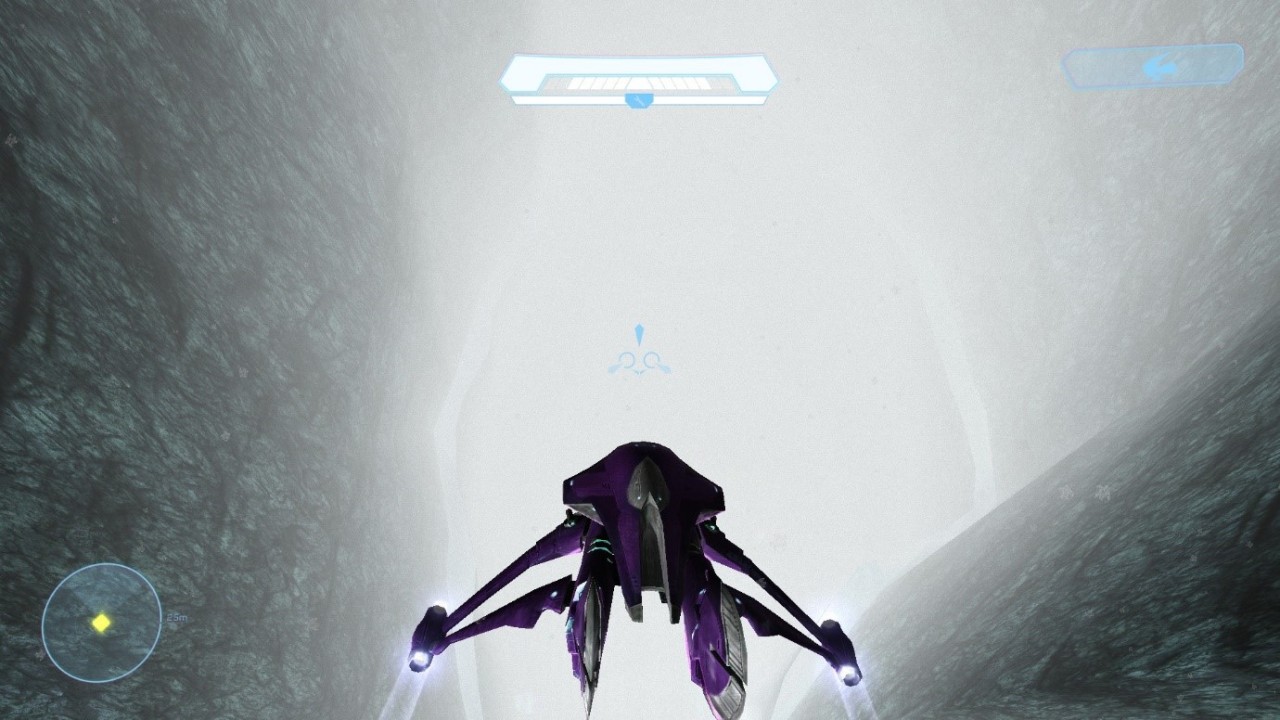
Like the fuel rod shades in Two Betrayals, it’s now colored green instead of its actual colors (like the AP Wraith uses). Don’t bother trying to hijack this one and just destroy it. We have another chance to drive them in this level later. Before going in the tunnel, I hide in there to deal with the hunters and get a better shot at the spectre that’s chasing me only to notice when I come out that the banshees that ambush me got confused when I drove out of range and are now circling like sharks.
It looks like they’re trying to blow smoke signal rings to me with their wing exhaust trails. Inside the tunnel and cavern, nothing is different. Pyramid Cave - Bob’s Big Date So far the only main things of consequence that are different is the shades over the frozen pond grotto where you leave the tank are now fuel rod shades, which you may remember from Two Betrayals in the main tour, and their main games counterparts in Halo Reach. Other than that, the battle in the area below the bridges seems easier than before but I still seem to die a few times. It’s in the bridges area up top and the surrounding patrol rooms that the new version of the piercer really comes into its own in SPV3.3 as I discovered on my own in my test run. This is where I learned about the properties it has that I told you about in part 1. Use it if your battle rifle runs out of ammo, which it might well do. Remember: picking up a new gun (and filling its ammo up if you can, just in case) will stop it from despawning when the engine clears the previous rooms. Pyramid Cave – The Hard Stuff Rules In this stage’s titular cavern with the dam, there is a major change in that two AA Wraiths replace the AP ones alongside the second regular wraith in the light bridge junction! In my test run, I hijacked the first wraith, used it to destroy the second one and a single AA wraith, and then hijacked the remaining AA wraith. However, I didn’t notice there’s an unmanned AA wraith down a grotto near the crashed pelican so I bring it out into the open and use the grizzly to destroy the enemy tanks before taking my fresh AA wraith across.
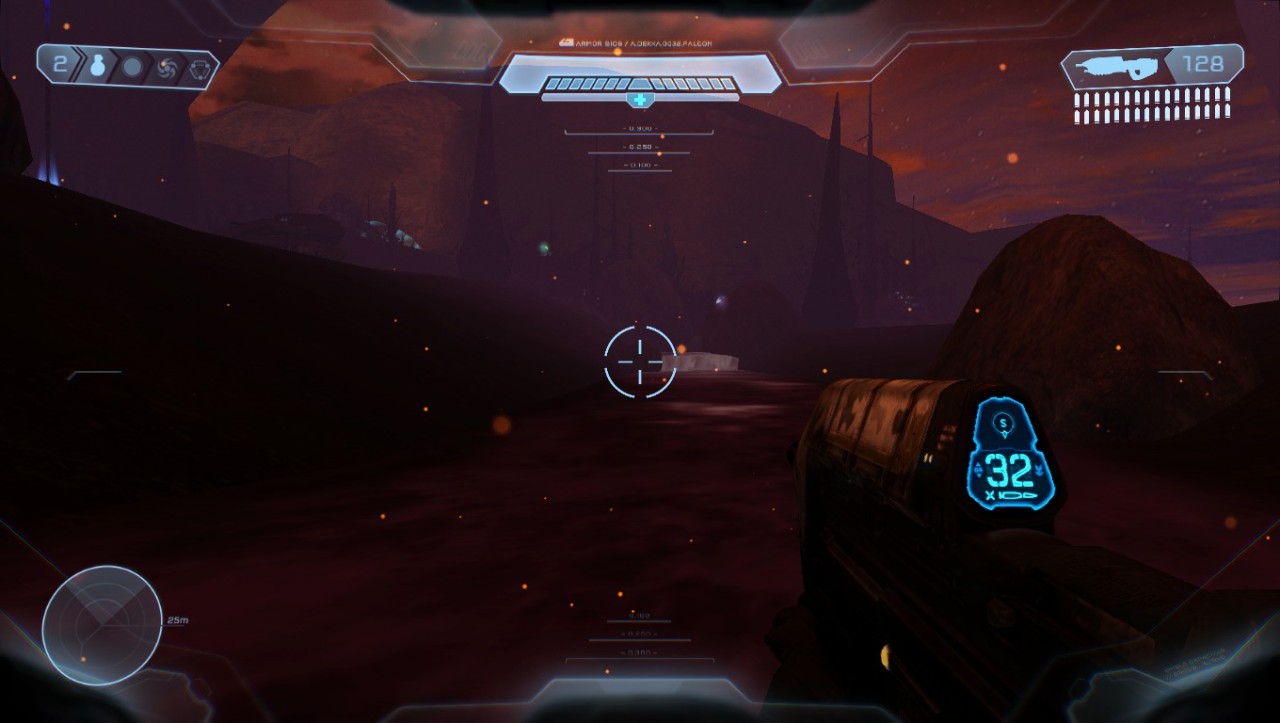
Unlike its SPV3.1 counterpart/the ones from Halo 3, the SPV3.3 AA Wraith fires its fuel rods in a trajectory instead of straight as well as having large spread so it makes bombing targets at range tricky. The AA Wraith by the exit tunnel is still an AP Wraith like in SPV3.2.
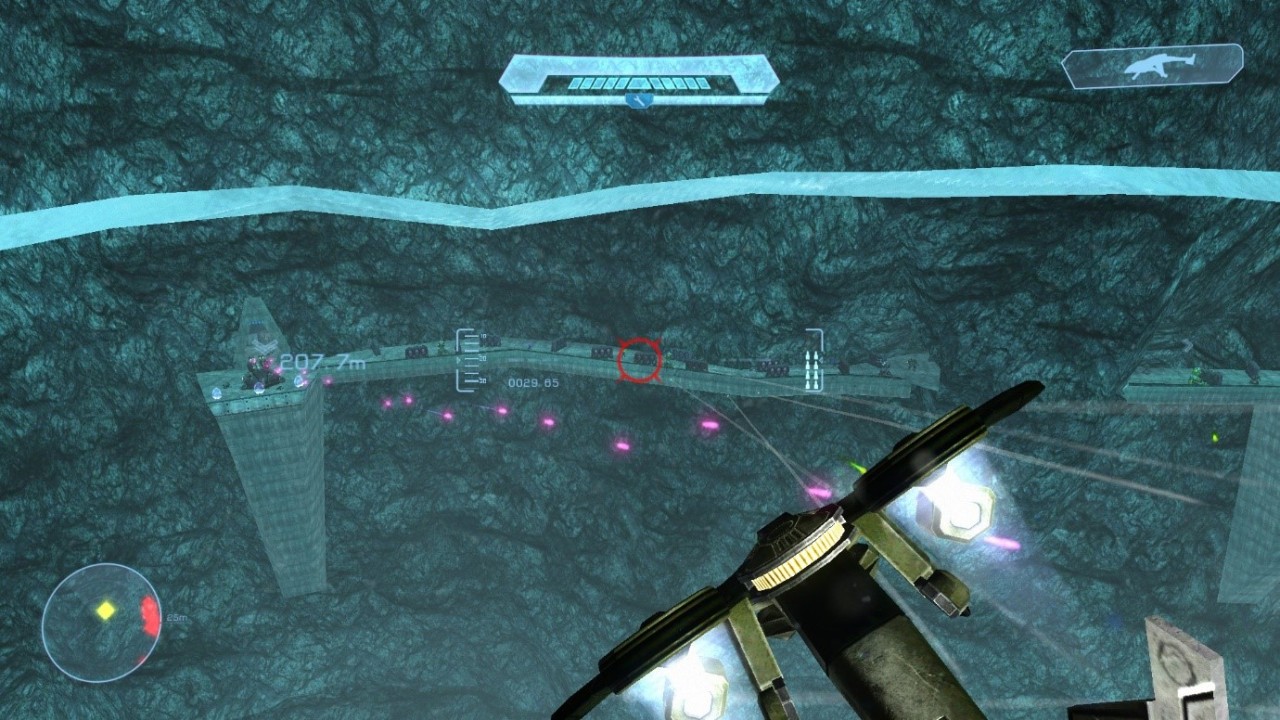
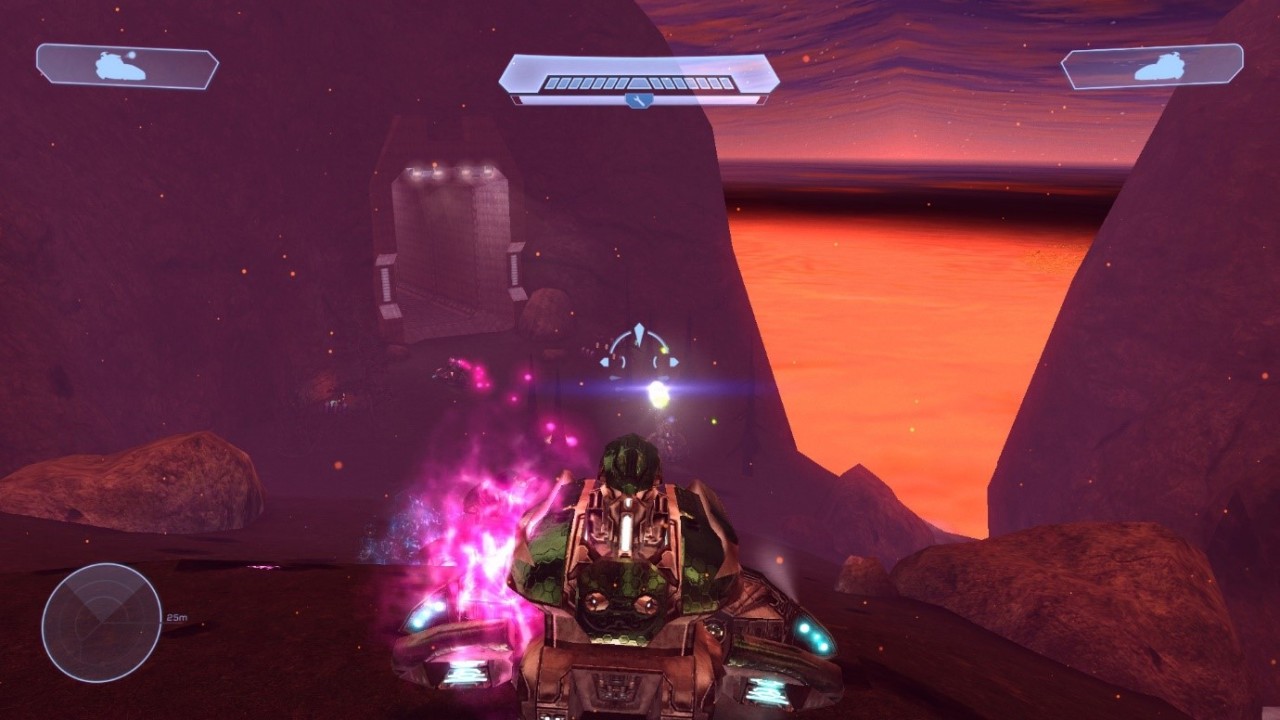
Good AA Wraith vs Shit AA Wraith. Guess who won? In the canyon fjord below the control room, you need to systemically bomb the jackals and hunter on the right behind the bridge as well as the two spectres, ghosts & other hunter in that general order so as many of the marines survive, especially the ones with rocket launchers. If they don’t or the AA Wraith’s health goes into the yellow, reload and try again. It takes several tries and the jackals love to use charged shots on you. Reload if you get hit with this EMP because it makes you a sitting duck and you can’t recover fast enough.
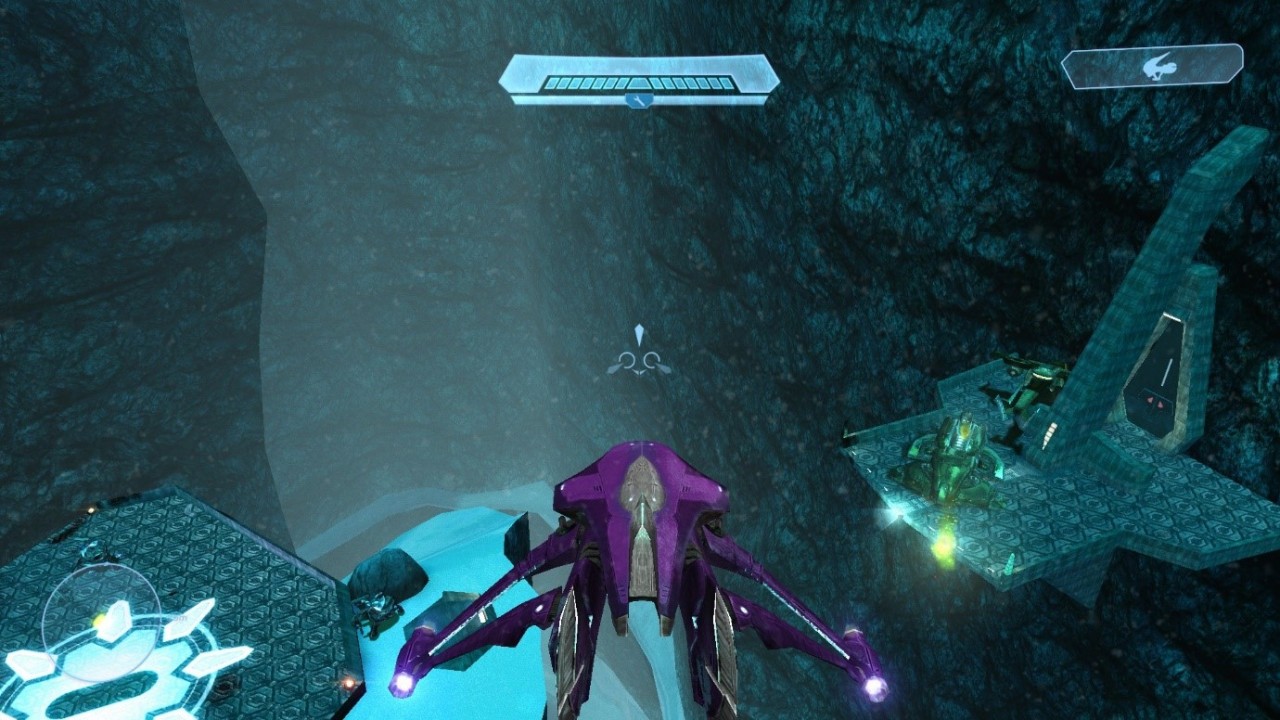
Both the wraiths on the upper slopes are now AA wraiths, so be careful. The waterfall at the top by the control room’s silver pyramid looks subtly better too, though it’s hard to tell. I mainly just notice the reflections in the pond ice.
Up in the control room, it’s the same as before but with Cortana’s Halo 2 like model looking good. Like her default SPV3 look, her “thong” pulsates hot pink instead of her flashing the Marathon AI colors (mostly green) as in the original. I think her CE model does do this in this game but I can’t remember if her SPV2 model (from my test run) does as well. Just for shits and giggles, rediscover our memory on the legacy of the Forerunners, the previous holders of the Mantle.
Forerunner Halo Installation 00: ARK. But few are aware (so far) that many fearful weapons have been created by the central forge there. And this is one of them…One of 7 ringworlds containing a weapon that pierces stars. The Halo Array.
“You wouldn’t believe this ring, the technology, the data…” However, it is currently sealed. In order to activate it, enormous energy and a very specific encryption key for each ring is required. Gather the seven indexes, one for each ring or travel to the ARK’s Citadel control room to fully awaken this ultimate weapon, and you’ll have the power to even wipe out all sentient life in the galaxy. And then you can have it all. The whole galaxy…at your disposal! Our look at Halo’s systems is cut off as Cortana tells us we have to go straight to the Flood lab site.
Stage 6: 343 Guilty Spark – Lost Colony
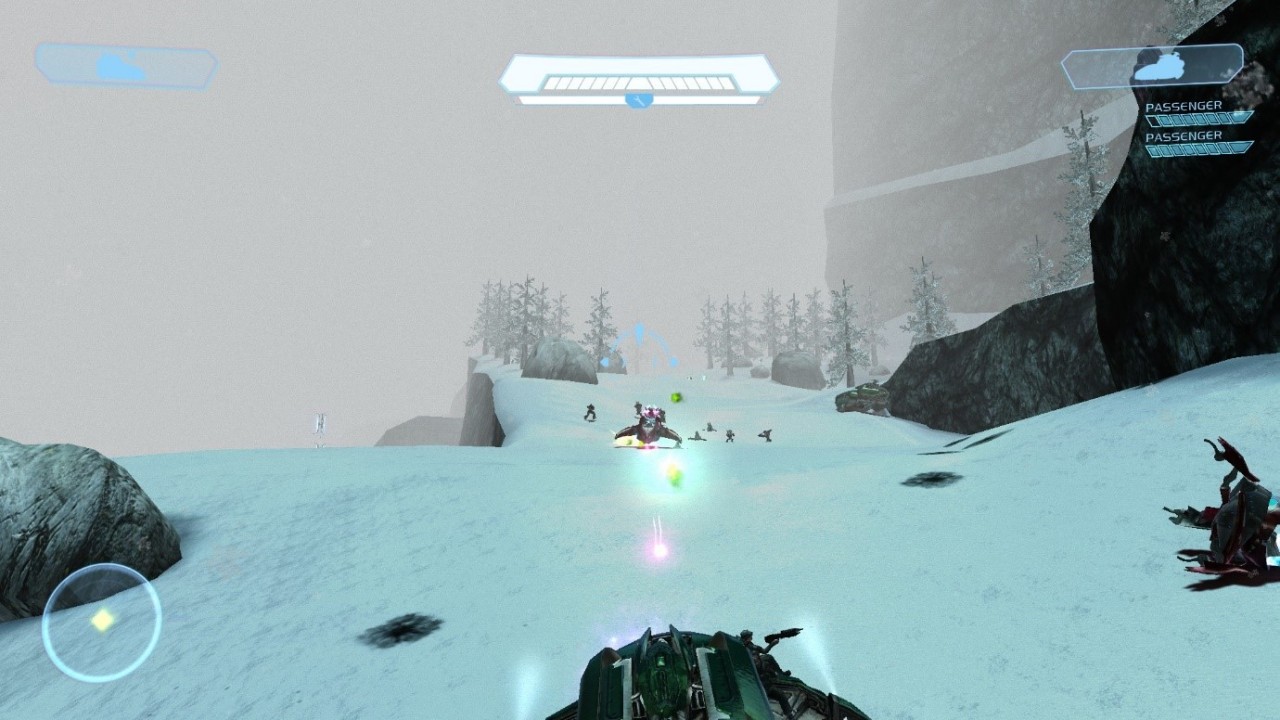
Lost Colony – Death Chamber Unlike all previous versions and the vanilla game, the covenant in the level intro cutscene don’t despawn when they run out of sight, so you now have to fight them when you get out of the pelican. I can guess why they did it, but it kind of spoils the tension and wastes your ammo.
This only became clear in my test run during None Left Behind but SPV3.3 has transparency errors on some of its foliage in that level and this one. I don’t know how to fix it and others whose videos I saw of SPV3.3 don’t seem to have this problem.
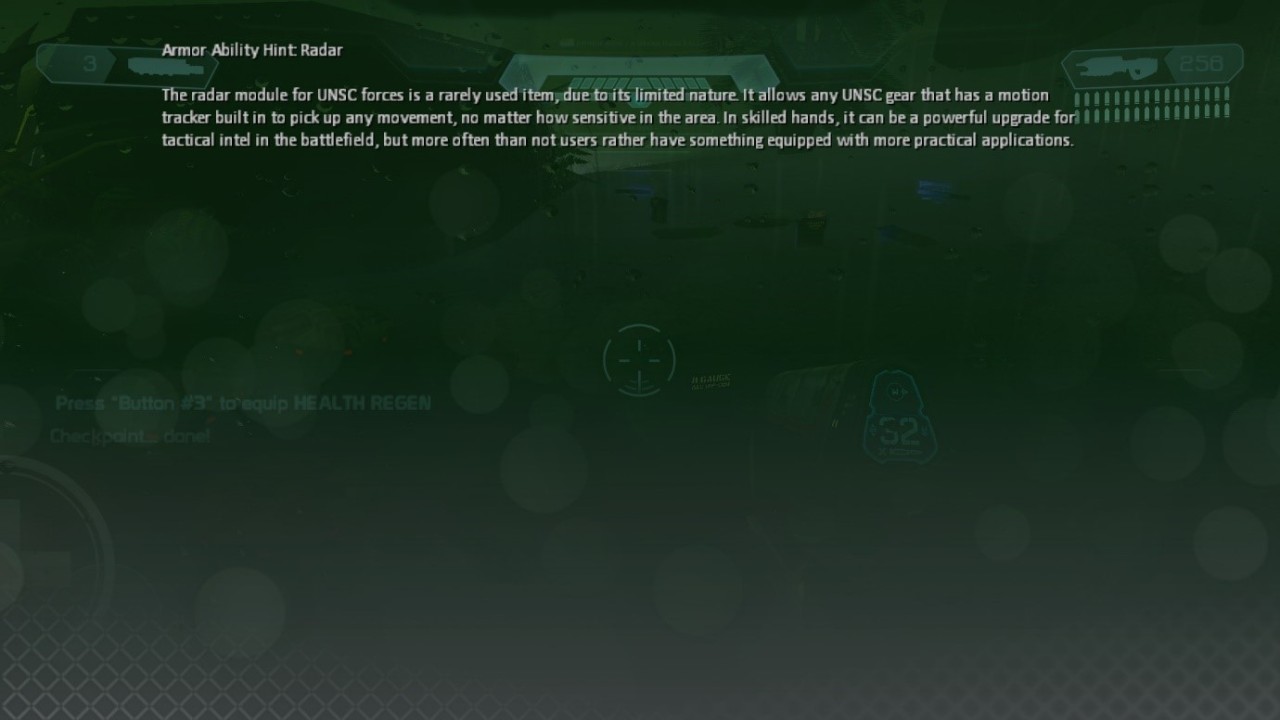
I have no idea what this thing does. I can only guess it makes enemies on the motion tracker show up regardless of whether they’re actually moving/firing or not, including moving slowly. I’ll need to try it out and see. I bet you ¥700 that they only included this armour ability as a reference to Alien, especially Alien Isolation. Up ahead, the fallen tree doesn’t look petrified like it does in older SPV3 versions so much as it does made of ice.
Wait, so after fiddling around with the graphics settings in the launcher and my GPU settings (none of which did anything) then simply loading the level from the level select menu after it bugged out (I accidently hit Alt+F4 during the intro cutscene and hitting continue just showed a green screen) the transparency on plant objects magically works now? I also learn through my fiddling that yes, the Radar armour ability makes people appear on the motion tracker no matter what so long as they’re in range, like the Halo 4 motion tracker. I am very pleased to report that the terminal messages from SPV3.1 were restored so there won’t be any Gordon Ramsey clips for this level like there were in the SPV3.2 version in the main Tour.
Like in SPV3.2, Mendoza’s first name in his terminal is still wrong. The bottom image is his correct name as seen in SPV3.1.
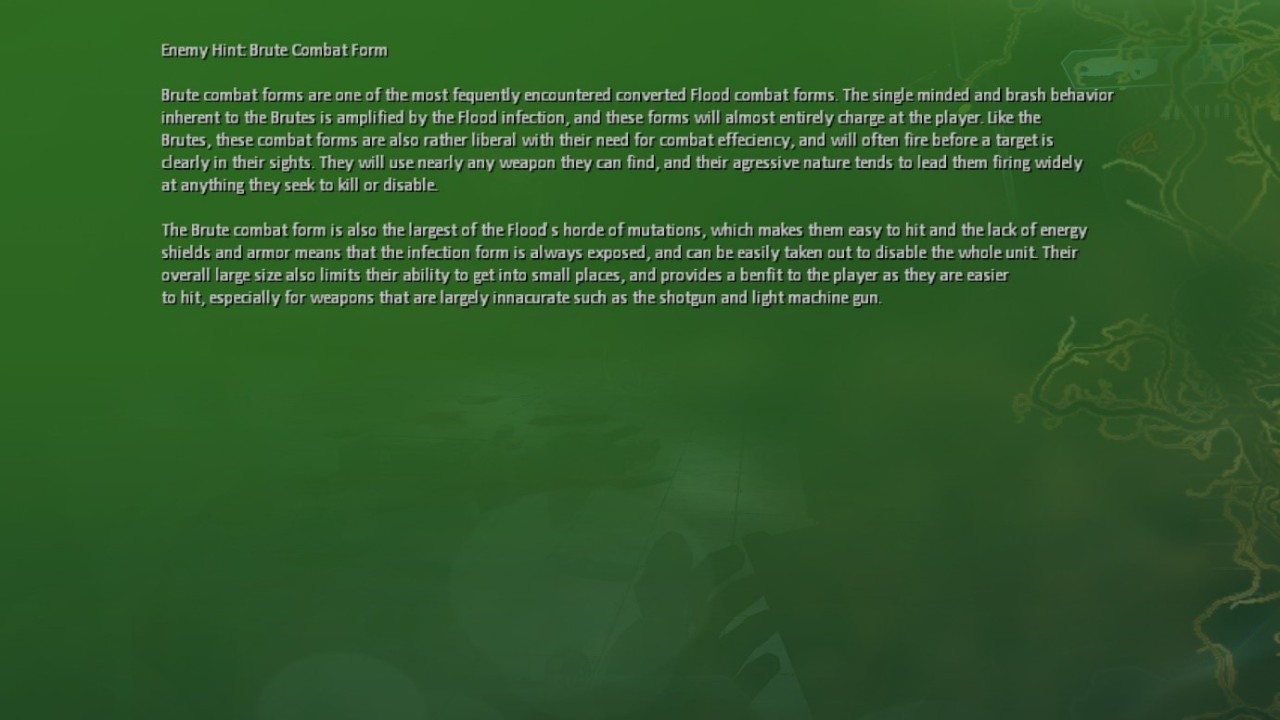
The Radar ability is hilarious at first in this level: outside it shows the combat forms you see skulking through the darkness even after they despawn, meaning you can stand right on top of where one was and it won’t be there. In here, it gives away the Flood waiting for us in the containment lab hive.
The Jenkins cutscene also no longer has its night vision filter though it still has a lot of visual glitches to show that his helmet video feed quality is poor.
Trick or treat! Lost Colony - God Will Sort the Dead… The Radar armour ability revealing the Flood’s positions in the hive is less funny when you’d be playing for the first time, seeing all those red dots just lingering there, ready to start moving without warning to attack you like a colony of wasps clinging to the wall of their hive.
Runners are what I called elite carrier forms in the main Tour. We also later see ones with armed plasma grenades starting in Keyes, which function like Pfhor fungal zombies crossed with simulacrums. Like SPV3.1 and the vanilla game, you are forced to drop down in the first glass tank room in order to return to the light bridge. Maybe they figured letting us through the top in SPV3.2 made it too easy?
This should be a clue that Johnson is augmented himself as he wields one. The first time in the main games we start doing this is Halo 3, only there it’s in third person and we are a lot slower. ODSTs can do it too in Halo 3: ODST but I think in that case it’s either a gameplay oversight or was deliberately left untouched because it was fun. The remaining wrong terminal messages are fixed too.
As I thought as a kid when I first played Halo 3: I now see why they’re called the Flood.
The hint for the regular carrier forms (grunt Flood) doesn’t seem to exist in SPV3.3 or it’s bugged and won’t trigger. A lot of hints in the game are like this according to the subreddit that archives pics of the terminal messages. Outside, the green lighting of the swamp is now in this particular area the default blue.
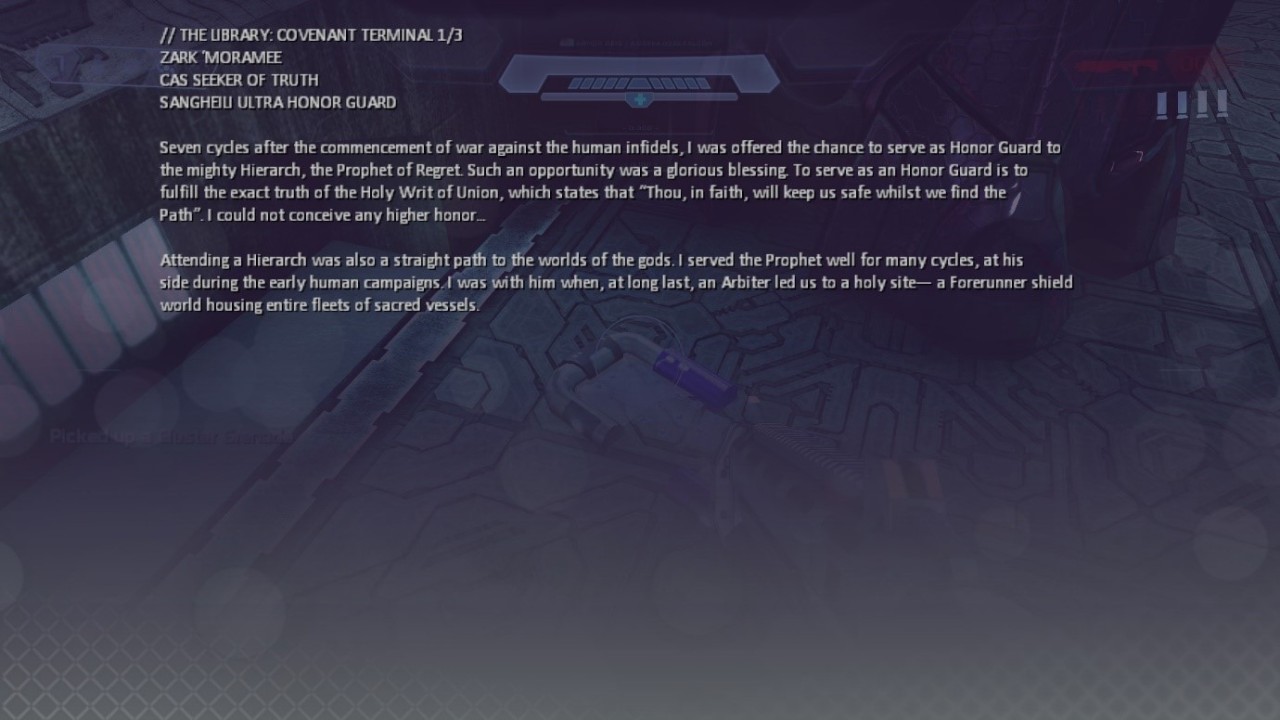
Stage 7: The Library – Mad Space Mad indeed because like older SPV3 versions and Halo 1 in general, this level is a bitch on Legendary, only unlike SPV3.1 we’re not plagued by framerate drops caused by poor optimisation. 343 Guilty Spark warns after I get the flamethrower that if the Flood escapes this Halo, it will consume all and spread throughout the galaxy, which is quickly followed by his vanilla line that says more or less the same thing. The first Covenant terminal has not been fixed: it still displays the wrong message, which is one from The Silent Cartographer.
https://www.youtube.com/watch?v=0MDwKzH4ez8&t=1286s Here is what it’s supposed to say, taken from SPV3.1:
This is the last terminal that displays the wrong message as far as I’m aware. I’ll have to keep an eye out on The Commander Evolved after the fuck ups on TSCE.
Marvin Mobuto’s first terminal has its grammar error corrected. Something I hate about the SPV3.3 version of this level is that the giant anti-gravity elevators trigger and start ascending as soon as you enter the room. If you miss it, you’re screwed. They do come back down but it takes forever and I shouldn’t have to put up with this.
When exiting the first underground accessway, Spark says “I am gratified to see you. You should remain…” but I don’t hear the rest over the Flood. After the rocket guys in this area, he says the Flood will spread from planet to planet, consuming all that live there, but he gets cut off by his vanilla line at this area triggering so I don’t get to hear the whole thing. It’s too risky to try to charge your brute plasma rifle or other weapons by the next anti-gravity lift, there’s too many Flood that keep coming and this is where I discovered on my test run that the lifts can now leave without you. On the next floor, Spark says that we cannot activate the ring’s failsafes i.e. the main pulse cannon without the Index.
This gun is from Halo 4. In Halo 2, the Enforcers use missile mortar cannons as their secondary weapon but in SPV3, it was retconned to the Promethean Incineration Cannon. Older builds didn’t let you use it but now you can. The Halo 4 version is notorious for its use against you, especially on Legendary: its shots are fast, kill you in 1 hit and are hard to dodge. When you use it, it only holds 1 shot in its magazine before needing to reload. The SPV3 version is plasma based and works a little differently, the main addition besides the charged shots the hint mentions being scattering flames everywhere when they land, like the grenade launchers’ alt ammo in Strife. Ahead in this area, you can now take the wraith with you through the next set of hallways, making the remainder of this floor much easier than vanilla and older SPV3 versions. It may be a little tricky manoeuvring it around the pits.
This I can only assume is the remains of a cut Evolved version of this level, which seems to be inspired by Quarantine Zone and a similarly cut level called Forerunner Tank, both in Halo 2. In Quarantine Zone, you play as the Arbiter and lead a team of Elites into the library over snowy fields with a host of vehicles, culminating in a giant sky-tram gondola using assets from Forerunner Tank. In said cut level, you played as the Chief and journeyed through the bowls of Halo, presumably to reach the Delta Halo library as well, only to encounter the Gravemind of the Flood: its tentacles would slam down around the player for them to avoid or attack and run behind doorways ominously “like racing freight trains”. The highlight of this level would be the titular Forerunner Tank, whose details are sketchy but is described by Bungie as “… awesome, that blows things up, glows a lot from little windows and moves real fast.” They really wanted to keep this level because “awesomeness would ensue”, which it would but it was not to be. The Library Evolved would have been a sort of mashup of both levels: John would lead marines and sentinels against both the Flood and the covenant using a sparrowhawk and later a Mantis Mech from Halo 4, the latter serving as SPV3’s answer to the Forerunner Tank. Awesomeness really would ensue. You’d then have flood hoards and covenant to fight up 2 floors to reach the index instead of the original 4. Sadly the level was cut due to the marine vs Flood combat being deemed unfit for the developers’ vision of the level and problems getting the Mantis to work right. The mech is still in the game as an Easter egg on Assault on the Control Room, but I’ve never found it and looking up The Library Evolved is the first I remember hearing of it.
Don’t bother trying to fight the Flood in here on Legendary even with the tank. I tried this in my test run and it didn’t go so well. Just hide in the corner as I do on Legendary all the time and use the tank for the final part up to the anti-grav lift.
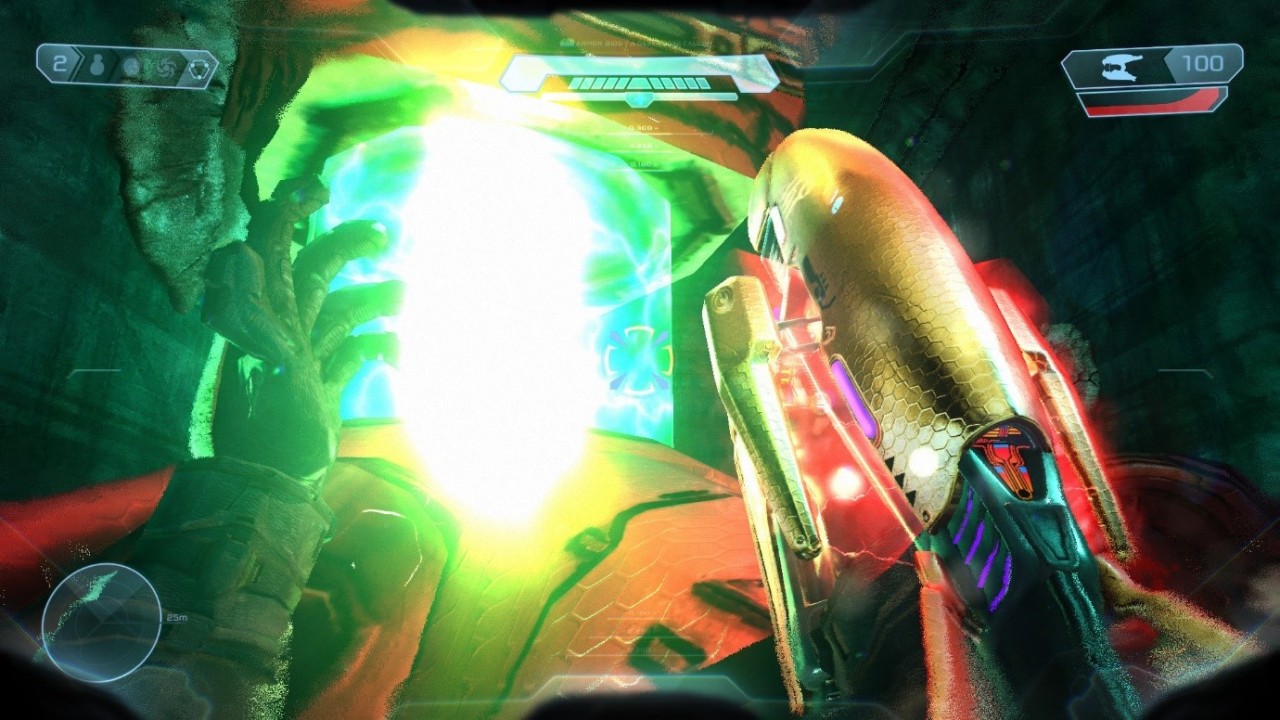
This is what the Incineration Cannon can do for you. Never underestimate it. Stage 8: Two Betrayals – Cannon’s Core It’s a little easier to see Halo’s firing power up effects in this version though they still block the view a bit. Cortana looks as cool as ever.
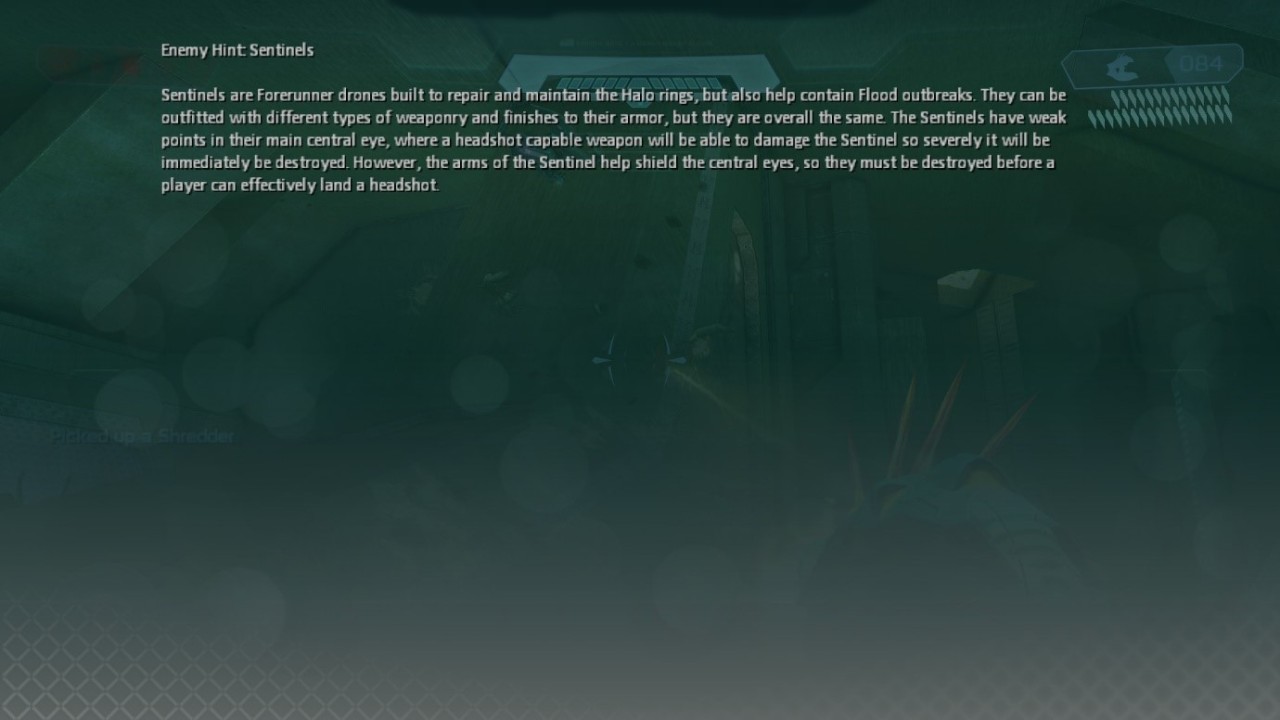
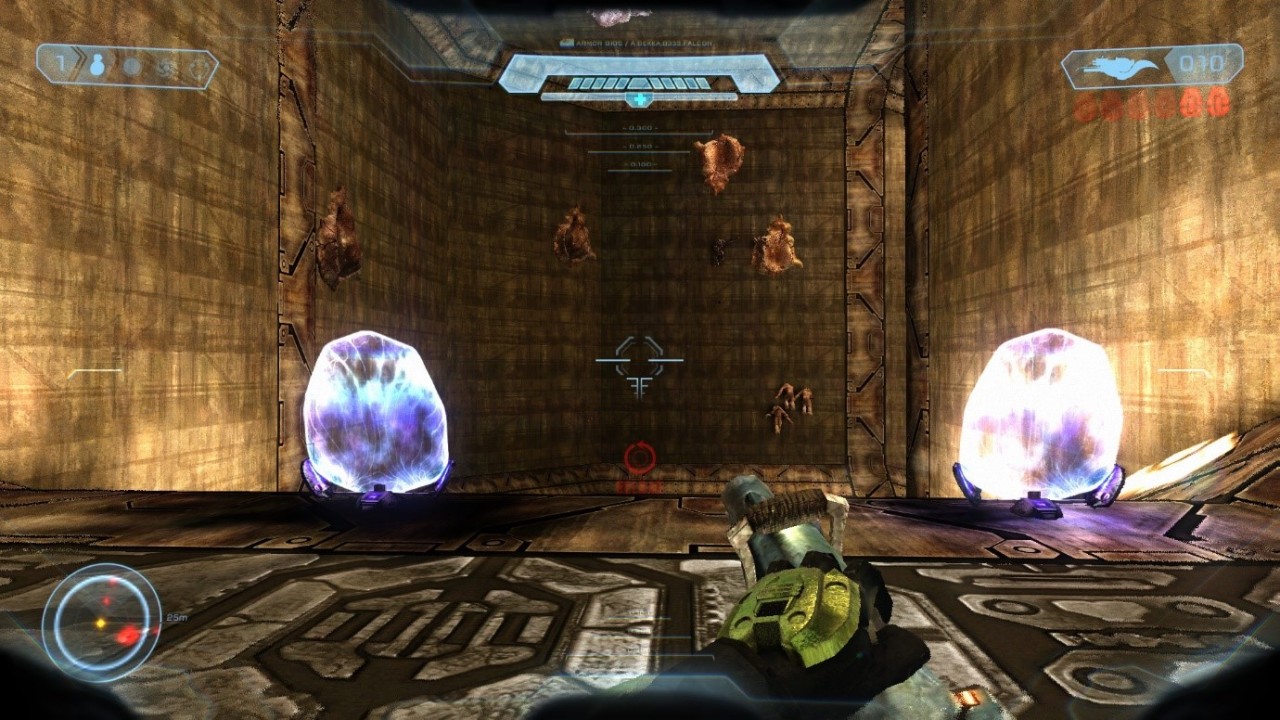
Unlike Halo 2 and all older SPV3 versions, the Enforcers’ red needlers have been replaced with incredibly annoying EMP “pulse lasers” (no relation to Covenant ship pulse lasers) that stick to you and slowly drain your shields like Power Drains from Halo 3 except the Enforcer ones also drain your health.
This makes the opening sentinel fight a lot harder as the 2 Sentinel enforcers are more than likely to hit you with their EMP lasers even with the jackal shields you’re given at the start, and it takes a while for the effects to wear off. So if you can’t get to safe cover or take too many hits even when you destroy the enforcers you’re screwed. Cannon’s Core: Eternal Engine As I exit the control room, the red Flood Warning lights turn blue, though the red tint in the windows of the shuttle tower is still there.
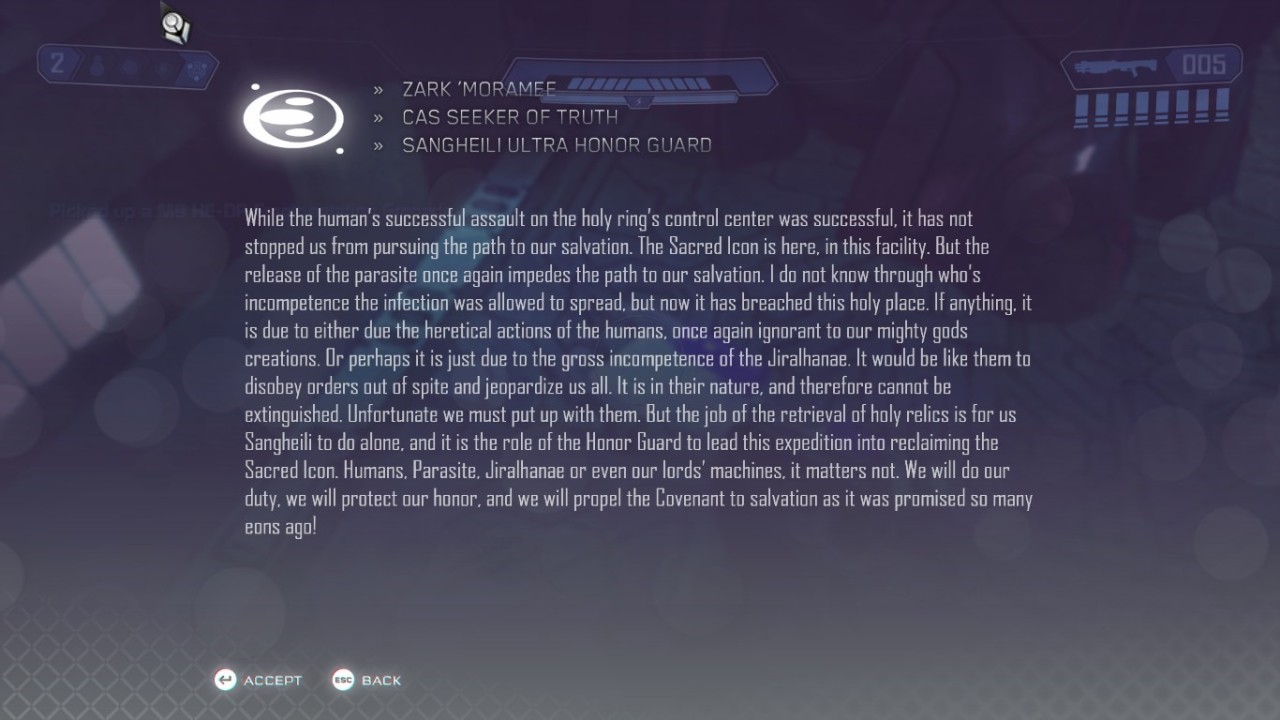
You already know about them from the main Tour, no need to elaborate further. We don’t have much time left before the Flood consumes the whole ring. First we have to do something about its weapon. Let’s hurry up! The Halo ring is very sturdy. It simply can’t be destroyed from the outside without at least half the power of a small sun, which you’d expect since it needs to survive constant meteor strikes and other space debris, which the original Niven Ringworld didn’t. So we’ll use the Autumn to blow it up from the inside. As far as stars go, the fusion reactors aren’t as powerful nor pure as the real thing, but they have the same wavelength and properties, especially when forced into nova via making the reaction unstable via overload or as we end up doing, breaking the magnetic shields with rockets. We can turn the entire ship into a mechanism that will absorbing the energy of its escaping reactor plasma and explode. There’s no way disabled self-destruct mechanisms could guard against direct intervention in the core. However, despite being unnecessary as only a live human can use the Index, Cortana feels it’s pertinent to delay the ring from firing on the unlikely chance Spark can find a way to fire the rings without the Index (we don’t know about the ARK yet and there’s no way Spark can get to it with a hapless reclaimer in time). I’ll find the 3 phase pulse generators and destroy them, and Cortana will look for the Autumn. So the plan is that while the machines are suspended, we evacuate Alpha Base and then I scuttle the ship. The wraiths at the bottom of the silver pyramid are now AA Wraiths. They’re too good at dodging rockets at least on Legendary, plus unlike the regular ones the AA Wraiths can destroy the sentinel enforcers without much trouble, requiring you to destroy them yourself with the rocket launcher while they’re distracted. Save your incineration cannon ammo if you have one. After getting a carbine from a combat form on the ice, I deal with the jackal sniper and a few of the elites including an honour guard on the cliff below from the metal balcony with the shades. I’m able to fire rapidly without overheating the rifle and while reasonably stunning the enemies a little by playing the opening to a song I’ve never heard before with my gun. Like this: https://youtu.be/INKz_B_no5Q?list=PLjpAzVTa-X3T-p3OYqKHncP2JwoPJNHTl&t=574 The AA Wraith on the rock ledge near the pulse generation entrance dock is now the SPV3.3 kind instead of the AP Wraith it is in SPV3.2. I also find an interesting glitch: the SPV3 devs forgot to put an invisible ceiling between the map edge at the top and the main area below, so it’s possible to fly up there to the actual “ceiling” and look into the void:
Cannon’s Core: Hang Brain
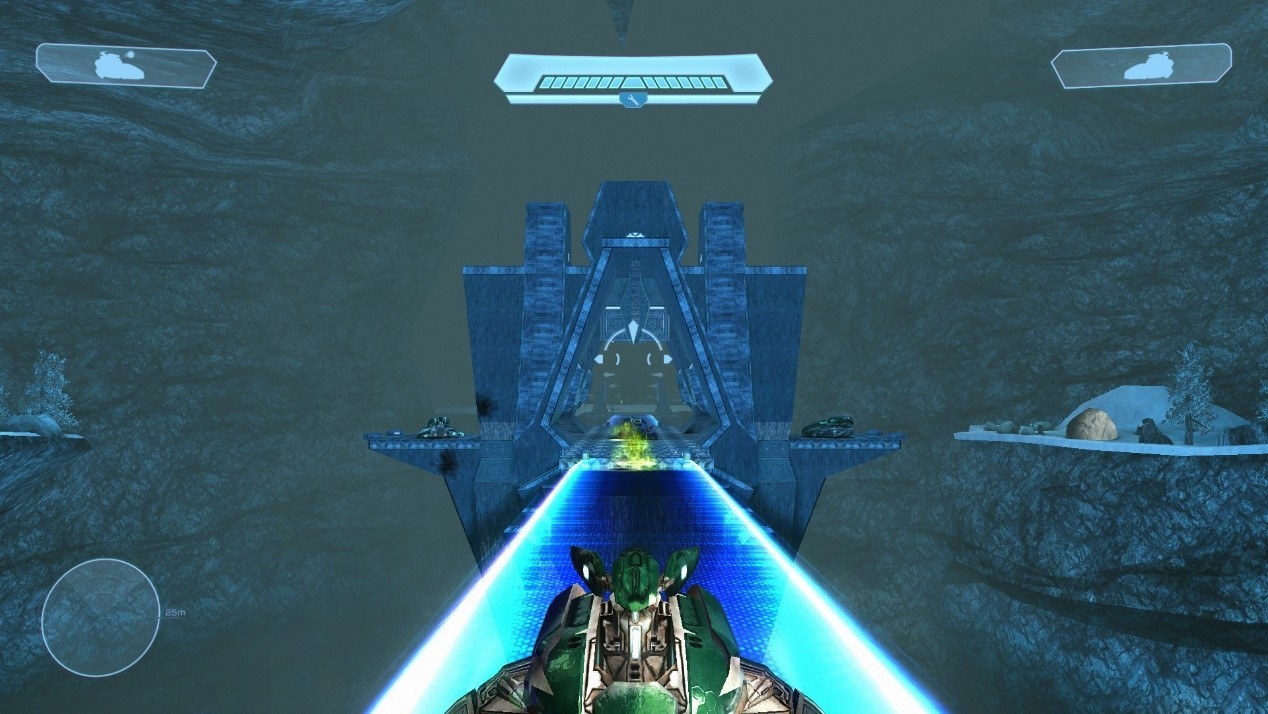
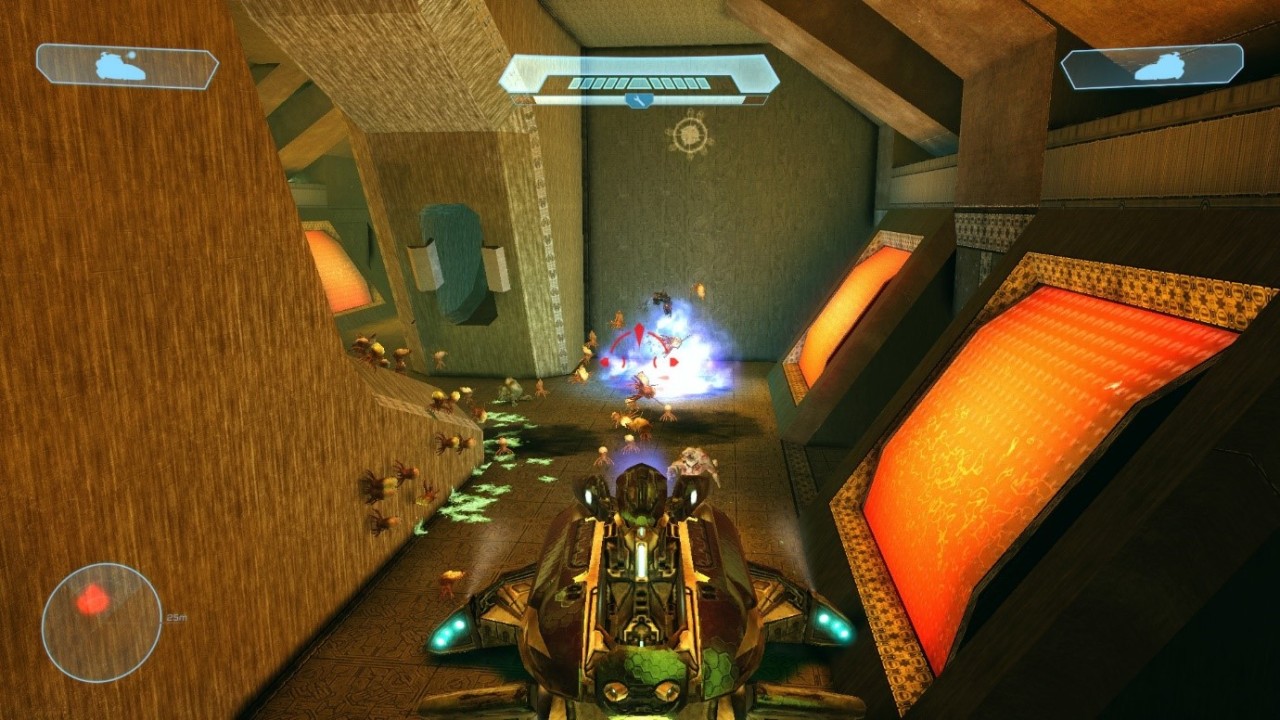
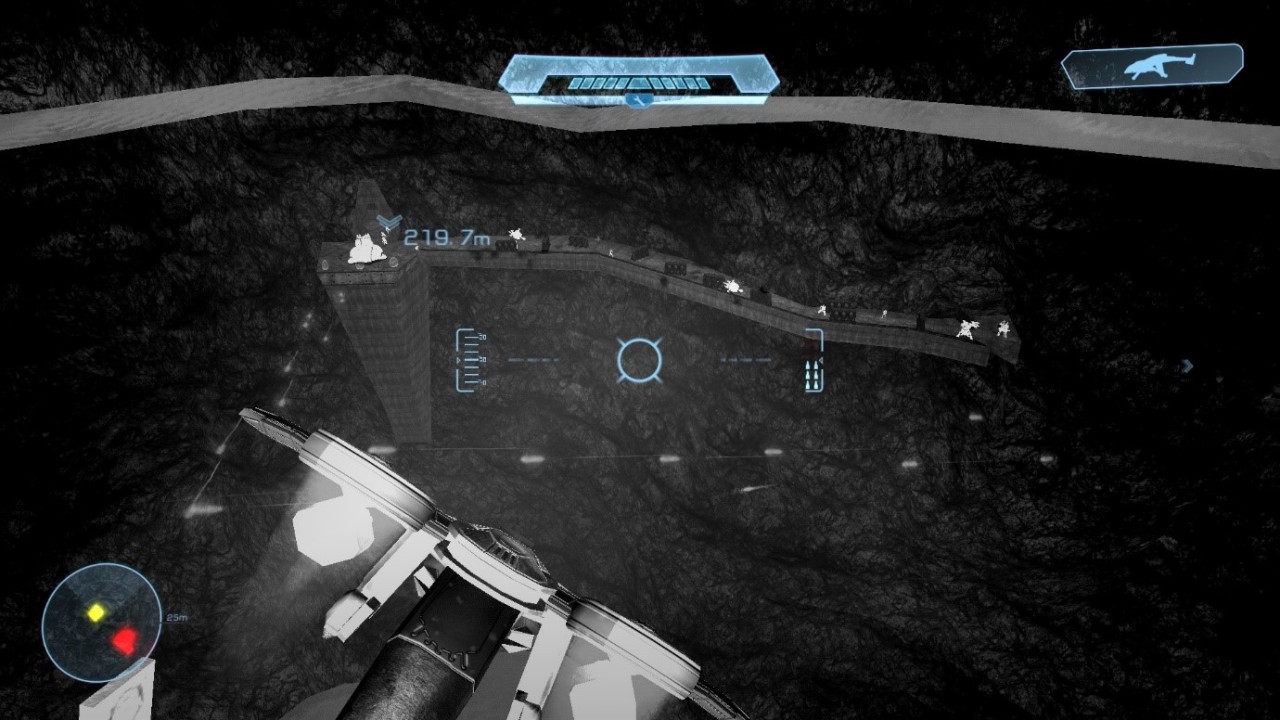
I love the thermal vision/targeting computer for the sparrowhawk. It really helps make out targets in the fog at a distance and in the darkness of the ringworld’s bellybutton below. As you can see, the AA Wraiths in this area are still AP Wraiths.
Abandon Hope All Ye Who Enter Here. In the Main Tour, I was lucky to only have to set my gunship down by the destroyed wraiths toward the end and in both the SPV3.1 comparison and my test run of this version, I flew almost all the way through in the sparrowhawk, which was kind of disappointing. Too easy. This time, I took too much damage from hunters and Flood getting into the tunnel so I’m forced to leg it all the way down the spiralling ramps killing Flood as I go, just like old times in SPV3.1 all those years ago. I’m lucky I didn’t get killed this time unless I didn’t back then either. I just knew it was slow going.
This is creepy. Exactly how I felt when I first played SPV3.1 and reached this part. I’m happy to say that the charging columns on this level have been fixed, so I can use them to survive the waves of covenant and Flood in the final section before the dam cavern. To deal with the brutes and elites ahead, it may pay to deliberately blow the Flood growth pods on the walls and ceiling of the hive. They mostly all contain flugs, like the ones in Halo 3 so they will infect the covenant and become easier to kill. For brutes with power armour and elites, you may have to soften them up for the flugs by removing their shields. Run back to the charging column if you need more brute plasma rifle ammo. If you have a carbine hoarded from the previous area that will help in the cavern. I don’t have one so I take a DMR from a jackal at the tunnel exit.
I find out that the hawk in the cavern is glitched and I can’t fly it. I don’t know what caused this bug as I definitely flew it in my test run, using the thermal vision to see the enemies ahead in the dark. I’m forced to take a banshee instead. A long, painful slog later, I come to the pond near the mesa only to find that my tank is missing: Since I reloaded 343 Guilty Spark from the level select menu, the game thinks I didn’t play this level and leave the grizzly here. Since my tank isn’t here, I improvise by hijacking the AP Wraith at the base of the mesa instead of destroying it. I also got the void’s tear from the camo Flood infested patrol room after the last elevator. I don’t know if elites still drop it, but it’s in that area at least.
Up top, the AA wraiths are the regular kind as in SPV3.1, including when I exit the pulse generator. I also discover that apparently by the sparrowhawk despawning in the Flood hive in the tunnels, it somehow caused all the sparrowhawks on the level to no longer be drivable. I hate this glitch and I’ve no idea exactly if that was what caused it, as I definitely flew them in my test run. Back in the banshees again, just like vanilla Halo 1.
At the end of the tunnel, I discover that the ambiguity of Eric Gordon and his squad’s last stand is gone in this version: most of the bodies are gone except Eric’s and he’s now a dead combat form, still clutching at his last terminal.
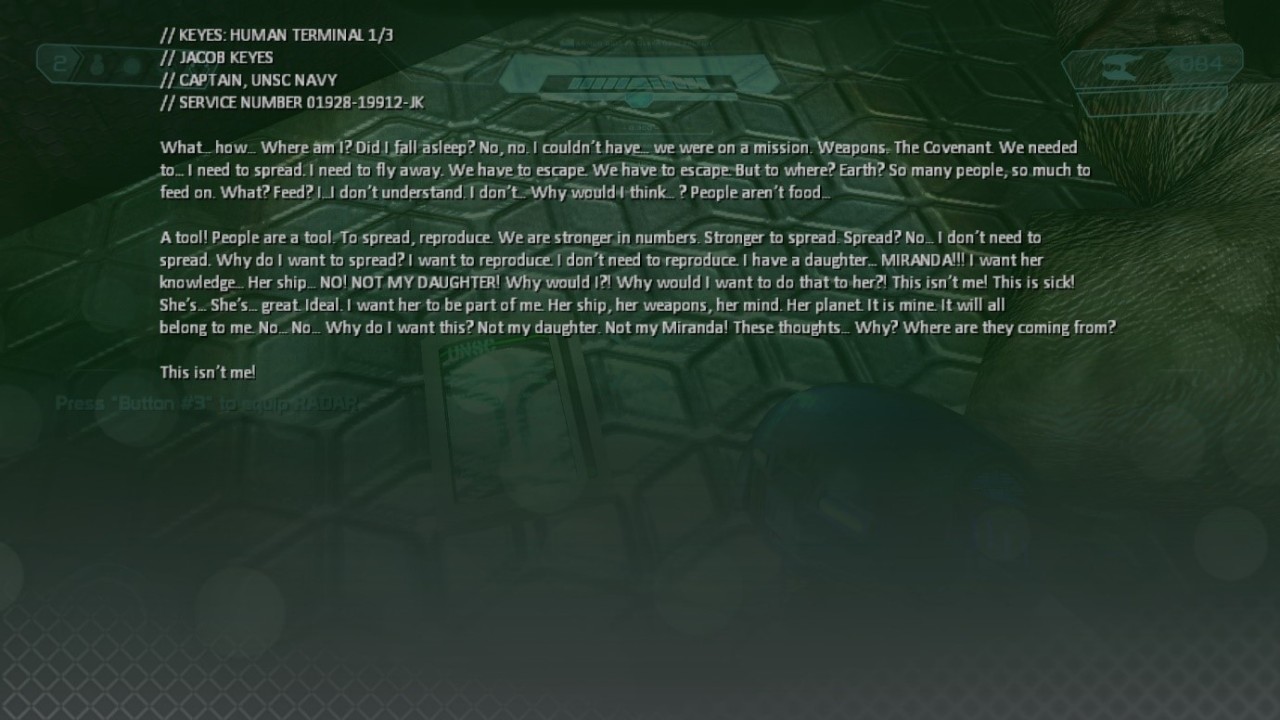
He appears to be frozen too. Upon making it to the final pulse generator, don’t bother fighting the sentinel enforcers outside: their EMP lasers are not worth it. Stage 9: Keyes – Crazy Gadget Crazy Gadget - Requiem for a Captain Unlike SPV3.1, the Active Camo is indeed here like on vanilla and as this is Legendary, I need it. The first terminal is of course, still here but it uses the SPV3.2 dialog. Honestly I like the creepier dialog from SPV3.1 better, as it helps paint a nightmarish picture of the Flood forcing intrusive thoughts on their victims as the Gravemind takes over.
You know the drill, down the hole we go.
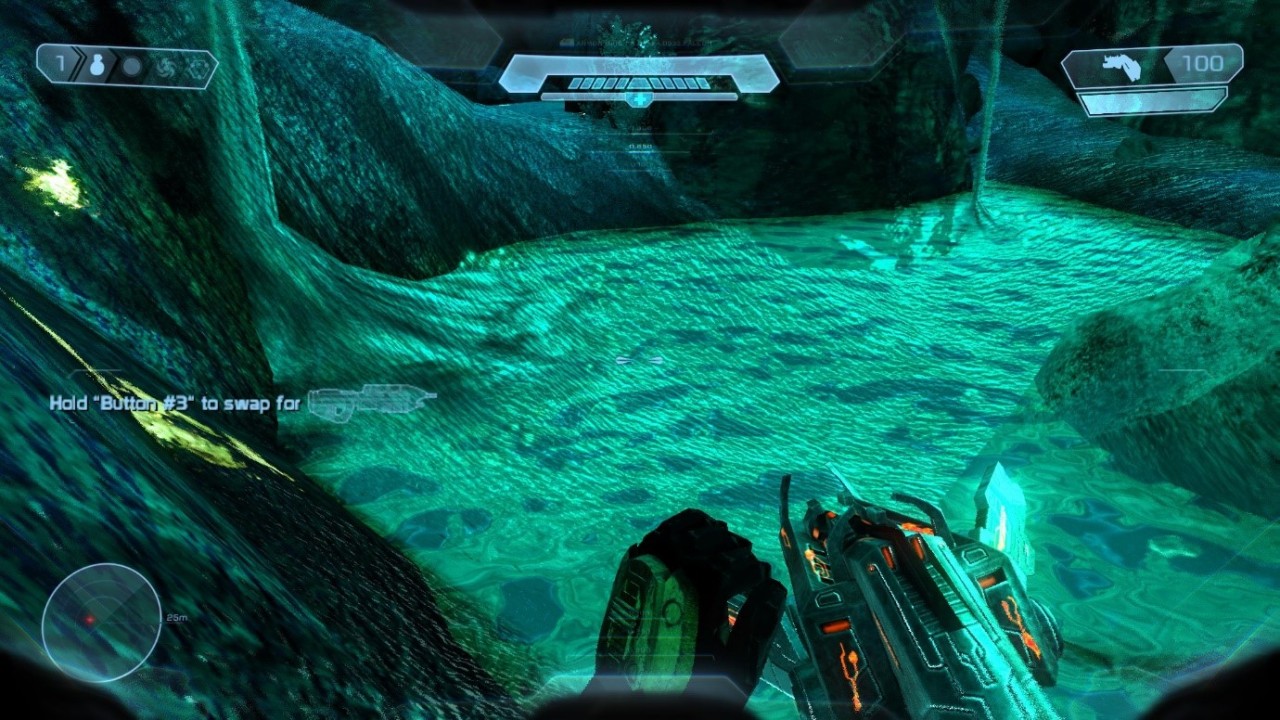
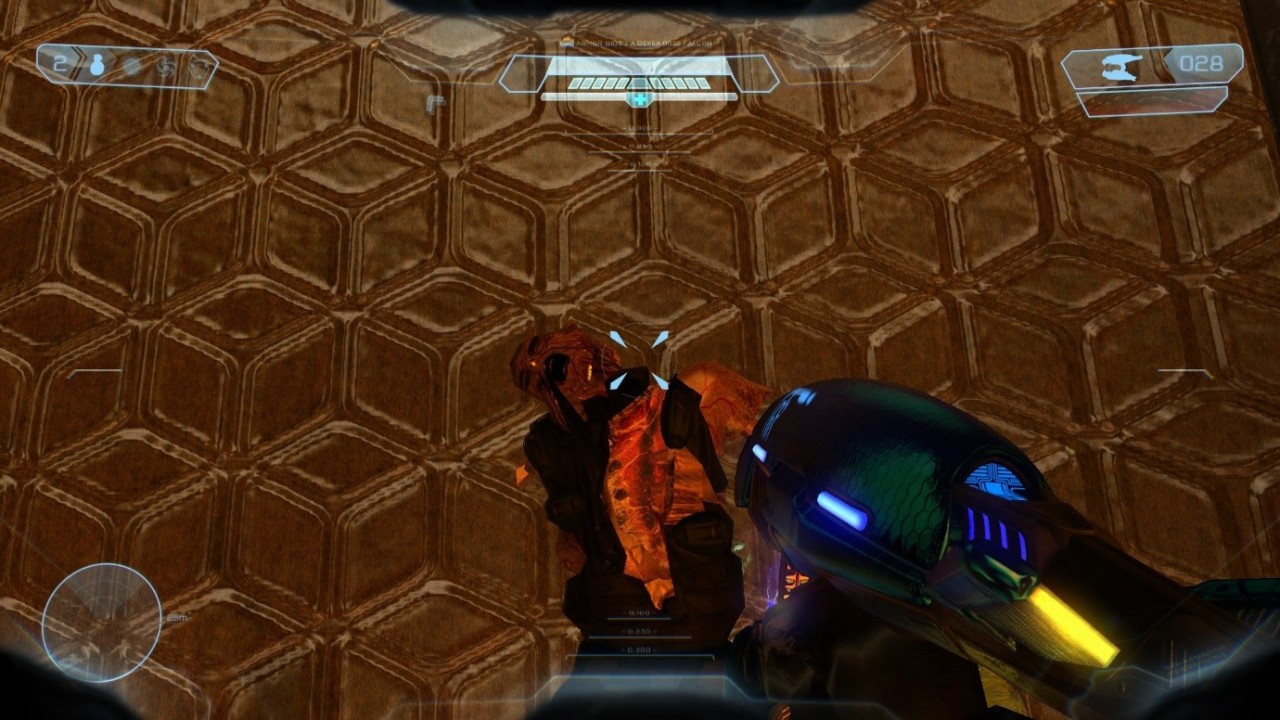
In stark contrast to all other versions of Halo 1, be it vanilla and both previous SPV3 versions with the possible exception of Anniversary, the coolant is now translucent so I can see through the surface. There’s nothing else changed on this level as far as I can tell. Crazy Gadget - Another Way to Die The hallway with the second covenant terminal in the muster bay seems to have more overshields for dealing with the Flood here. I still ignore the hallway and take the path I’ve always known. The charging column on the balcony is gone, having been replaced with a couple of pods containing flugs and brute combat forms. In the shuttle bay, you might consider sitting this one out until the sentinel enforcers are weakened enough that you can destroy one with a plasma grenade and take its incineration cannon. You’ll want to use this for the push up to Captain Keyes and the Proto Gravemind. I take note of a human combat form I kill, seeing its horribly decayed head and headcrab zombie-like chest mouth where the infection form was.
Halloween ideas, anyone?
I fucking hate the final stretch of this level even in this version. There’s too many spec ops elites and other tough enemies and the incineration cannon surprisingly seems underpowered against them. You’re better off saving it for the shuttle bay as a distraction and legging it to the banshee. As in SPV3.1, the mountains are clearly visible in this version of the SPV3 covenant ship skybox. Why couldn’t The Truth & Reconciliation have used this version of the SPV3 skybox? The current one in that level sucks.
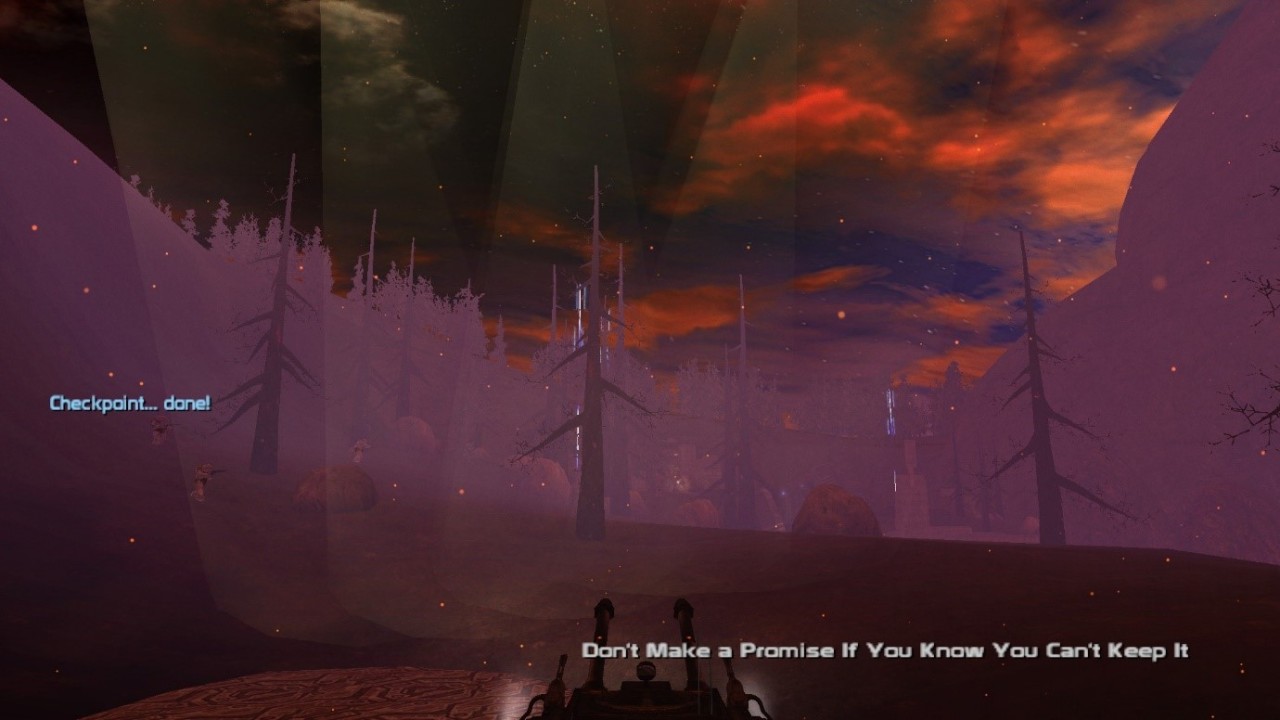
Special Stage 1: None Left Behind – Final Rush Final Rush – Feel the Noise The most striking difference between SPV3.2 and SPV3.3 in this level is that the lighting is far improved. In SPV3.2, it was very dark and hard to see anything.
As before, the different lighting makes it look like the creek runs red with blood.
Ah, so that’s what they are! The blind wolf combat forms are clearly based on the Ranged Pure Forms from Halo 3, except much easier to kill, weaker to sniping and a lot less annoying to fight. The carbine is pretty good against them. For actual Ranged Forms however, the needler, TOZT, brute shot and grenades are your best friends.
The wraith by the river head is an actual AA Wraith instead of an AP Wraith, as well as an unmanned regular one that gets marked with the motion tracker.
In my test run when I saw the transparency bug on vines and trees, I thought it was just thicker models to enhance the jungle in 343 Guilty Spark. I only realised it was an error when I got to this level and saw the glitch more clearly, as it was blocking the forest fires behind the trees in the last area of the level. As you can also see, both the skybox here and the SPV3.2 one are based on the beta Halo Skybox I showed you in Stage 2 of the SPV3.3 comparison, so even if you chose the default Marathon Eternal X themed skybox, the surrounding mountains will have mysteriously disappeared by the time you get to this level. Once I lower the shield walls and drive my AA Wraith through the passage, I take the regular Wraith as that one has full health and destroy a sentinel enforcer. Its incineration cannon will come in handy for Alpha Base. All 3 wraith types can be found by the tunnel to Alpha Base and they’re balanced against each other in such a way and so close to each other in a square by the tunnel that it’s very hard to hijack one and take out the others. That’s exactly what I do: I get the AA Wraith separated from the others and board it so I can bomb fuel rod cannon shots on the regular and Anti-Personal Wraith from a distance. The battle at Alpha Base goes well at first but the marines get slaughtered soon after the gate opens.
Final Rush – Final Chase
There’s a bunch of enforcers, wraiths and hunters across the light bridge on the way back to the first communication relay. I can’t remember if they’re there in SPV3.2 as well. The wraiths next to the relay are 1 normal wraith and 2 AA Wraiths. By the pelican, the entire mountain really is on fire as more flames are on the far hills.
It takes several tries but I make it out with the marines. In my test run, all the marines got killed as this fight is harder on Legendary, but this time I prevailed. Part 4 to come immediately.
| ||
|
Problems? Suggestions? Comments? Email maintainer@bungie.org Marathon's Story Forum is maintained with WebBBS 5.12. |