/-/S'pht-Translator-Active/-/
|
|
/-/S'pht-Translator-Active/-/ |
| Let's Play Halo SPV3: SPV3.3 Comparison Episode 2 | ||
| Posted By: Lion O Cyborg | Date: 10/18/21 6:06 a.m. | |
|
Part 2 – Tanigo Island Stage 4: The Silent Cartographer Evolved – Wave Ocean
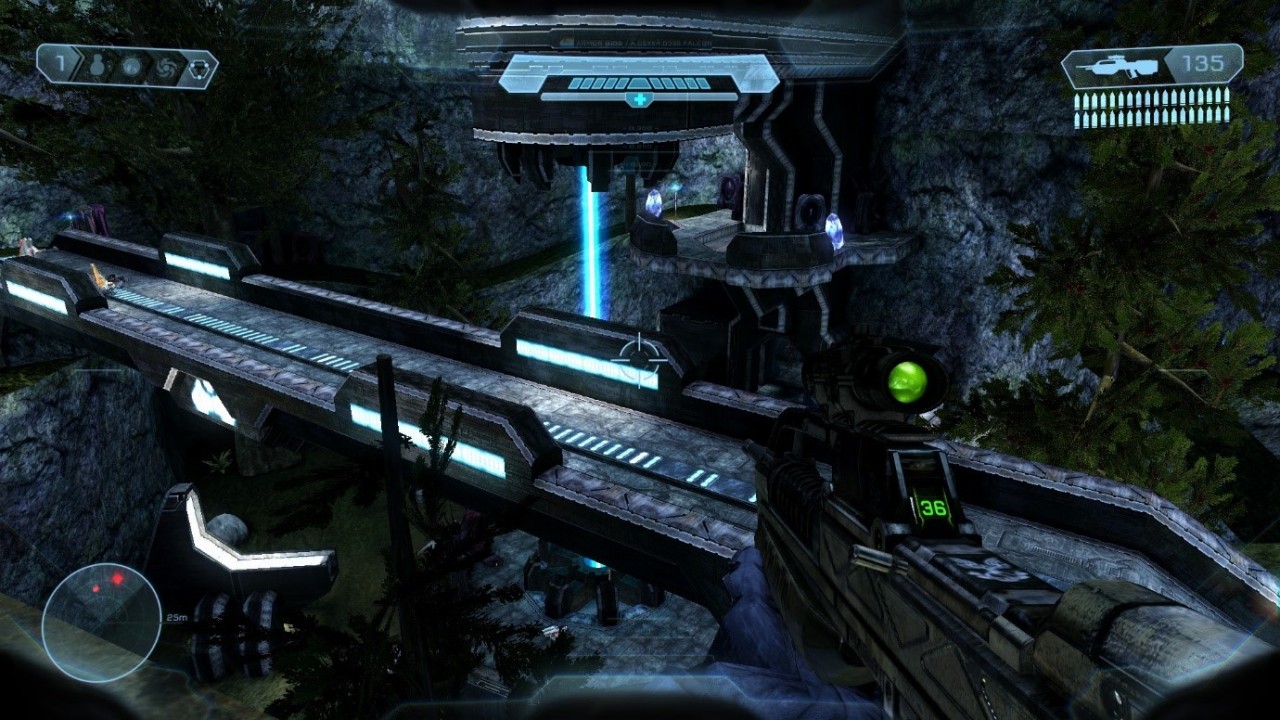
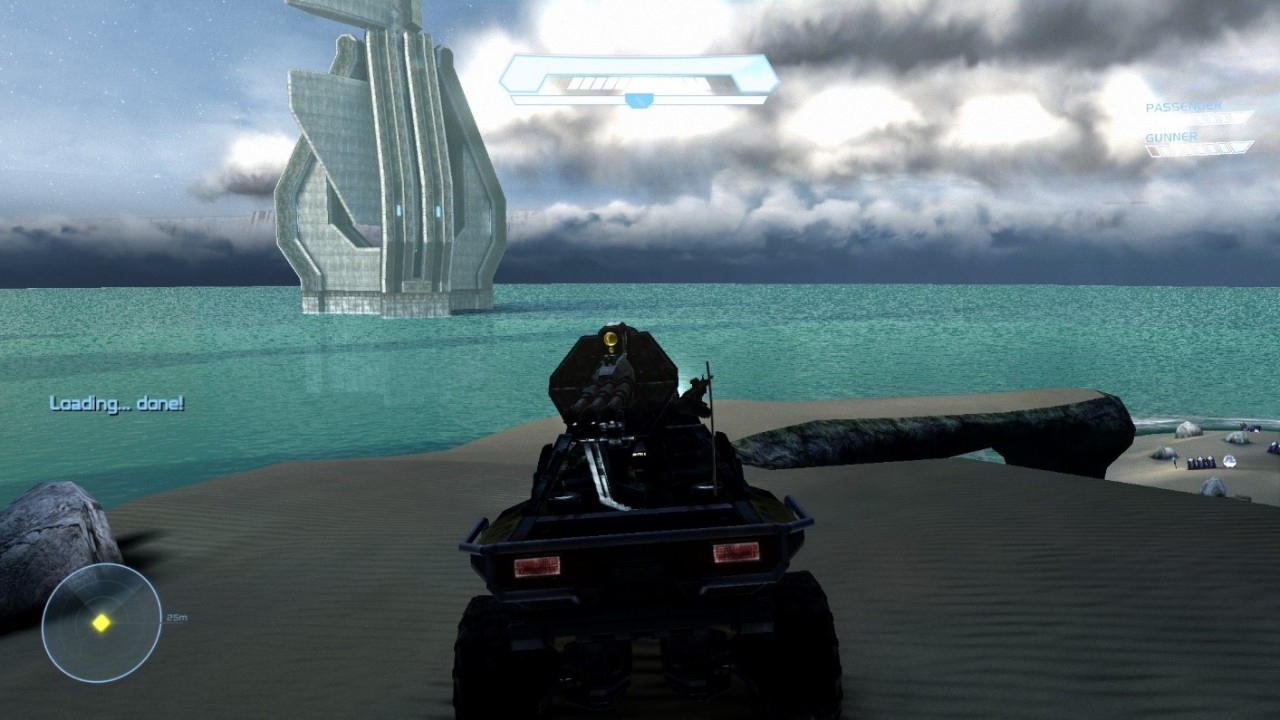
Now, it’s time for the moment you’ve been waiting for. I finally cover The Silent Cartographer Evolved. The plan was to do the SPV3.2 version separately after finishing the Tour but I ended up not doing that as SPV3.3 came out. So I figured after doing SPV3.1 I’d cover it now as part of SPV3.3. I’ve played this level before but only on SPV3.1 on Heroic after I first beat it on Legendary. In that game, you could only play this level via the level select screen. Both SPV3.3 and SPV3.3 give you the option of playing either once you beat The Truth & Reconciliation. The Silent Cartographer Evolved takes the new additions to the levels in SPV3 up to 11 by reimagining the whole level from scratch. If the metal towers in the screenshot above weren’t enough, this whole level feels like a love letter to the two Halo 2 levels Delta Halo & Regret with some Halo 3’s The ARK influences. When Halo 2 gets covered, we’ll be seeing elements from this level there again. This will be treated as a full part to this serial episode instead of a summary of changes as it’s a level we’ve not done yet. The Commander version of this level later will get the same treatment. Act 1: The Silent Cartographer – Wave Ocean: Metal Harbour
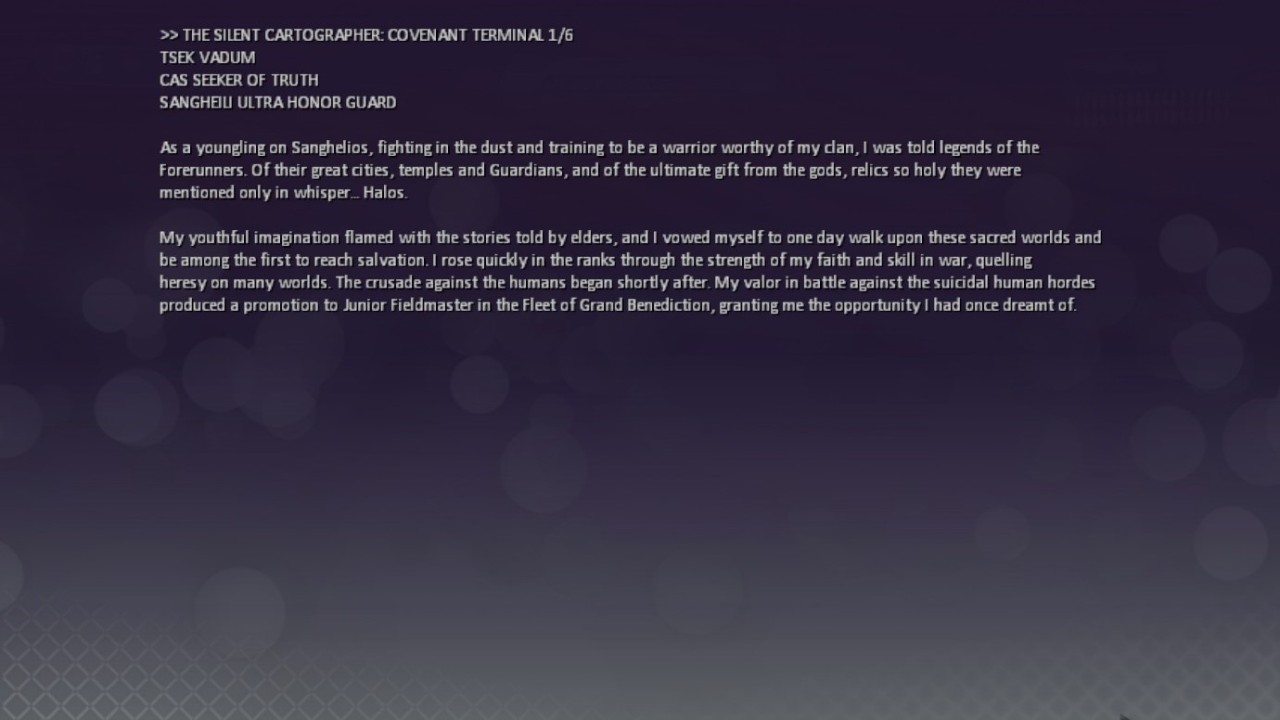
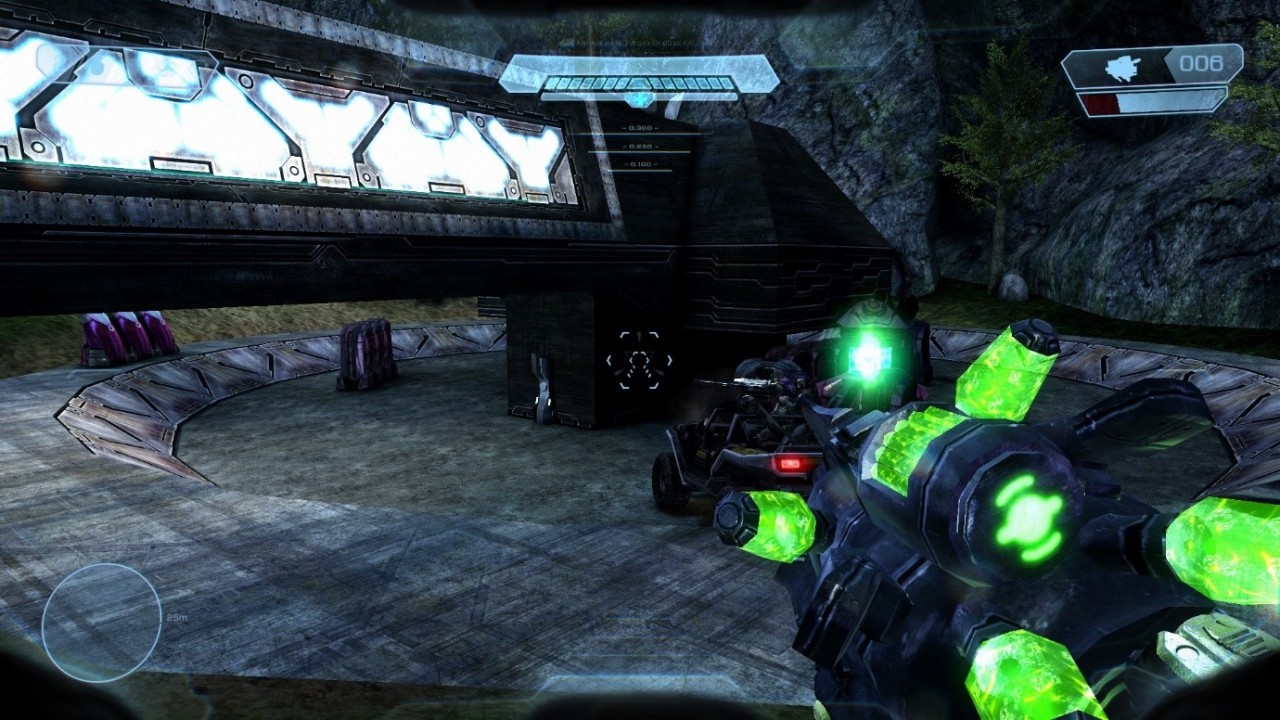
Wow! It’s like a postcard! Dear Sarge, kicking ass in outer space. Wish you were here. This must be the island. A Forerunner base with impregnable security facilities. Commonly known among us Spartans and ODST’s as Tanigo Island & site of the complex known as The Silent Cartographer…The terminal on the Truth & Reconciliation’s bridge said something like that, but there’s no way this is just a regular defence force. Hunters, brutes, zealots and honour guards. It’s a Collection and Sanctify Squadron. I won’t be covering dialog except for new stuff: that’s what the main Tour entry is for. The beach assault is a little harder this time as there’s a spectre that gets destroyed quickly (meaning I can’t take it and make the fight easier), there’s some jackal snipers with focus rifles and a pair of shades up on the rocky ridge.
The buttress thing now looks kind of like a railgun with those hanging bits at the front. It reminds me of Halo 3’s Forerunner buildings. Remember in the main Tour I said I thought the SPV3 version of the buttress had an interior section and an anti-grav lift to the upper level? As I suspected after writing that bit, turns out I was remembering the buttress in this version of the level in SPV3.1, not the original.
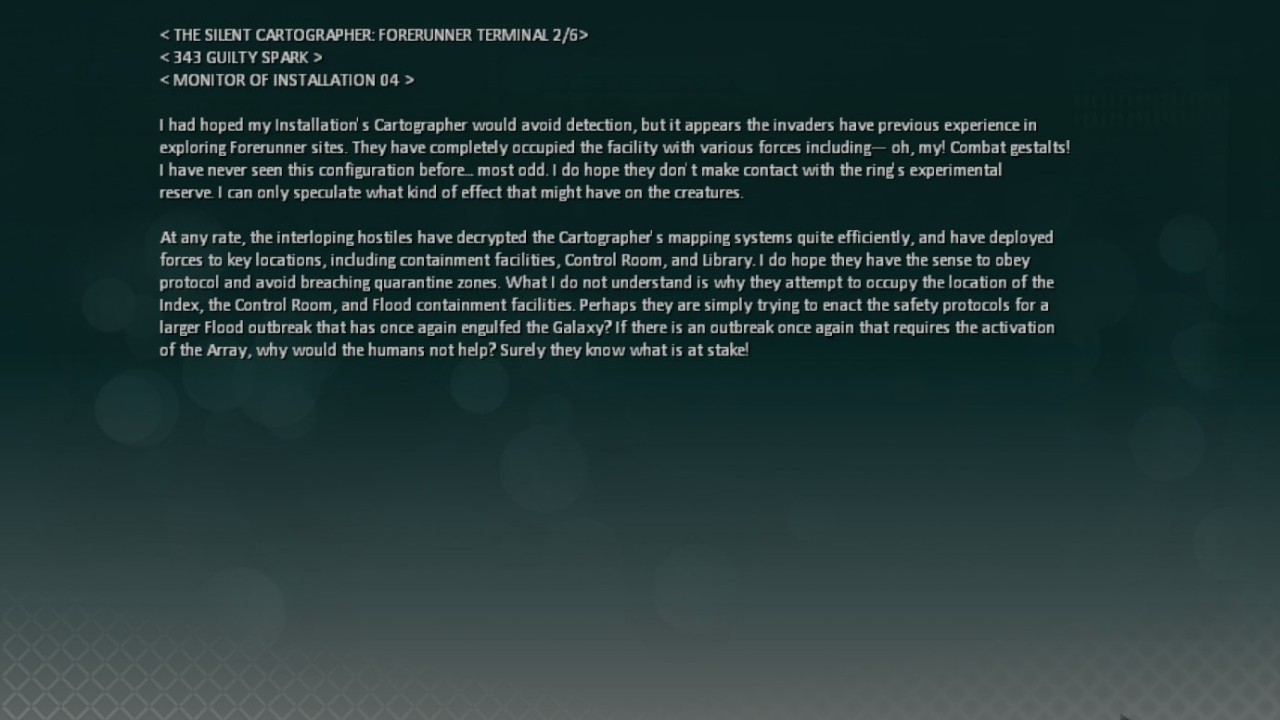
The elevator doesn’t work however, so we can’t reach the top of the buttress. “You two, we could use a hand.” Cortana tells the marines. “I got shotgun!” one of them shouts.The first terminal is located next to a large metal structure near the buttress and using it loads Forerunner terminal 2 (in the original TSC) message a little slower.
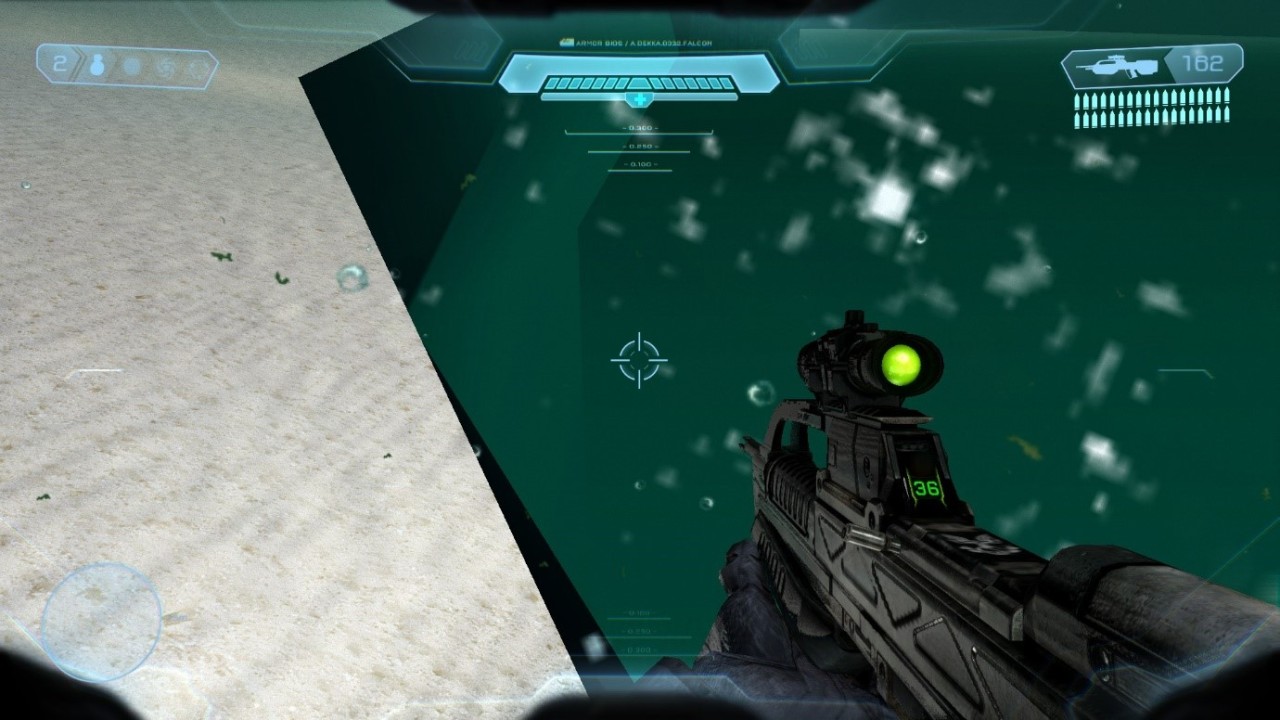
As before, it’s possible to drive underwater but instead of invisible walls, there’s a dropoff at the base of the shallows surrounding Tanigo Island. I love the debris and bubbles effects. It makes me think of Flurana from Doctor Who (“You can’t sink on Flurana…The water’s effervescent. The bubble’s support you.” ) and the Sea Country in Mario Odyssey. (which technically shares its name with Seaside in Mario 3)
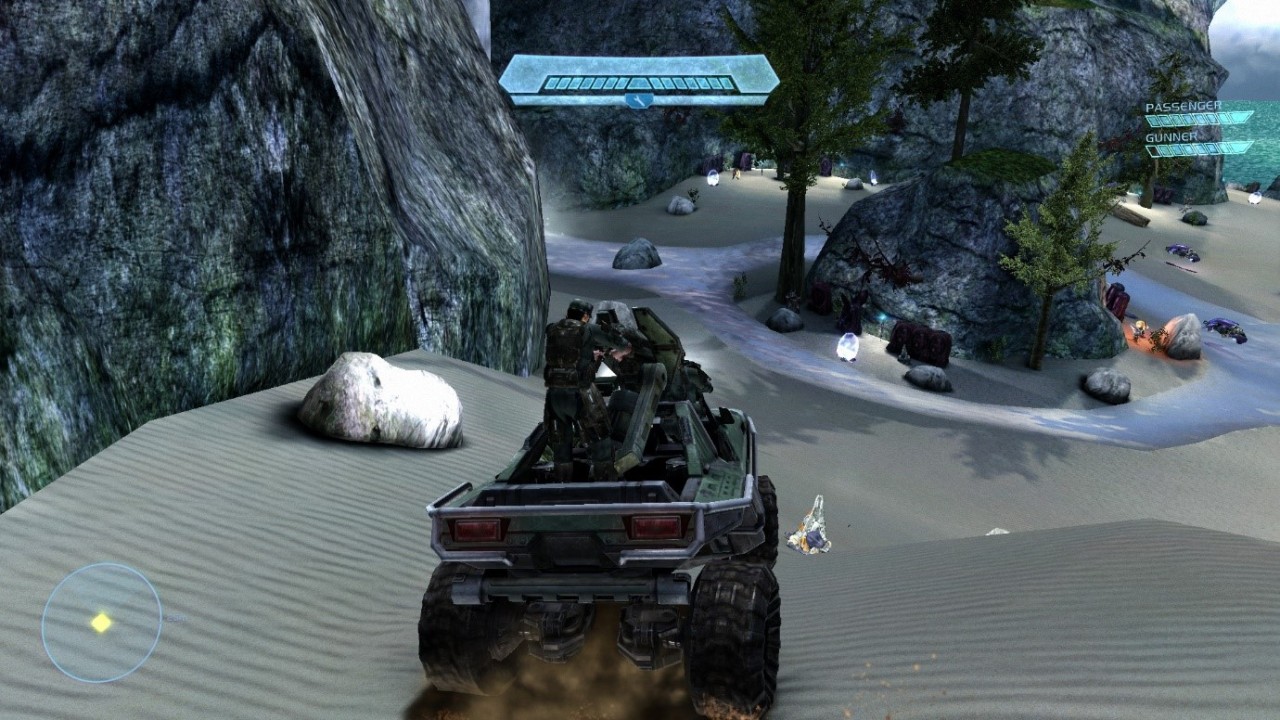
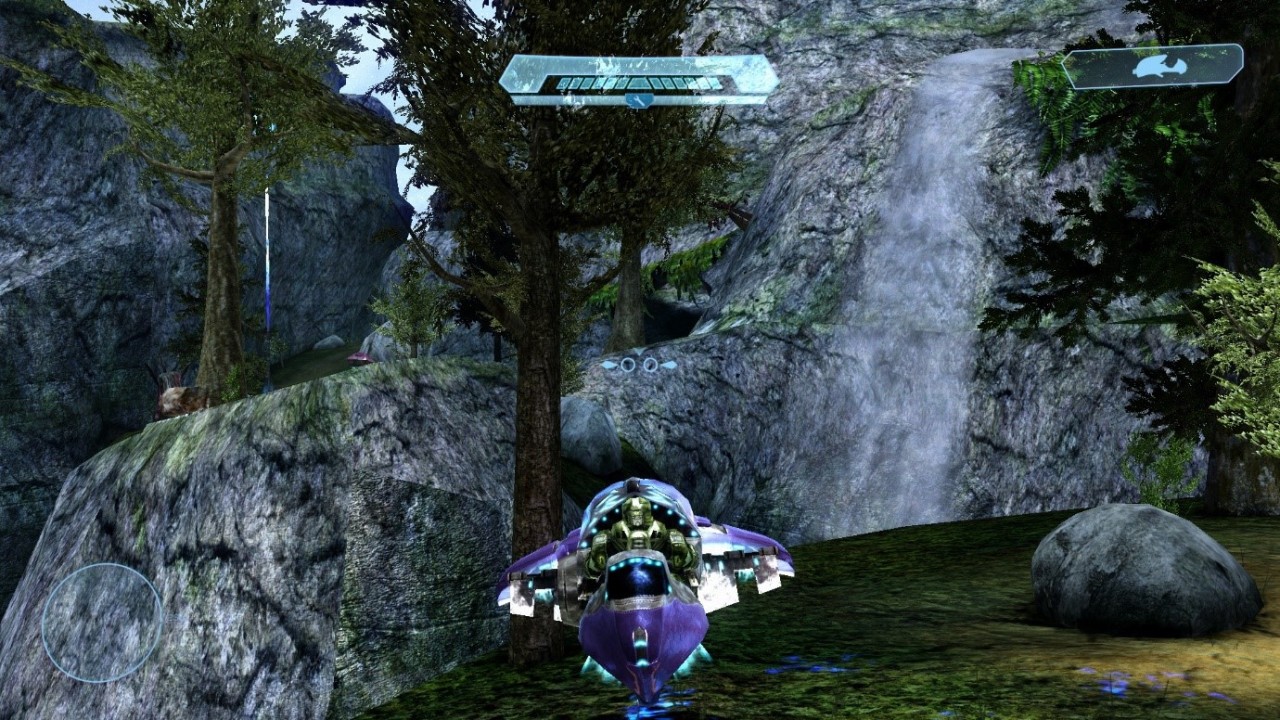
I drive down the beach past a rock arch and come across a covenant patrol with a pair of ghosts by a small river and waterfall.
You can’t see the river water very well as I had to park too far back in order to get the waterfall in the shot, but it looks really good and there’s even a subtle but steep dip under the surface where the water has eroded a small channel in the sand. Be careful not to let it trip you up when fighting the covenant. The first covenant terminal is by a small tree surrounded by space crates and a log, so unlike the original level it’s less easy to miss it if viewing them in order.
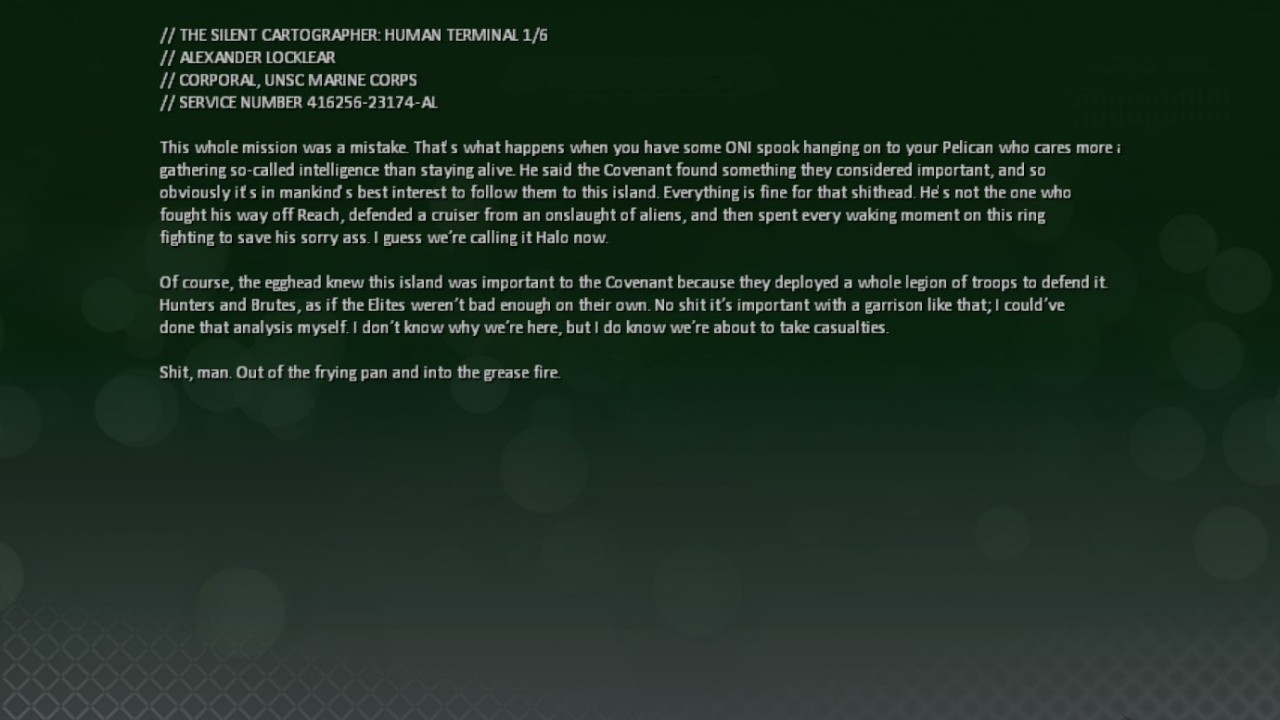
More covenant wait around the corner by a charging column. Here, a path leads inland, with a small trench full of rocks at the entrance like a natural speedbump. By a small door hidden in plain sight to the right of this canyon is the first human terminal. The yellow lights mean you can melee attack it open. Inside are rockets by a dead marine, an overshield and an anti-gravity elevator shaft. The elevator also doesn’t work. Don’t fall into the flooded shaft as you can’t get back out and there’s no kill barrier.
The canyon twists inland through a forest guarded by elites and grunts. The next covenant terminal is on a small hill on the right hand fork.
I pass under a pair of pipes and find the Cartographer building in a large clearing. Cortana warns that the Covenant are already inside and we must stop them. Problem is they already know where the control room is, as the vanilla game demonstrates. My warthog almost gets destroyed in the fight and my passenger is killed. Watch out for the jackal sniper on a small girder in the entrance hall; he has a focus rifle. Under the landing pad of the building is a door to a basement where I find the next terminal in a dead end by dead marines. Nearby is another anti-grav lift that leads to the sniper platform.
Act 2: Lockout – Wave Ocean: Green Forest
The vent shaft is based on the original but it has a fun little twist, if the holo panel and hallway on the other side is any indication. Outside, Sergeant Stacker doesn’t do his little singsong, with another marine simply speaking his lines instead. I’m glad they changed it in the vanilla game and old versions, this different line sucks. This time, I decide to take a ghost further into the island as my hog is too battered to use safely.
This go-kart seems to fly above the ground, but it doesn’t seem to go that high. It’s not very powerful, but you can use the A Button to do wheelies with the airbrake, stabilising the ghost when doing big jumps. The spectre has one too, both in Halo 2 and this game. The next terminal is off to the left in a small cave but I don’t want to show the message yet as it shows a plot critical detail too early. In the regular level, this terminal is hidden in plain sight as you enter the security facility, ensuring you see it when you come out after shutting down the security systems. If there’s an intended route to take through the Evolved version so the terminal is seen at a more appropriate time, it isn’t clear. I don’t know why but this jump and waterfall reminds me of the peak of Tall, Tall Mountain in Mario 64.
Here’s the main part of the titular forest of this chapter’s subtitle. The next terminal is behind me on the ground by the marsh.
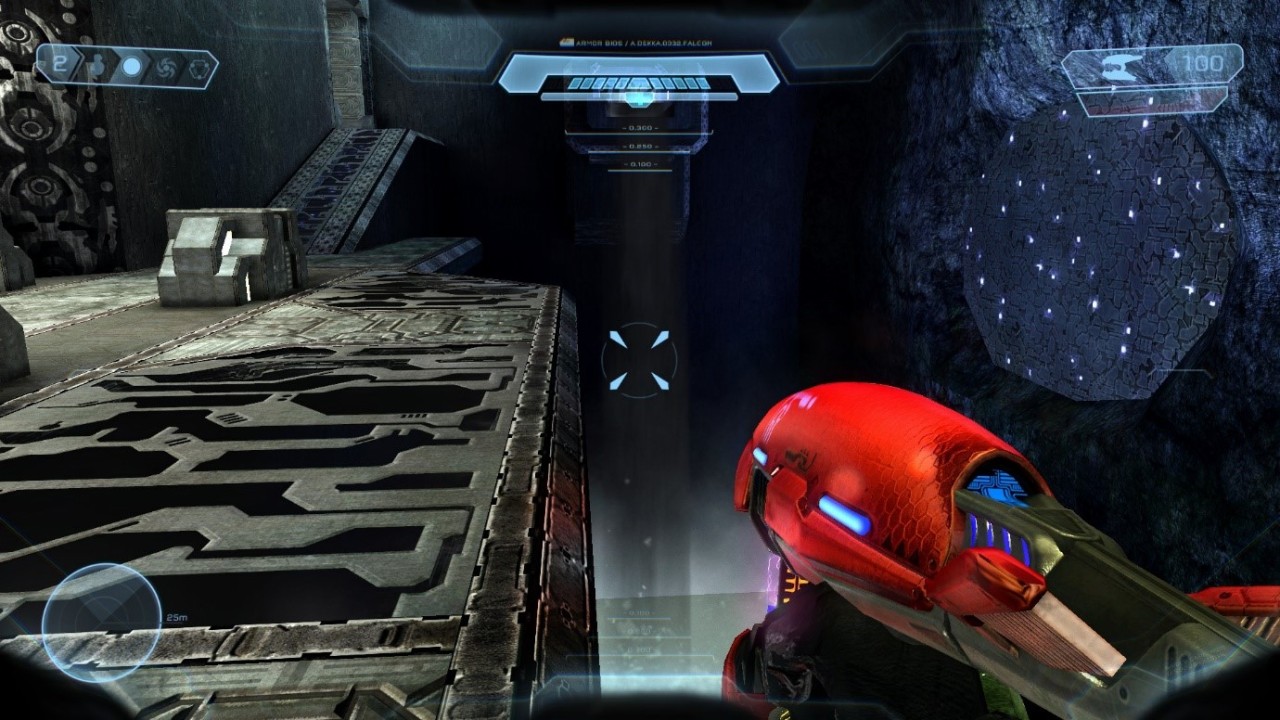
This is where the security station now rests. It reminds me of Delta Halo somewhat with the bridge and everything. Down the path to my right near the bay at the edge of the forest is a small metal alcove with dead marines and the next terminal.
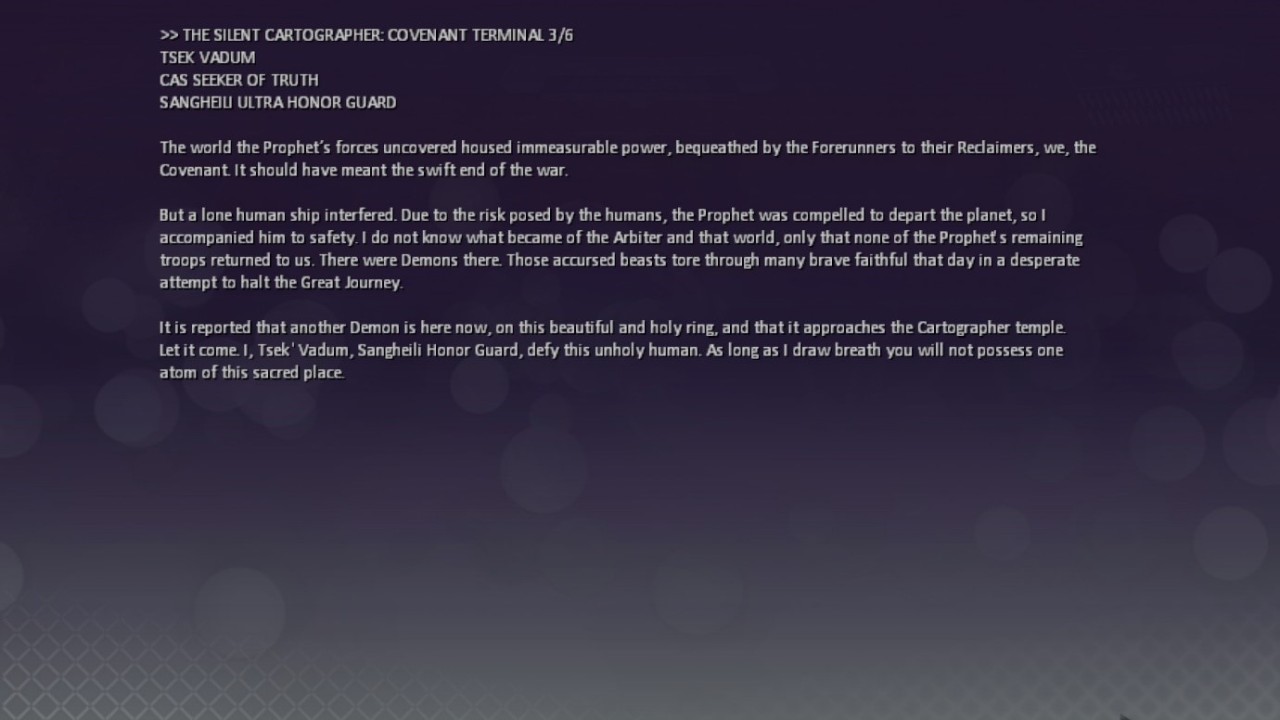
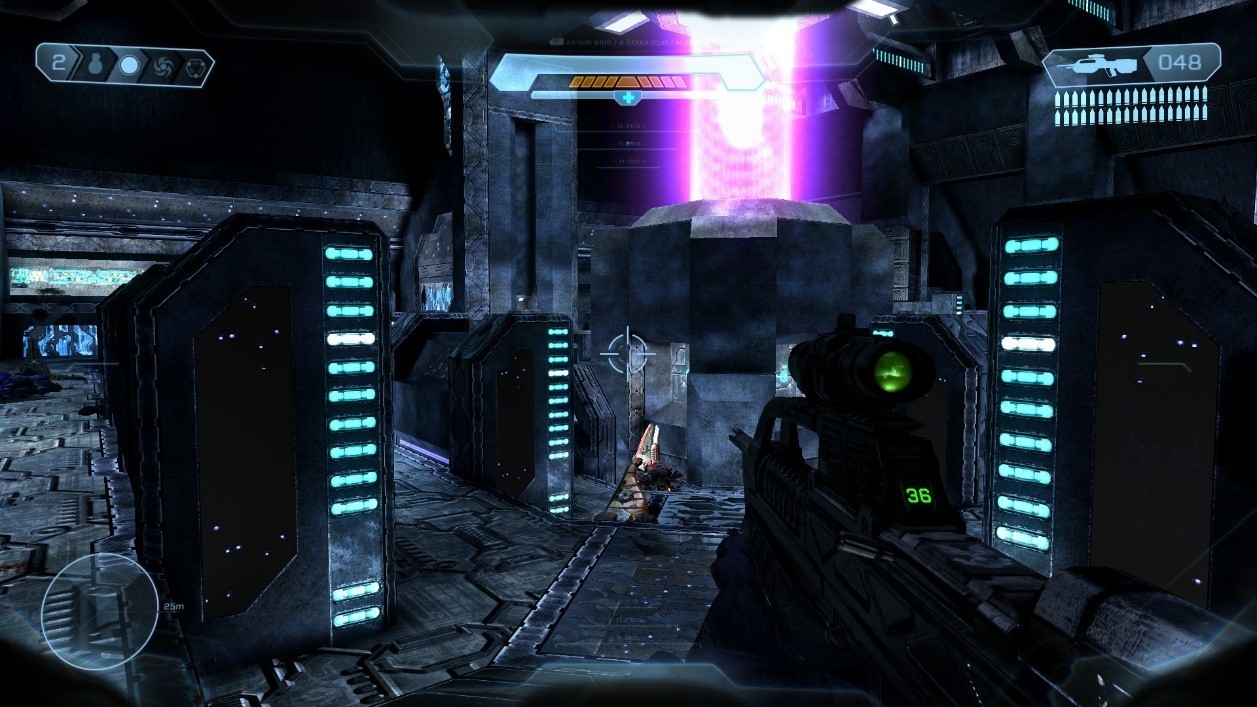
This room reminds me of the ARK cartographer in Halo 3 as well as the shield generator towers in the level following it in that game. The next forerunner terminal is supposed to be up a small ramp directly opposite me but there’s nothing, meaning I have to restart the level. Or so I thought: I guessed it was another glitched terminal like the regular level and Assault on the Control Room, but I was wrong. As I discovered on restarting & avoiding using any terminals, It’s worse than that. It’s gone completely. And I’ve no idea if it’s simply missing, lodged in the wall, if it’s been moved or where it is if so. Fix your damn bugs! https://youtu.be/0MDwKzH4ez8?t=633 So instead I’ll just show the one from earlier on the way back out.
“The grenades hit hard and it’s the best we can do right now.” Back at the security station with the missing terminal, though the next door is a narrow but tall cavern with a cross shaped walkway leading through it. There’s ammo and health on the side ramps and an overshield on the other side. Through there is some kind of garage with a piston behind some space crates in front of me and a large elevator in the middle, guarded by grunts, brutes and a pair of hunters. The lift protects people from falling through the hole via the best dance floor ever.
All it needs now is a pool of jelly underneath for dunking everyone in when it turns off and we’re golden.
It’s as if all of Tanigo Island is hollow with all the giant passages and tunnels we can explore. More of them link to the beach at the start as well as a ledge above the cartographer building you can only otherwise reach via grenade jumping. Caves so deep where you can still see the sun. It’s amazing and scary all it once. As Marine the Raccoon (no relation to the UNSC marines nor Chips Dubbo) would say, the sunlight may make it feel a bit safer. Holomen’s Caverns here couldn’t have formed through volcanic action so either they were dug out more than they had to be on purpose or were created through some other cataclysmic event. Past this part of Holomen’s Caverns is the security terminal.
Act 3: It’s Quiet – Wave Ocean: Seaside Hill
That bridge will take us to where Bravo 22 crashes and this time we actually hear them go down. Other than some major jackals, the stealth elites now attack in the beam room with the missing terminal. It doesn’t magically appear upon turning off security so I’ll show the previous Forerunner one now that it’s appropriate.
As a famous human poet once said a long time ago:
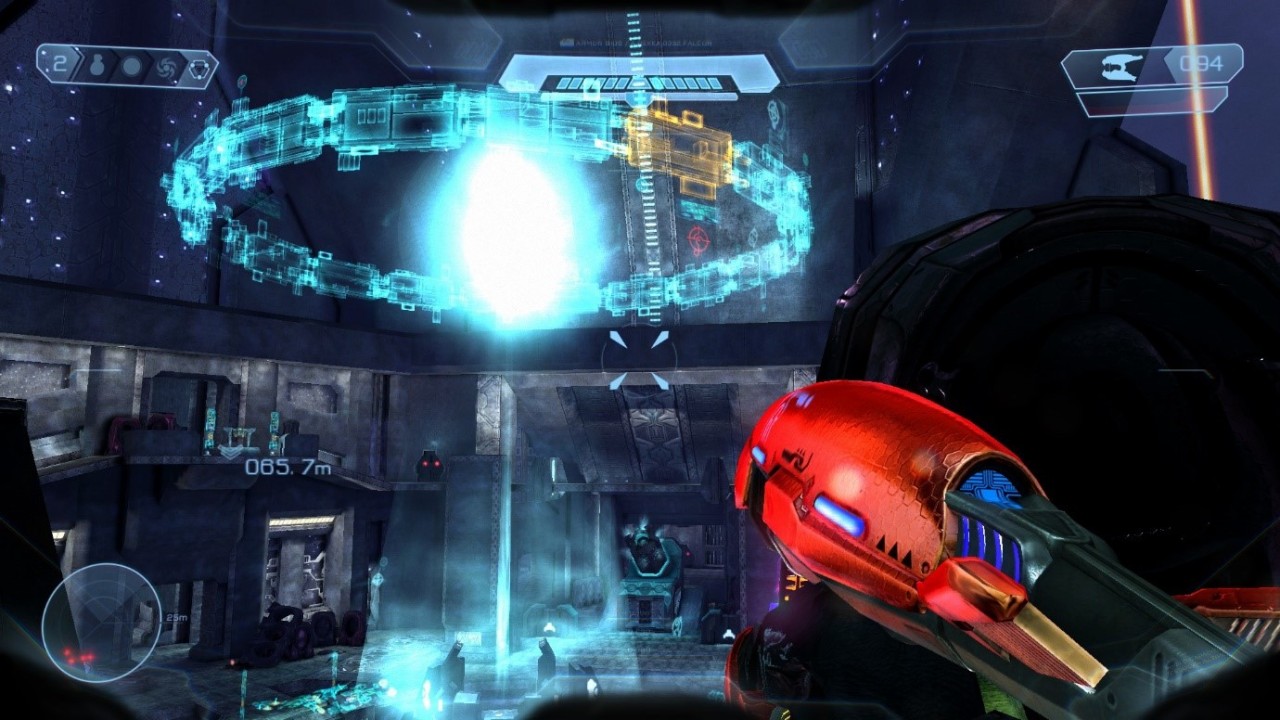
As was discussed in the main Tour of Duty for SPV3, we are now directly responsible for the Flood being released and Keyes becoming part of a Proto-Gravemind. Ooops. No wonder Miranda Keyes was planned to betray us in a scrapped story plan for Halo 2 due to blaming us for her father’s death. https://www.halopedia.org/Miranda_Keyes#Trivia There’s something odd about the hologram in the override station. It changes to show another building, but I don’t see anything around other than the towers out to sea.
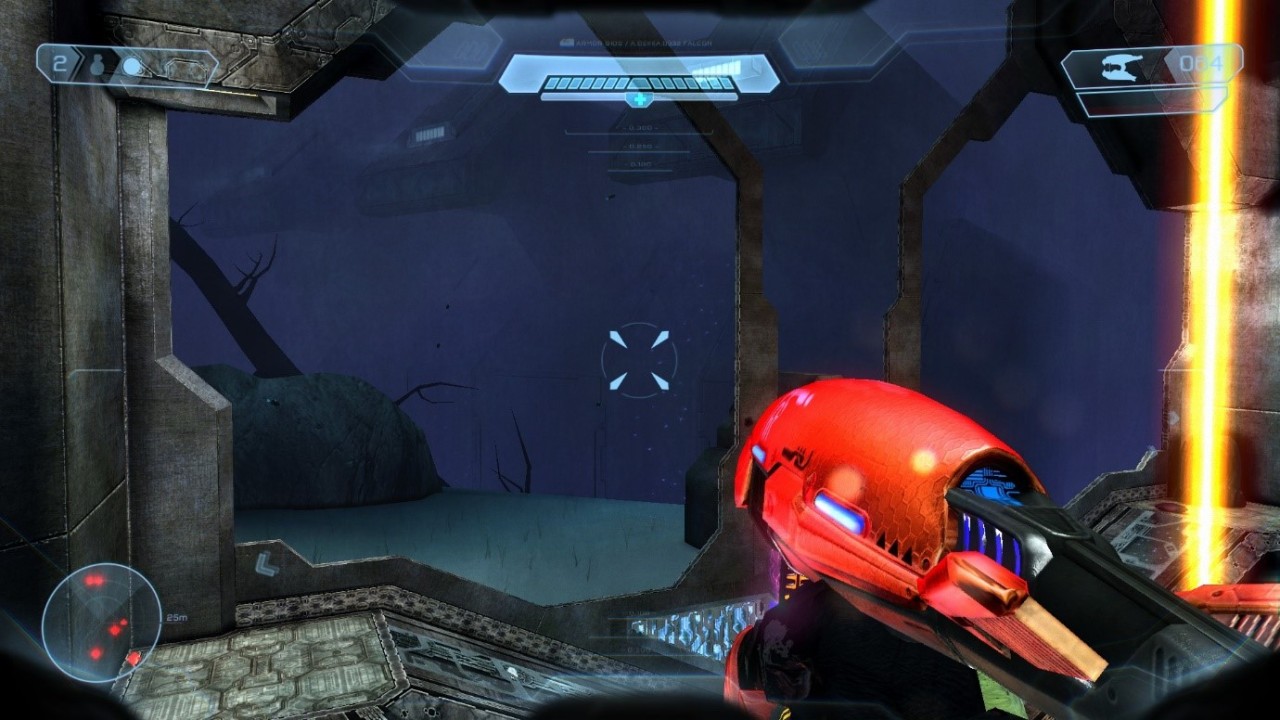
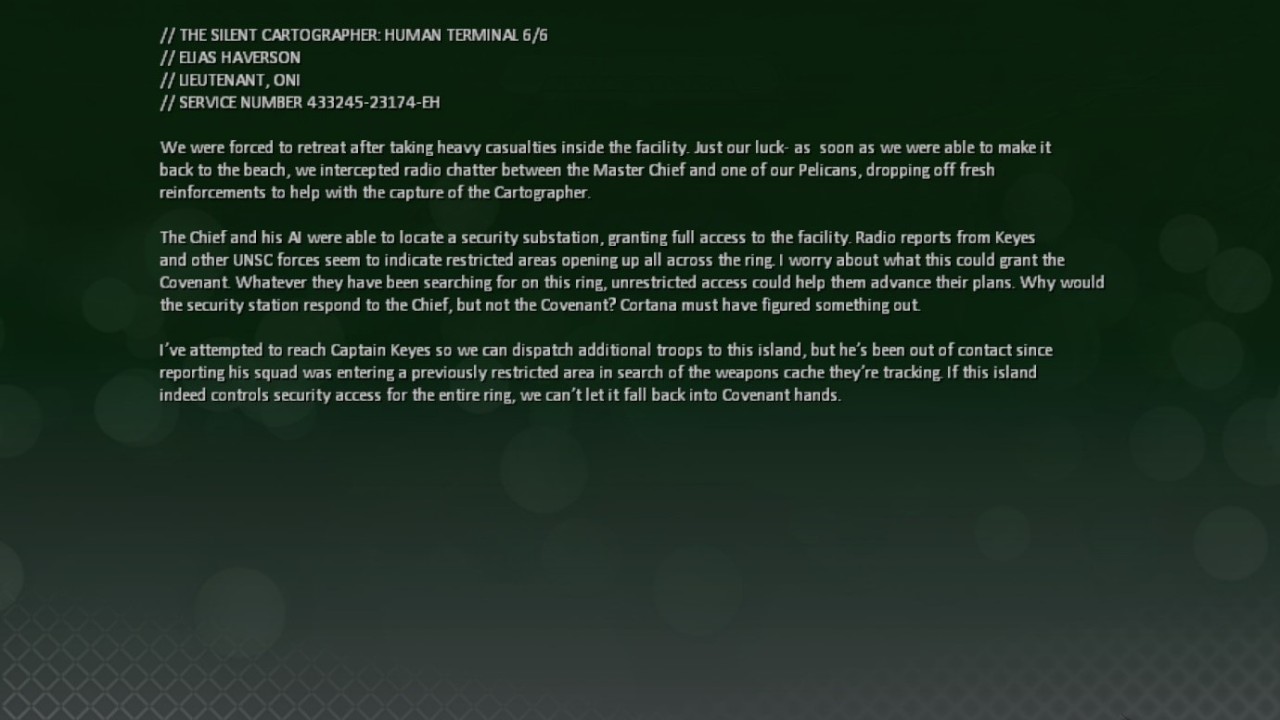
Outside, the blue light beam coming out of the round hole is now red, warning that the ring is not secure now. Blockers on the bridge prevent vehicles from making it across so we have to walk. The next terminal is in Bravo 22’s crash site, which I read after killing the elites and brutes I find fighting the marines.
Using terminals seems to count as a checkpoint in this level so when I die I end up seeing them again upon reloading. The warthog here is a rocket hog which as you may remember, first appeared in the Gearbox PC port of Halo 1’s multiplayer but saw a canon first appearance in Halo Reach with a slightly different turret design, similar to how the reimplemented TOZT 7 flamethrower made its way into Halo 3.
This cool jump takes us back to the spaghetti junction of rock paths inside Holomen’s Caverns. We have a choice of an upper or lower path so I take the upper one. The other path behind us to the right upon entering cannot be reached from this side due to a gap and a higher ledge.
I ramp off the sandy spit to another beach where a second spectre and more covenant are waiting. The next terminal is here, impaled through the screen by a pfhor shock staff shaped lamp.
Over the next sandy hill is the plug over the exit vent shaft where hunters are meant to be fought, but there’s none here. The terminal that shares a space with this level’s one in Halo CEA is here too like in the regular level.
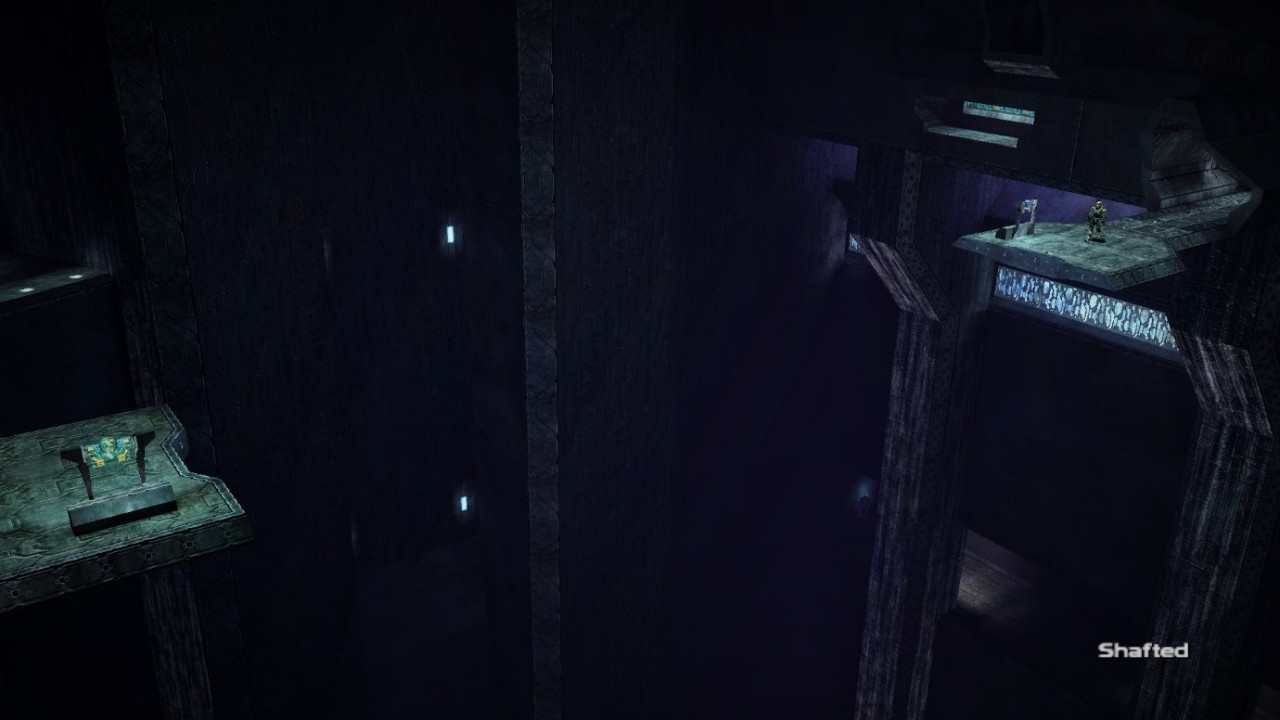
The tunnel past the ledge above the Cartographer building I saw earlier connects to the other side of the plug so I drive down there and deal with the covenant reinforcements. Power armour brutes and major jackals are now in the basement. Act 3: Shafted – Wave Ocean: Aquatic Base
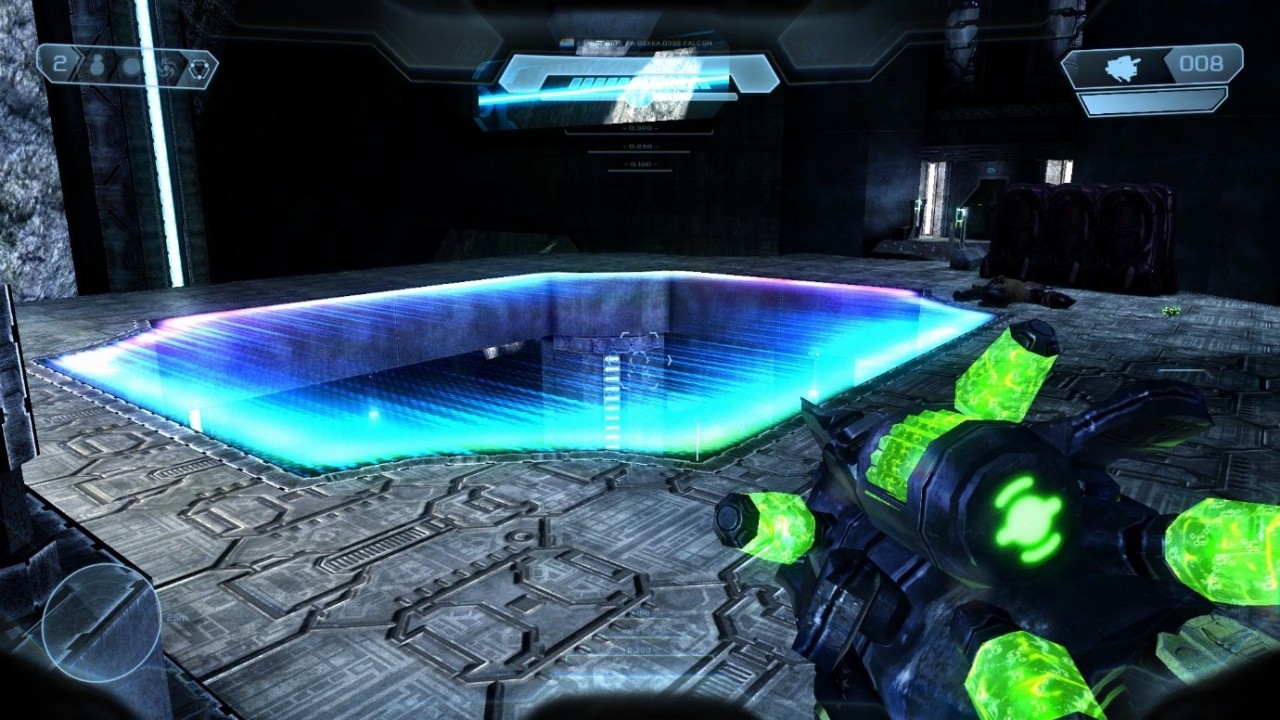
Ah, now I see! There’s a submerged section that connects these towers and houses the Cartographer itself. This is what the second, orange hologram in the security substation was. Looks like we’re going down! Unless you’d, prefer to swim. The holopanel turns on a light bridge to the other side of the vent shaft. Over there is a long anti-grav lift to the aquatic cartographer base.
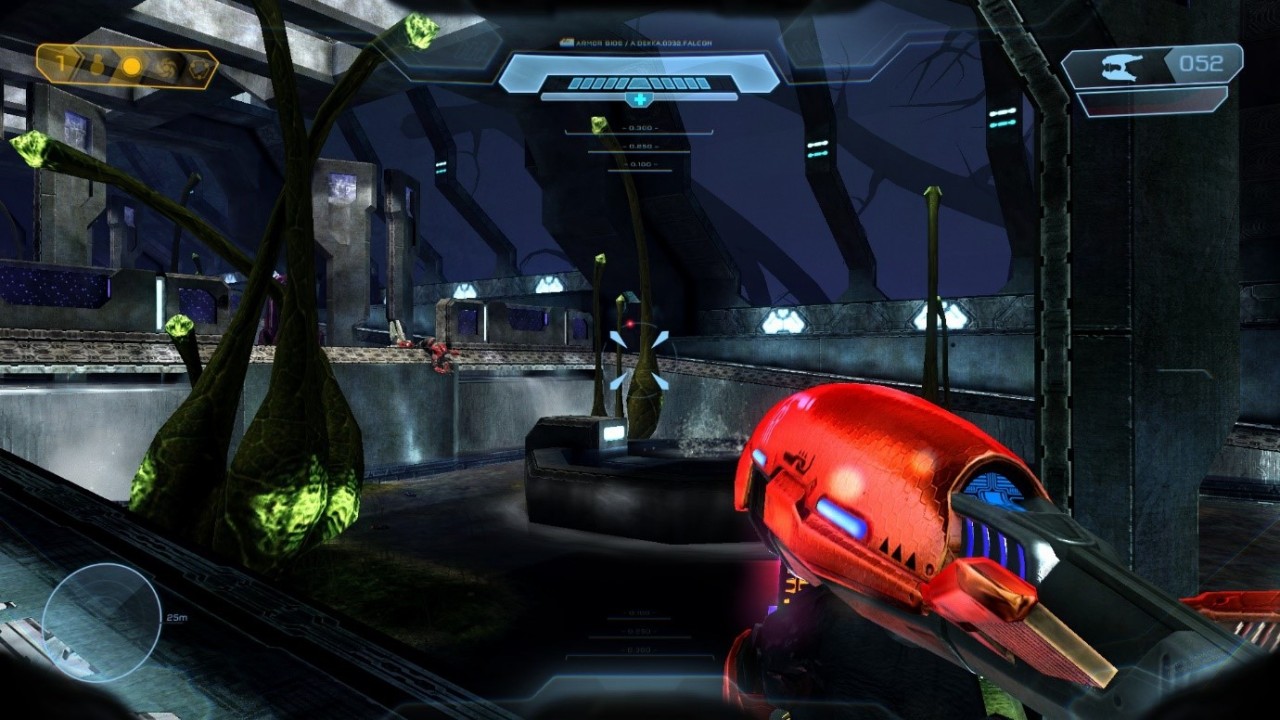
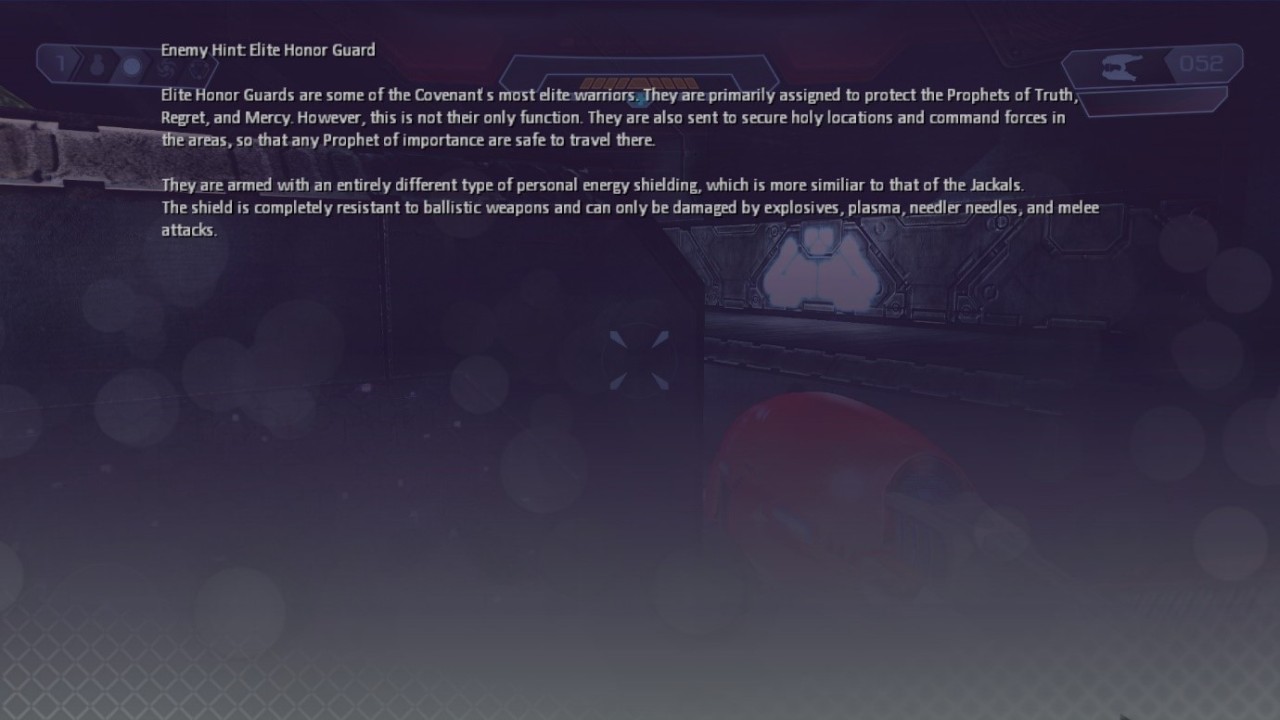
I love this section of the level. It’s based on my favourite part of the Halo 2 level Regret. In that, you ride “enchanted elevators” (where service always comes with a smile) underwater in a huge lake past sunken ruins and blue floodlights hidden in the murky darkness until you come to a submerged section between different ruins. There was even a flooded glass passage toward the 2nd glass elevator similar to this that would have made the perfect swimming pool footbath. Regret in Halo 2, Sleeping with the Fishes in Tomb Raider 3’s expansion pack, all the Offshore Rig & Maria Doria levels in Tomb Raider 2 and the aquarium across the river from my (now sadly late) Grandma’s hometown are why I love the Aquatic Base trope, to the point it even has affected my dreams. As I fight the covenant in here, I notice a grunt ends up lying dead in mid-air over the fountain instead of on the edge of the ramp. Cortana also warns me about the honour guards and recommends a grenade or rocket for their shields. She isn’t the only one.
Down a ramp on the other side of the underwater biodome is the next terminal in a dead end, precariously placed on a glass floor above another vent shaft.
Up some twisting ramps is a large ledge beside another vent shaft, presumably the one under the plug where we exit from. There’s honour guards backing up major elites, grunts and jackals plus there’s human weapons by brute meat hooks in the left corner from where I enter. The next Forerunner terminal is between the openings over the vent shaft.
Down a hall near this cave is Halo’s answer to the Marathon’s disco room in Eternal where yet another terminal is found.
Mind the honour guard that ambushes you behind this door. Inside is the cartographer room, which is themed around its counterpart in Halo 3’s level The ARK. In the main tour, I said how anticlimactic the silent cartographer is as we just see a small wireframe and Cortana tells us where the control room is. In Halo 3, not only is the map room much bigger but we actually see where we plan to go next as well as get some early foreshadowing for the endgame location. The Silent Cartographer Evolved takes the latter idea and works with what the jailbroken Halo 1 engine allows it. “This is it. Analysing…There. Power source detected.” Cortana informs me, pointing out 3 generators around the room that power the hologram map in the middle.
The covenant keep coming through small hallways behind each generator but they don’t respawn so you’ll be fine if you carefully pick off them all. The last couple of terminals are in here; a human one in a small room near the far generator from where I came in (it’s locked unless the covenant come out of it as far as I can tell), a covenant one near the left generator and a forerunner one under the main console in the anti grav lift room under the disco area. The latter two display the wrong messages however: The covenant one shows a forerunner terminal message and the forerunner one shows the same message as the one by the vent shaft near the honour guards. C’mon Masterz, I thought we were past this? https://youtu.be/0MDwKzH4ez8?t=1167
I’m not looking up what the actual messages are. I’ve a million other ways to spend my time. Each generator creates a central light sphere from the main projector in the middle as each one powers on.
Am I turning on a giant GPS or a fusion reactor? As the final generator comes on, a large Halo 3 cartographer esque hologram of Halo appears around the “star” in the centre.
The new silent cartographer here is WAY nicer than that one!
As the map separates the pieces of the ring, Cortana points out a particular one with a certain symbol hovering above it, this being where the control room is. We still can’t see the actual details but I’m willing to tolerate it in this case as an engine limitation as unlike Bungie, the SPV3 devs tried with the map room.
The other option is that the control room’s mountains are the orange highlighted section. The only other things I think it could be are the cartographer itself (a fancy “you are here” marker) or the Flood containment facility where Captain Keyes is.
When Cortana speaks to Echo 419, the second part of Covenant Dance starts up, making our escape from the aquatic base even more thrilling. The hunters in the disco room who’ve taken the elevator up don’t even notice me: they’re too busy staring at the wall. My brute plasma rifle and focus rifle come in very handy all the way back out, especially in the biodome. Outside, the final stealth elites are easily dealt with using a black hole grenade followed up by a cluster grenade and a plasma grenade. I finish off the straggler with my brute plasma rifle. Foehammer picks us up and we head down the vent shaft to the Control Room as the last 2 times. Interestingly in SPV3.3, the vent shaft plug opening in both versions of this level shows the space crates and other junk on top falling into the shaft.
Part 3 coming immediately
| ||
|
Problems? Suggestions? Comments? Email maintainer@bungie.org Marathon's Story Forum is maintained with WebBBS 5.12. |