/-/S'pht-Translator-Active/-/
|
|
/-/S'pht-Translator-Active/-/ |
| Tour of Duty: Aye Matey! | ||
| Posted By: VikingBoyBilly | Date: 7/1/18 4:55 p.m. | |
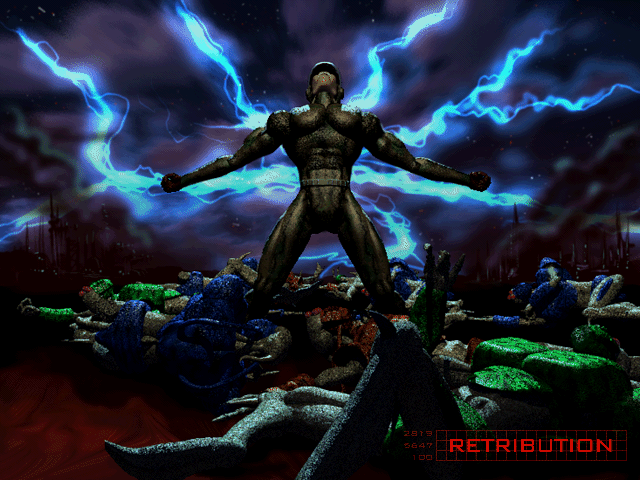
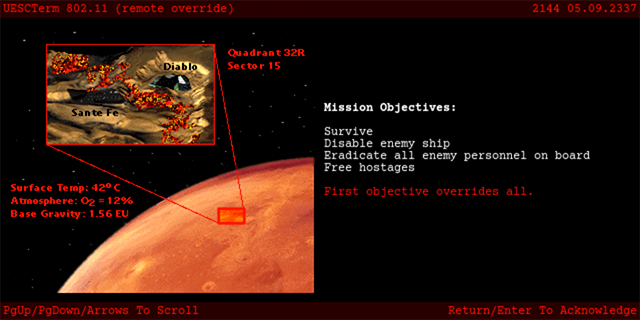
 Last time on Tour of Duty, we had to ride an elevator to the top of a tower just to teleport out of here after stopping the explosion, because apparently neither Mithrandir or the Yg'Noml AI could do that without us getting up to the interspace transporter. But there's no time to rest yet, because we've just been called to help a crashed ship of humans fend off an attacking pirate ship. Will there be booty aboard their ship to plunder? Golden shield (er, life?) canisters and chests of ammo arr what we really need. Welcome to Retribution: the final chapter.
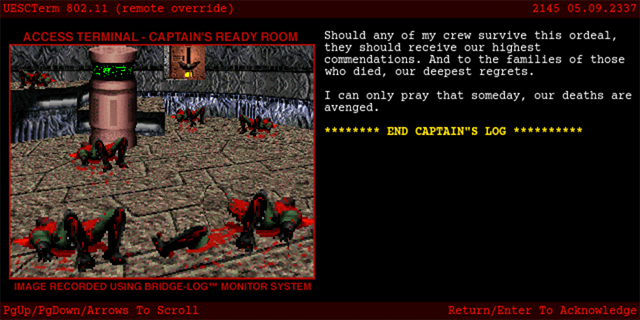
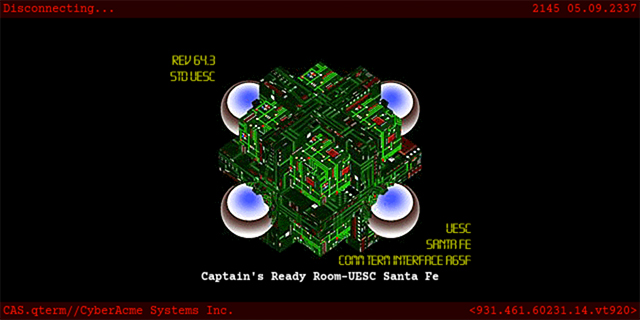
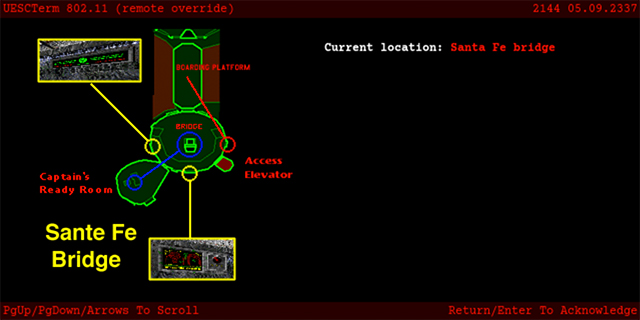
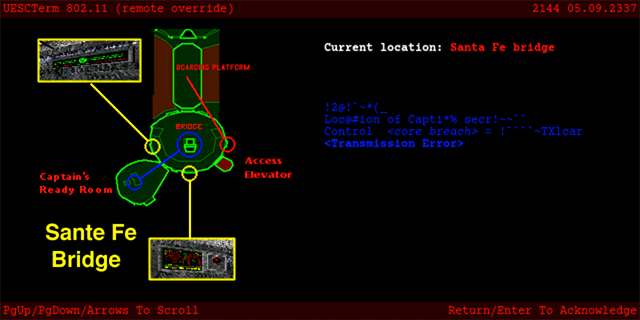
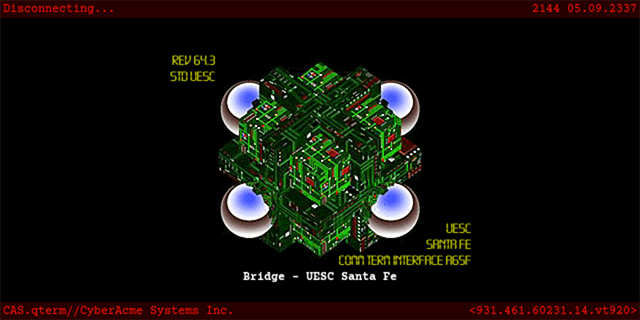
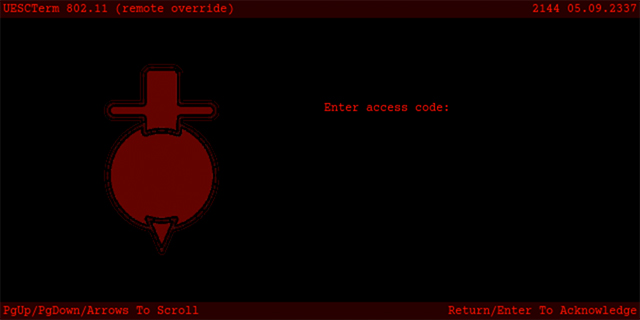
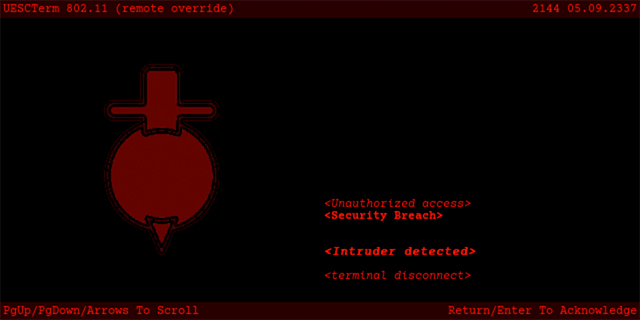
See that lightning? That's the surging power of a Mjollnir! If only it was the same universe and that made sense. The pirates on this chapter image look very pfhor-like. You might say "well, duh," but the M1 version of this scenario had different chapter images, some of which had pirates that look... similar, but much more insectoid. As in very angular with very defined, brittle joints, as opposed to thier curvy and slim looks here. We’re back on a human ship, and we start out in a room that looks like a bridge, and there’s a juggernaut floating outside! There’s a pattern buffer here, a terminal, a yellow recharger, and some buttons, but nothing’s working. So where do we go? We can’t just sit in this chair all day. There are two doors: one on the left, and one on the right. Left is not right, as it leads to certain doom with a cyborg. The door on the right looks like a captain’s cabin of sorts, with a desk and everything, and a button that turns on the power! Just watch out for that cyborg that comes in to pay a visit! We can go outside to save and recharge, but there’s a terminal in here. Cyborgs tend to like tracking us in here, so be wary reading it: 

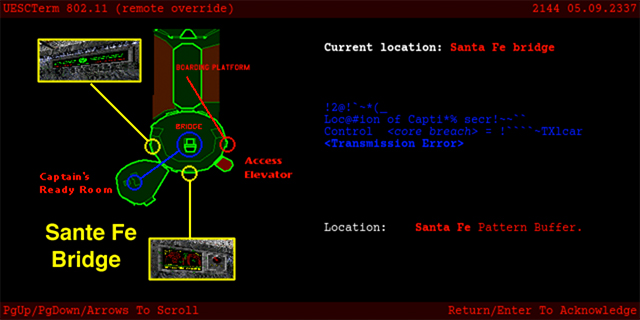
And the other one in the bridge is now on: 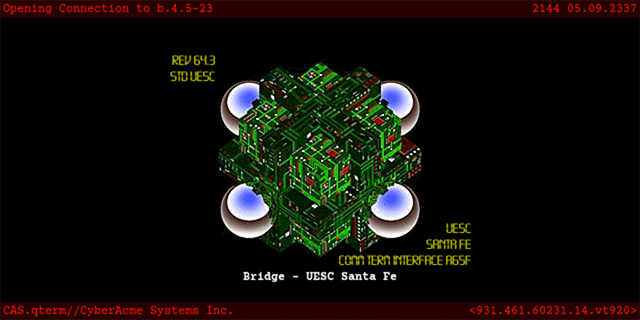
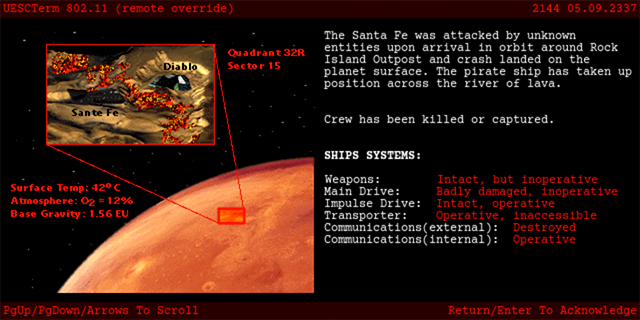
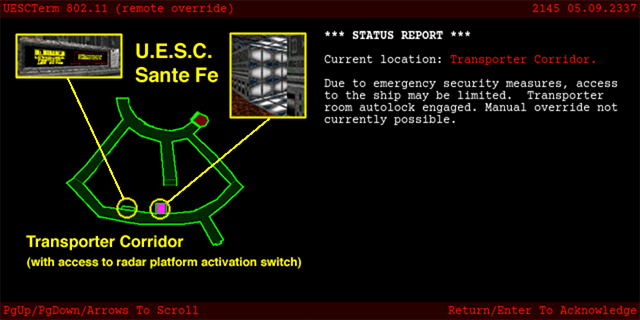
So, we’re on a planet. Interesting. So that’s why it’s bright and non-spacey outside. This is a divergence from the M1 scenario, that didn’t have any planetside skywalls, so it was just a static dogfight in space. M2 has a lack of outer space skywalls, the closest being the landscape of the Lh’owon moon, so they adapted this map by changing the space pit of death to a river of lava and changing the terminals a bit. If we go back to the captain’s quarters, we can find a button under the desk. Classic hiding spot. It lowers the seat of the chair in the bridge down to a forked hall with a button in the middle. There’s a lot of these forked paths in this map. The button raises the chair for us to go back. On the left is a room that looks like a daunting theatre for enemies to warp in, but a bunch of ammo and a SPNKR warps in instead! That’s a good place to choose for your first path. On the right side is a lift that takes us up to… the ring-shaped main hall of the map, I guess. Let’s see what this place looks like: 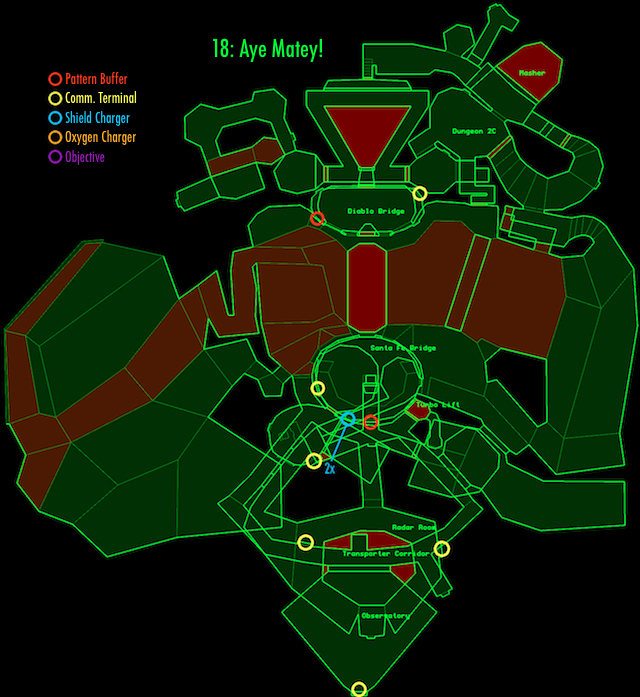 Now that’s one deceptively-sized map that’s actually not as big or complex as it looks when playing. It’s actually quite short and simple, but all the enemies are what make this map tough and long to complete. We are on the lower-end of this map, underneath the Santa-fe bridge (we went down “turbo lift”). Can you see the two overlapped rings and all the little paths they branch off to? No? Well, it’s there. Going to the right will take us under the bridge and right outside to the river of lava and the juggernaut! Okay, that’s the WRONG way! The left takes us to a room on the map marked “transporter corridor.” It’s unusual to name a room a “corridor,” at least as an official title. Plus, it’s a big, round, open area. That’s not what I think when I think of corridors. The second definition on wiktionary calls it “A restricted tract of land that allows passage between two places.” Hmm, okay, I’ll accept that. So where’s place #2 this transporter is supposed to take us to? Let’s read the terminal, after dispatching a few easy pirates. 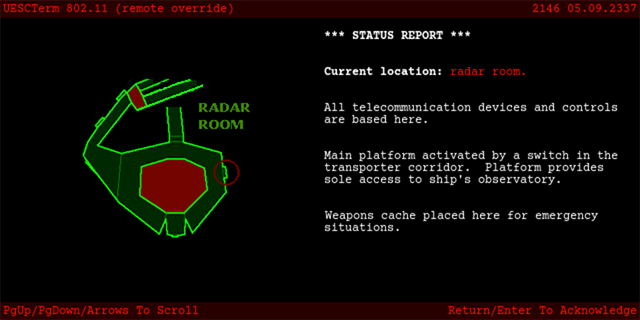 Hmm… if we look up here, we can see a button. Shooting it does… not anything immediately apparent. I was expecting it to lower the platform, but it must do something else. It seems there’s nothing more to do here, so we go back to the bridge and the one path we haven’t gone yet is the one where cyborgs flooded out to kill us, and it’s kind of hard to describe. It’s a multi-level lift of sorts, and if you make it onto the middle floor and touch the floorlight, it will shut off that annoying alarm. That’s all that’s on this floor. On the bottom, you’ll end up in a narrow, curving path with lots of openings on both sides. Now that’s a corridor. The first path on the left will drop you down to another corridor with… enforcers, I guess. They don’t have an official name in this scenario (seven-eyed pirates?). On the left is a button that does… idunno yet, and the right has a teleport back to the bridge. Exploring the rest pf the uppper corridor doesn’t reveal much. There’s a large room with two ammo clips, another dropoff on the other end that I won’t explore just yet, and some gates keeping us out of the transporter corridor. And… the middle lift of the transporter room rose up for some reason, and came back down. We’ll have to figure out how that works. If we drop back down the lower corridor and keep going ahead, we run into another terminal: 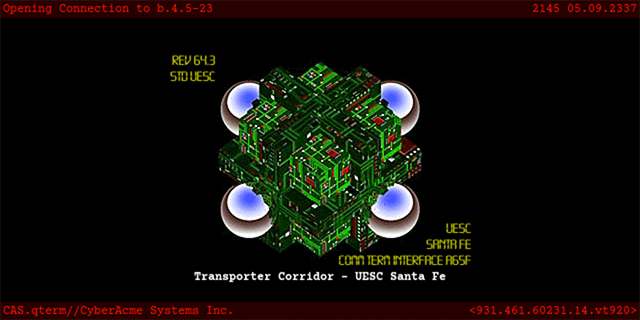
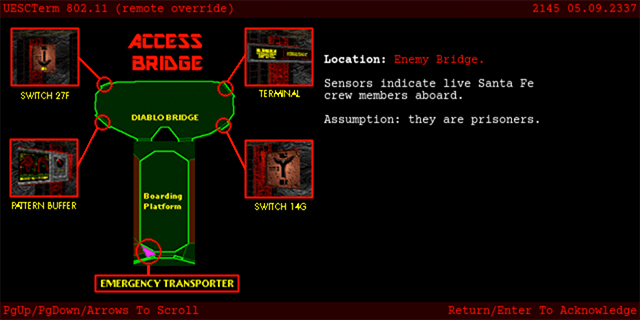
This is the transport corridor, not that other room that has that map label? Some altered placement of that terminal would have made it easier for us to see it before teleporting us back to the chair, and it’s weird to see M2 textures on the bridge’s buttons on that terminal when I’m playing this in Infinity. The end of this corridor is just a dead-end where we would drop off from the other end above. So how do we lower the plank to board the other ship and/or get that ammo stash on top of that big transport lift? Going back to the big lift, the platform is perpetually rising up and down now, so we don’t have to worry about figuring out what activated it. There’s a bit of ammo at the top (Fusion batteries, magnum clips, and AR rounds I’m too full on already) and… that’s it I guess. Maybe there was some delay to shooting that button up here? It doesn’t light up again when I try to press it, so that must have been it. Sorry if pantsing this writeup is giving it a disjointed feel. So I guess the only place left to go is outside with the juggernaut, and the bridge (the plank across the moat, not the cockpit) has apparently risen at some point! We run across it, and the other ship is full of pirates, so we gotta make a mad dash and blow ‘em up faster than the juggernaut can blow us up. I unfortunately died, so I go back and… the bridge is gone? Huh? Oh, okay, one of the buttons up in the cockpit bridge raises the plank bridge, which we can see out the window when we do so. It’s a repeatable button, and pressing it again just lowers it back down, so I must have pushed it a second time by accident at some point. If we beat back the pirates and get in their ship, we’ll be met with, yes, even MORE forked paths. This time there’s three of them! The one on the right takes us to some AR ammo, and pirates like teleporting into each room so much I don’t even wanna bother mentioning every time I punch some more out. There’s a tease of a room with a TOZT and a bunch of napalm canisters for it.   A button does… something. It sounds like a lift keeps going up and down. We find it in the main corridor, and it takes us up top The Diablo overlooking the fire river. Yep, that’s what this ship is called and… Hey! Devil in a Blue Dress! DiaBD! =0 So, where is that blue dress? There’s a 2x canister up here, a PB (Guess those alien pirates have the exact same technology we do… and no, I’m pretty sure the M1 pfhor texture set isn’t used here in the original. And, oh yeah, these are the S’pht pattern buffers. I think it’s about time we noticed how out of place it is to see an X-Ray of a galaxan’s exosuit on every one of these!), and a terminal. 
Okay, not much there, ‘cuz we don’t have the pirates’ password. There are two buttons here, neither of which I could figure out what they trigger. An invincibility powerup is clearly visible atop a cliff out the window, and it looks like it can only be reached by a rocket-hop. Is it worth it to make the rest of the map easy for a few seconds? Well, actually, its true purpose is for reaching a secret in the lava. Grabbing it is hard, because you have to make a full health rocket hop before attracting the juggernaut’s attention, and the platform is placed in such a way that you can easily fly past the thing. You can’t quite land on the platform without falling off, so you just have to be lucky enough to hit the invincibility as you fly. There are two paths under the lava: one just takes you to a room with some bobs and leads to the upper cliffs, which you’ll probably explore first after the rocket hop, so it’s a waste of an area, ‘cuz there’s nothing up here besides the invincibility you can’t reach and would be too damaged after swimming to make a rocket jump.  Notably, that room has a window into another room with a button that’s just barely visible, but we can’t get a good angle on it to shoot it. The other path in the lava is long enough to warrant that invincibility; it’s just too long to survive without it. This area has a lot of lava f’lictas and a bunch of shotgun shells when you surface, and a way back to the ships after the invincibility wears off. I’ve checked in with Perseus/Martin/The guide on this area, and we’re at a consensus that that’s all that’s here. Shotgun shells are good, but it doesn’t seem like much of a return on the investment to make it here. It’s hard to write this up because there’s 3 other paths we can go at this point. There’s a central triangle in the DiaBlo as you can see on the map, and unexplored doors at the top left and right corners. I’ll instead choose to explore an elevator that’s at the bottom left of the entrance. At the bottom is a very cool lava window, a button to the right that raises the lift back up, and some ominous bones. I don’t think we’ll find any German ammo stashed under these skulls. Note to Lion O Cyborg: finish PiD.   And at the very top of another lift is some wires to punch. Thankfully, no annoying alarms blare off. There’s a lava path below that looks… curious.  Sinking under it yields… absolutely nothing. It just kills us. I guess either the skulls are just there to look cool or the pirates boiled to death. At the top of the DiaBlo’s triangle neither of those doors open at all, and instead the wall opens and a couple of troopers pop out to surprise us. There’s a small staircase here with some Enforcers that need shotguns to the face, behind a floating tick that divebombs us. Hunters also teleport in to keep us on our toes. A trooper around the corner is silently guarding three TOZT canisters.  But when we go for them, it’s booby trapped! The wall drops down and a whole swarm of cyborgs come barreling in! The way we came in closes off, too, and if we run out the only exit, that wall closes behind us, locking the remaining TOZT ammo in with the cyborgs. And if we stand here and work on the writeup too long, some A-Bobs will creep down to slaughter us with an explodey jump-scare (also, that door will crush you if you’re too slow). We’re now in one of the teaser rooms, and there’s just a button and a big door here. Pushing it does exactly what you’d expect and opens the door, and on the bottom there’s a window open for the cyborgs to lob grenades in at us, but not big enough for us to fit! The map has a label for their area: Masher. A button on a wall here lowers the ceiling on them, killing them, and after they’re dead it will continue grinding up and down, but it’s one of those re-tabbable buttons so we can stop it whenever we want. I sorely doubt we’ll ever be able to get back in there to pick up the remaining TOZT-7 ammo, if we even use up the ammo we have to be capable of grabbing them. Now we’re in the other teaser room with the TOZT on the ledge, with a teleporter and a path where the TOZT is that we can’t reach without rockets/grenades. The teleporter takes us back up to the Diablo bridge. If we go back down to where the masher is, it’s still blocked off with no way to get in, but a new path has opened with a new button and teleporter. The teleporter takes us back inside the TOZT room, and the button evidently made a rising platform for us to reach the TOZT and the path behind it. The path takes us back outside where the Juggernaut is, having opened a secret door on the side of the Diablo. Out there we’ll see that the old bridge has lowered and a new one has risen up. Something we did here made the old bridge fall; some investigation leads me to conclude that smashing the wires in the lava room with the skulls is what rose this new one. A new area appeared over at the Santa Fe side and a bunch of troopers storm out of the place. Lobbing a rocket should keep us momentarily safe as we make a mad rush for the 2x charger at the top of the Santa Fe… except a long line of troopers are right down the elevator we need to go to to get to the teleport back up! The pirates are invading! I think this is a nice way of showing, through map design, that more pirates got into the human ship while you were blowing stuff up in their Diablo. It’s just not nice for the player that wants to heal. But, if we go to the new area that opened up, we’ll find a bunch of shotgun shells and some BoBs that teleport in, and a new path into the transport corridor area. Down in the lower corridor, a wall opened up to reveal a big, empty room with nothing in it but a terminal. 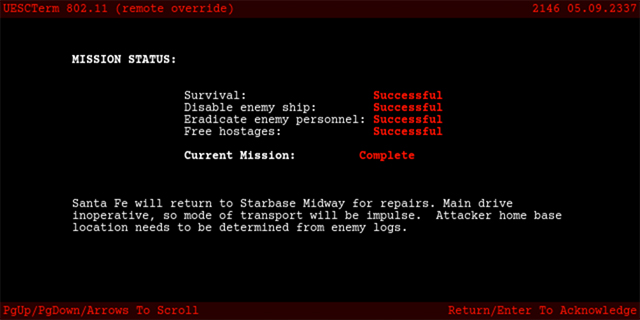
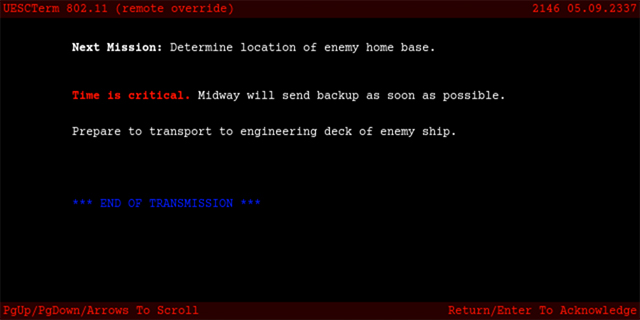
Well, that’s the exit, but what of those troopers clogging the other route to the bridge? Well, we can teleport back up to the bridge, heal up, and drop down the chair to TOZT those suckas, and use whatever other weapons we need when reloading is too slow. Turns out they were just guarding the ammo room full of rockets and AR clips; there’s nothing new, but it’s good to stock up before we leave. And that's it for me! It's VBB's last walkthrough of the scenario. We're in the homestretch with only two maps left. Join Perseus Spartacus next time to be frustrated and confused in the engineering deck of enemy ship, otherwise known as Bats in the Belfry!
| ||
|
| Replies: |
| Tour of Duty: Aye Matey! | VikingBoyBilly | 7/1/18 4:55 p.m. | |
| Re: Tour of Duty: Aye Matey! | General-RADIX | 7/1/18 5:37 p.m. | |
| Re: Tour of Duty: Aye Matey! | VikingBoyBilly | 7/1/18 5:43 p.m. | |
| Re: Tour of Duty: Aye Matey! | PerseusSpartacus | 7/3/18 6:07 a.m. | |
| Re: Tour of Duty: Aye Matey! | VikingBoyBilly | 7/4/18 6:32 p.m. | |
| Re: Tour of Duty: Aye Matey! | PerseusSpartacus | 7/3/18 6:10 a.m. | |
| Re: Tour of Duty: Aye Matey! | Martin | 7/3/18 4:30 p.m. |
|
Problems? Suggestions? Comments? Email maintainer@bungie.org Marathon's Story Forum is maintained with WebBBS 5.12. |