/-/S'pht-Translator-Active/-/
|
|
/-/S'pht-Translator-Active/-/ |
| Tour of Duty - With a little help | ||
| Posted By: Martin | Date: 1/9/18 11:47 a.m. | |
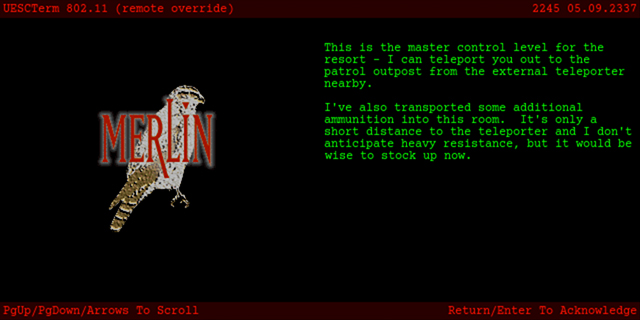
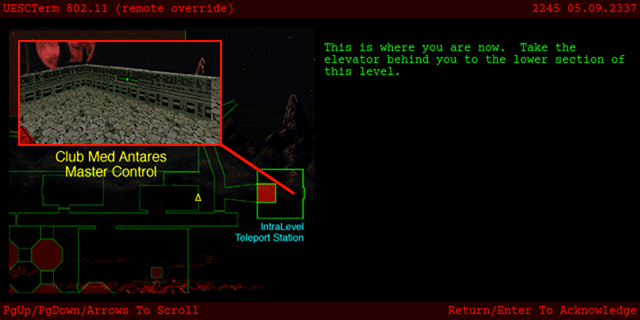
 Okay, moving right along, now that we've got our groove back, let's wait ... no longer. Last time on Tour of Duty we exploded simulacrums, climbed a platform puzzle, cleared a rather packed room of pirates, found several surprising secrets including a stealthy ledge of lava, and escaped through a sneaky teleporter in the ducts ... why did it have to be ducts? Also interestingly, looking back at that first terminal, Merlin said the ducts were infested with ALIENS rather than pirates or whatever ... I guess he just couldn't resist :). And that was actually the only real terminal on Lava. It finished up with Merlin saying he'd be waiting in the "master control section" ... so let's just hope that's where we are; one can never be too sure with Merlin. We arrive right in front of a terminal, so we don't have to wait to find out. Merlin tells us that we are indeed in the control centre of the complex, and we can get out to follow up on this Diablo business via a teleporter quite nearby. Sounds too easy, and in typical Marathon fashion - Come and take your medicine excepted of course - it is.
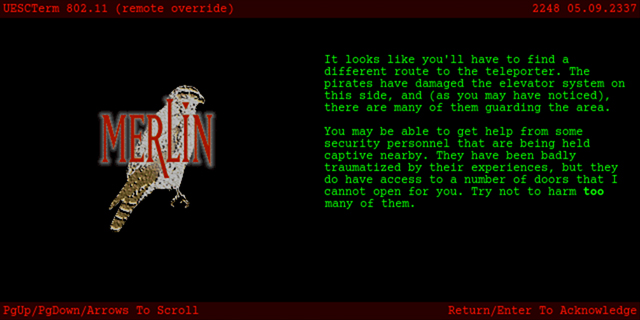
He does give us a handy bunch of assault rifle ammo and grenades, to be fair to him, but this level packs quite a punch so we can't afford to get comfortable. Once we go down the lift in this room, it automatically comes back up and we can't get back here, so on lower difficulties there are in fact too many grenade packs here! Down said lift we hit a T-junction - to the right we find a couple of Fighters and then a locked door. High above to the right there are a couple of Drones behind a fence panel, for some reason. As far as I know, all they do is prove that BoBs don't understand polygon geometry, but that doesn't mean anything here yet! Back the other way we come to another corridor with two rooms off the near side and one off the far. The first on the near side has a few Fighters and a 2x shield recharger, which is nice to have so early on, but also ominous. And indeed, taking out the Fighters here summons a ton more, quite taxing on high difficulties. There is an opening visible high up on the wall here, but we've not been granted a SPNKR yet ... hmmm! The room on the other side of the corridor is the exit room, technically, but the switch for the lift to get up to the exit terminal has been disabled by the bloody pirates. These are clearly not the type that just steal music and movies! There are also rather a lot of them in this room, including Troopers, which is always fun. Also of note is that not even a SPNKR would help us here, as the ceiling is too low over the raised area where the exit terminal is. So we're definitely going the long way. And in the last room off our corridor, we find a terminal where Merlin tells us basically exactly that, and that we might be able to get a little help (roll credits) from some security personnel being held nearby. Although they are rather traumatised, they have the advantage of being able to open a few doors that we cannot. Merlin has an excellent Marathon sense of humour when he tells us not to kill TOO MANY OF THEM :).
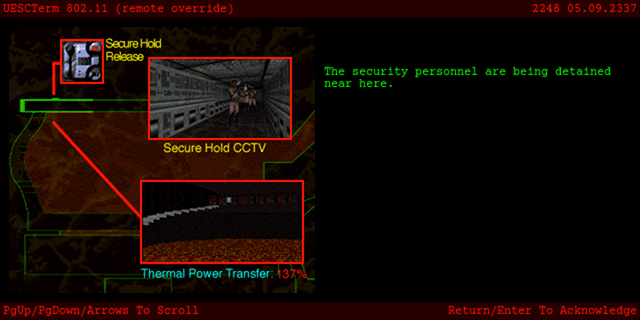
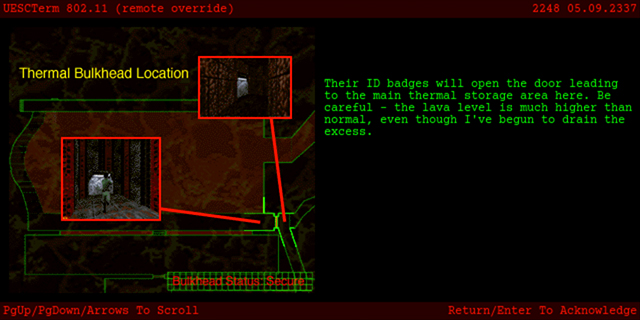
We can go one room further in, here, and it is a very dark one. As we explore it, we summon a bunch of Fighters, and then windows eventually open on the side opposite where we entered, to reveal a room with ledges on either side of a lava pit, with a staircase connecting them, and a long line of Projectile Fighters on the top edge, reminiscent of Habe Quiddam, but not quite as scary as we DID NOT have to survive a mad gauntlet to get here - seriously, especially on low-end hardware, that level was just evil. But I digress oh so much. The room is the one that Merlin showed us as where the BoBs were being held, and conveniently, we even have cover between the windows, AND a bunch of grenades at the ready! When the carnage is over for now, we notice a switch on that top level as well, and a swift grenade into that releases the BoBs. They can take a little persuasion, in the form of bullets, but eventually at least one will make it all the way down the stairs and along the path in front of us, and open the locked door we encountered here early on. Something of a miracle in the engine as far as I'm concerned: more impressive than the BoB that crossed the map in secret on Hostage, because we get to watch it first-hand, and somehow heart-warming, that the BoBs can actually be made to care. Was this a thing in the M1 original as well? Sometimes after opening the door, the BoBs will try to hit those Drones that I mentioned at the time, but without bothering to aim up, so they have no chance. I'm not sure how steep an angle they can shoot in general, but they definitely could do better. Otherwise, reverting to more typical useless BoB behaviour, they mainly just stand around and get in the way, especially on the staircase where they are wont to congregate. We backtrack, get a shield recharge, and head to their room. Up the top there is an open small room with more AR ammo, and interestingly there is a secret one down the far end of this ledge, in a nice symmetry. That one has the interesting habit of spawning more Fighters every time one visits it! There are a few maddening things like that in this scenario. We also see at the end an opening at the top of the lavafall that feeds the pool. Interesting. Back by the switch that released the BoBs, there is another opening that takes us into an dodecahedronal ring around a central lift. More pirates teleport in around us as we progress, and then we see through some windows another lava pool room that extends around much of the outside of this dodecahedron, in fact forming half of a shape with even more sides! There is a ledge high up on the far side, and a switch on our side raises a platform from the lava, allowing us to ride up to it. From here we can explore into the other half of the large shape, which happily has no lava in it - it is a long corridor with a few rooms off it, a bunch more pirates, and even some Galaxans into the mix! If we head right from the lift up, the first room we come to has some stairs down a wall and then more stairs leading up to another 2x shield recharger ... guarded of course by pirates. Next we see a 'room' outside this ring through a window, where a bunch of ticks are flying around. We can take them out to get them off the radar, but they don't seem to be bothered about blowing us up. There -is- a platform out there with some of those Infinity sculpture things on it, but I can't see any evidence of it on the map! Oh yes, the map!
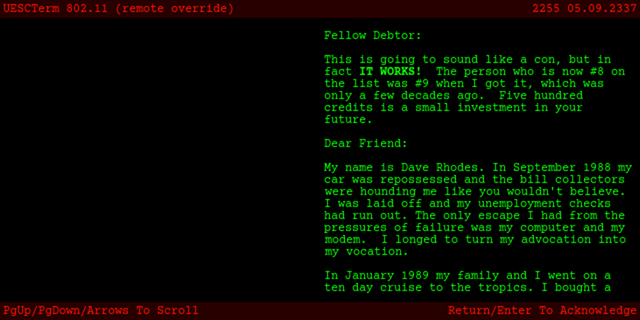
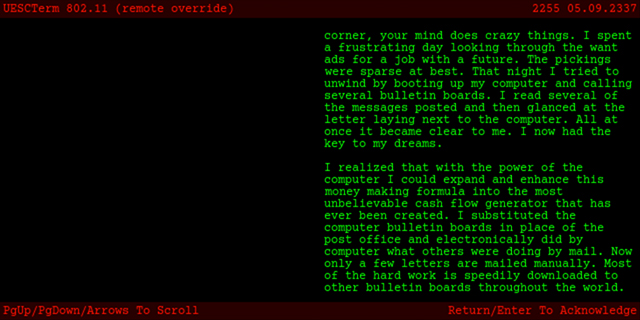
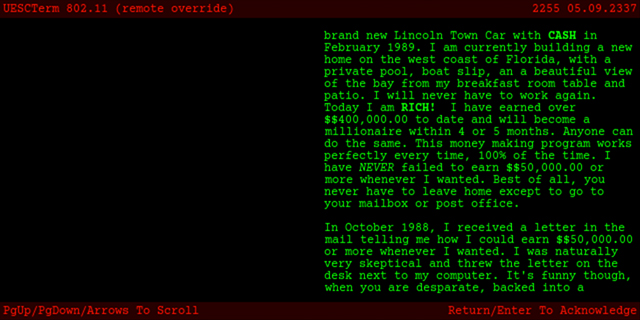
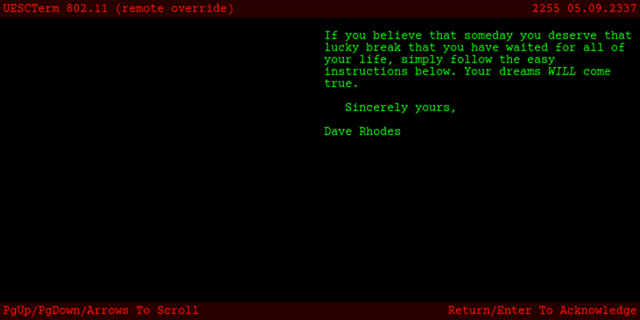
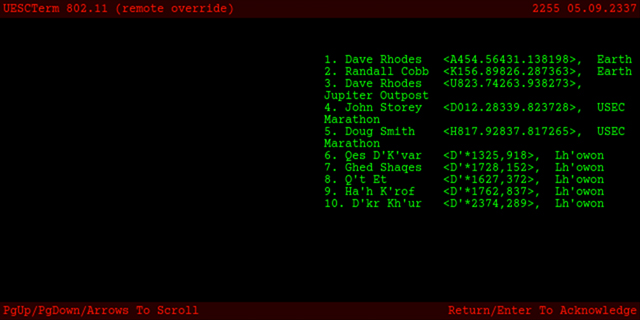
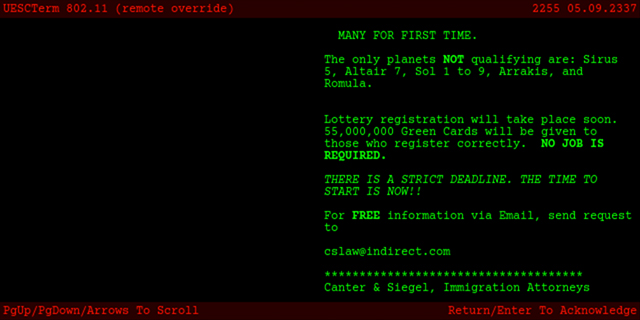
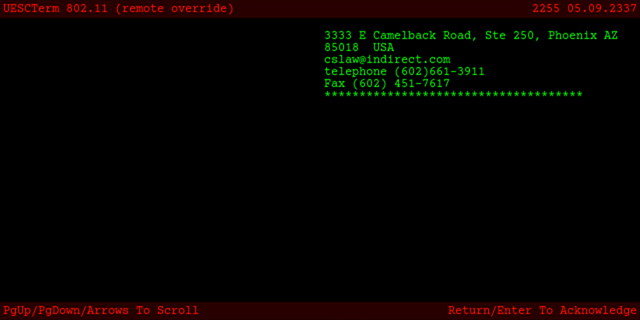
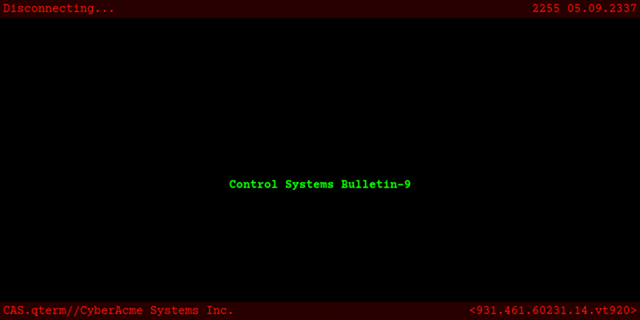
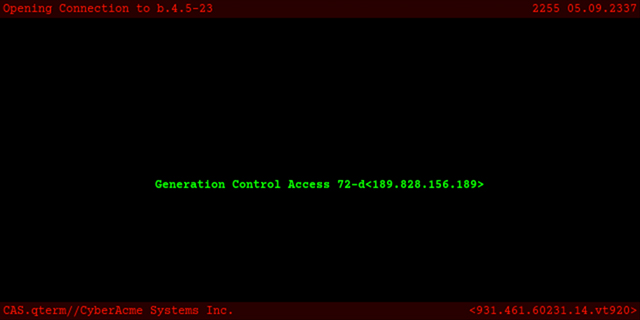
So far we have come across the middle area from right to left, and find ourselves now at about nine o'clock. You may note that that first lava pit looks a little devoid of lava ... and we'll come to that; for now I'll just say that a lot of the top is secret! In the meantime, the next room off the ring goes through to another small dodecahedron, directly on top of the central lift from earlier. Herein are the Galaxans, including an invisible one, as well as a switch, and three, count them, three terminals! These ones are just for fun, with advertisements taking off Earth concepts: A pyramid scheme/scam for making, but really losing, money
A Green Card lottery
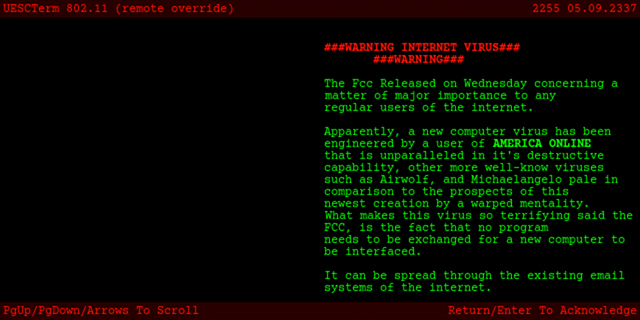
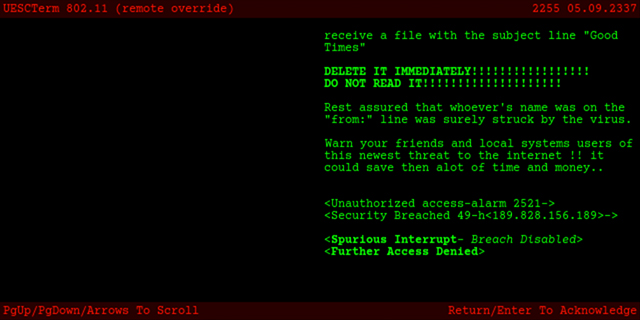
And a virus taking down AOL ... what a great loss :)
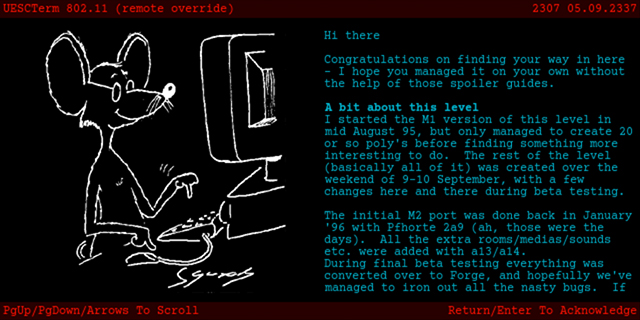
After all of those distractions, we hit the switch to find that it opens a view through to the next room off the outside ring, which contains our very first Pattern Buffer for the level! Now that has been a while. And then there's nothing more to do but head down the lift we took across the lava. We -can- jump back in the windows to the right of the raised platform over the lava, but I've had issues getting through the ones to the left, and they resulted in a hot mess. In fact I had been grenading the switch from halfway along the platform and then running for it, until I found myself saved with no grenades in the more recent playthrough for this write-up, and had no other choice but to try jumping in. And being without grenades was of course a pain for what is still to come. The central space of this original dodecahedron is a lift down. Only part of the lift actually triggers it to descend, and when it does, there is a passage off to the south. We are immediately greeted by a Trooper and a Hunter, and we know how friendly their greetings are! Exploring up the passage finds us in a square room with a central pillar, and more pirates teleporting in around us - especially those grenades are a pain in these quite close quarters with walls around! We go along another short corridor and then into a second square room, before we find more BoBs along a corridor. These can be encouraged to open a nearby door, the one described by Merlin as the last they could help us with. Further along this corridor, we can actually connect back to much earlier in the level, with an interesting take on an automatic door - we have to get -right- in front of it - and then it closes behind us and we have to journey through the level again ... rookie mistake. Before we venture into the infamous (or at least it should be!) lift puzzle through the door the BoB opened, we have the big secrets to talk about. In that second square room with central pillar, the pillar is not as solid as it seems, opening on the west side to reveal a lift down! I don't think I ever solved the lift puzzle to get off this level back in the day, and must have skipped ahead cmd-ctrl-ly. I was struggling with it again last year when preparing for this, and I started just tabbing around the place in frustration. I actually discovered that first part of the secret on my own ... and then I went back to using the ShowAllPolygons script so as not to miss anything for the write-up. I think that was my most impressive secret finding though :). At the bottom of that lift inside the pillar, we follow a pretty much exact match corridor to the one above, to a pretty much exact match square room with central pillar! So much so that apart from the red for the lift, the secret is actually pretty subtle even with all polygons shown. This time the pillar has a switch on one side and two destructible circuits on another two. Smashing the circuit on the left from where we come in empties out the lava pool in the dodecahedron area. Hitting the switch opens a secret door in that same pool, but it can actually be simply tabbed open anyway. Smashing the circuit on the right empties out the lava pool earlier on where we met the BoBs. So let's start with the big dodecahedron lava pool. In its northern part, so north of the platform across the pool, which we may need to bring down before we can access, there is a secret door on the eastern wall. It opens happily and we find ourselves in a small room with a Projectile Fighter on a ledge at the back, reminiscent of many places we have been. There is a little room beyond the ledge, but it is too high for a grenade jump, swimming down there while the place still has lava in it finds nothing of note, and this place fills with lava again when we eventually get out of this, so I'm not sure if there's anything further to it. There are a couple of shotgun shells here, probably to give us some switch-worthy ammo for what comes next. A bit further around we see a switch in a recessed space, and a closed window opposite. Then the next room we come to has a raised lift in the middle, a switch to the side, and a MoaH. There are some weird geometry issues going on here when the lift is raised - we can get the view and lighting to glitch quite easily. The MoaH is rather a pain in this space, but he does at least seem reluctant to leave it, so we can retreat to cover. The switch here opens the window to show the other switch from just earlier. It operates the lift, so we could have hit it earlier, but there seem to be some odd things going on here - I ended up with the MoaH on top of the lift just earlier, for instance. To continue, we need to drop the lift, stand on it, and grenade through the window. And it is easy enough to run out of those while taking down the MoaH. We have to work for our secrets around here! Then we ride the lift up and drop down into a little ring around an arena with a lava moat, rather reminiscent of some old multiplayer maps. SPNKR ammo spawns in as we run around the ring, and when we jump down to the central platform, two SPNKRs and a bunch more rockets spawn - a little overkill, but who's complaining? Lifts on the sides take us back up at great speed, and then we carry on to the south. As soon as we enter the next room it starts descending, which is quite a subtle effect in the dark. A Cyborg spawns in the corridor we're heading to, just one more test of our resolve, and our shields. Then a switch calls a lift down, and we see a very welcome 2x recharge canister. We ride the lift back up to a nice secret terminal. It congratulates us, gives some details about the level's development, and gives a contact for any bugs in the scenario ... but I feel like it might be too late.
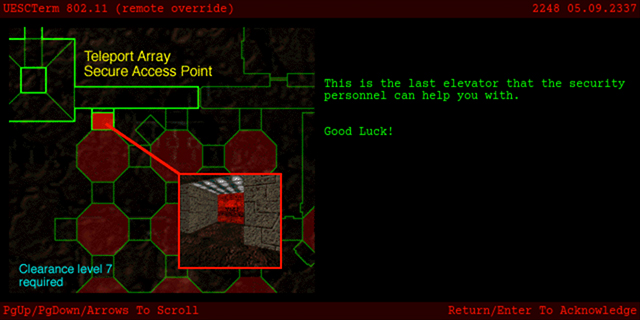
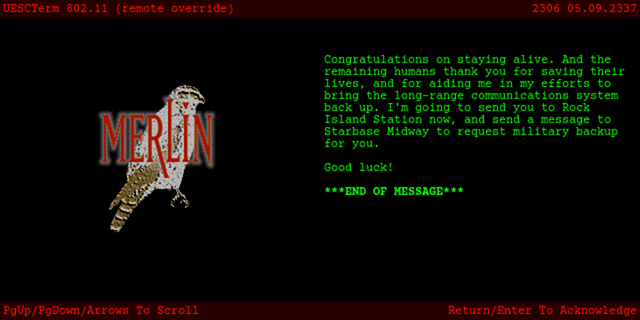
Finally we have to go through a lava passage with a few patrolling Drones, to end up at the top of the lavafall we commented on a while back. With both circuits smashed in our secret room earlier, the pool here is now empty, revealing more clearly a triangular area that acts as a safety net, teleporting us back up to the ledge by the stairs. But the main thing is WE NOW HAVE A SPNKR! There was that raised spot back by the first 2x recharger, and blasting ourselves up there we find two more rockets. Still worth it on higher difficulties. And then there's just that one strange long room on the map that remains a mystery. It is depicted as lava-filled, so I'm not sure it is of any use, but PS's efforts on the previous level has taken away my trust in such things ... do you have anything for us via Weyland, PS? Back to the actual goal here, we run through the level - up the stairs, down the lift, and into the Lift Puzzle. The map makes this look fairly straightforward, but as I said, I was well stuck here until my random frustrated pacing last year revealed not only that secret door, but the key to the puzzle: the little alcoves between and to the sides of the lifts are what set further lifts moving. So many times I had tried to get the BoBs to come further in, that they might open doors, but they wouldn't. I got stuck at the top of the second column for a good while, not helped by the fact that the alcove north of it ports you back to the start, making me think I was missing something. I think I still am. A good scientific explanation from map tools would be useful. When you can get them to work by hopping in and out of the alcoves, you head down the first column, up the second, and into the third. Then it seems that going into the alcove to the north starts the lift to the south going, allowing you to get out onto the last platform, which we have of course seen before. Now we can lower it and raise it to our hearts' content, AND we get our exit terminal. Very short and to the point - congratulations on surviving, and I'm sending you to Rock Island Station and requesting some backup. I feel like that lift puzzle was worthy of a bit more praise, but there you are.
Pending any corrections/clarifications and additional material from others, that is With a little help. Next time, VikingBoyBilly will be reporting on a German connection, apparently! And yet more secrets. These guys really were big fans.
| ||
|
| Replies: |
| Tour of Duty - With a little help | Martin | 1/9/18 11:47 a.m. | |
| Re: Tour of Duty - With a little help | General-RADIX | 1/9/18 2:17 p.m. | |
| Re: Tour of Duty - With a little help | Yossarian | 1/9/18 8:07 p.m. | |
| Re: Tour of Duty - With a little help | VikingBoyBilly | 1/10/18 4:33 p.m. | |
| Re: Tour of Duty - With a little help | Martin | 1/10/18 7:55 p.m. |
|
Problems? Suggestions? Comments? Email maintainer@bungie.org Marathon's Story Forum is maintained with WebBBS 5.12. |